Introduction
Thank you for choosing the Aetertek AT-918C Dog Training Collar. This system is designed to assist in training your dog with a remote transmitter and a waterproof receiver collar. It features a 550m/600 yard range, 9 levels of shock correction, vibration, and beep functions, along with an automatic anti-bark feature. This manual provides detailed instructions for proper setup, operation, and maintenance to ensure effective and humane training.
Important Safety Information
- This training collar is intended for use with dogs weighing 15 to 150 lbs.
- Do not use this product on aggressive, sick, or injured dogs. Consult a veterinarian or certified trainer if unsure.
- Avoid leaving the collar on the dog for more than 12 hours per day. Prolonged wear can cause skin irritation.
- Regularly check your dog's neck for signs of irritation or sores. If irritation occurs, discontinue use until the skin heals.
- Ensure the contact points are clean and the collar is not too tight or too loose.
- The static shock function should be used as a last resort and at the lowest effective level. Always start with vibration or beep.
- This is a training tool, not a punishment device. Use it responsibly and humanely.
- Keep out of reach of children.
Package Contents

The Aetertek AT-918C package includes all necessary components for immediate use. The image displays the complete kit, neatly organized within its fabric storage bag.
- 1 x Remote Transmitter
- 1 x Antenna for Transmitter
- 1 x Large Receiver Collar
- 1 x Charger (for both transmitter and receiver)
- 1 x Test Kit (for static shock function)
- 2 x Sets of Correction Prongs (short and long)
- 1 x Adjustable TPU Collar Strap
- 1 x Fabric Storage Bag
- 1 x User Manual (this document)
Product Overview
Transmitter (Remote Control)

The remote transmitter is designed for comfortable handling with large, glove-friendly rubber buttons. It allows you to control the receiver collar from a distance of up to 600 yards (550 meters). The image shows the remote transmitter alongside the receiver collar.
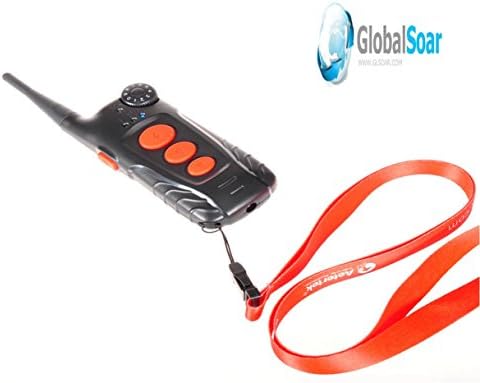
The transmitter features a durable rubber-coated antenna and a convenient lanyard for secure carrying. This image highlights the remote with its attached lanyard.
Receiver Collar

The receiver collar is submersible and genuinely waterproof, making it suitable for use in various environments. It is small, lightweight, and rechargeable. The image points out the magnetic induction power switch on the receiver.
Setup Guide
1. Charging the Devices
Both the transmitter and receiver are equipped with rechargeable batteries. Use the provided charger to fully charge both units before first use. A full charge typically takes a few hours.
- Connect the charger to a power outlet.
- Plug the charging cable into the charging ports on both the transmitter and receiver.
- The indicator lights will show charging status (refer to specific light behavior in the full manual if available, otherwise assume standard red/green).
2. Turning On/Off (Magnetic Induction)

The AT-918C utilizes a magnetic induction power switch for both the transmitter and receiver. To turn on or off, bring the magnetic induction points of the transmitter and receiver together, as if making them "kiss." This innovative method improves reliability.

This image shows the location of the magnetic induction power switch on the remote transmitter.
3. Fitting the Collar
- Select the appropriate length of correction prongs for your dog's coat type (shorter for short coats, longer for thick coats).
- Attach the prongs securely to the receiver.
- Place the receiver collar around your dog's neck so that the contact points touch the skin.
- Adjust the TPU strap to a snug fit. You should be able to fit one or two fingers comfortably between the strap and your dog's neck. The collar should not be too loose, as this can reduce effectiveness and cause rubbing.
- Trim any excess strap if necessary.
4. Testing the Collar
Before placing the collar on your dog, test the functions to ensure they are working correctly.
- Turn on both the transmitter and receiver.
- Attach the test light tool (included in the kit) to the correction prongs on the receiver.
- Press the beep, vibration, and static shock buttons on the transmitter. The test light should illuminate when the static shock button is pressed, and you should hear the beep and feel the vibration.
Operating Instructions
Training Modes and Levels
The AT-918C offers three primary training modes: Beep, Vibration, and Static Shock. Each mode, except Beep, has adjustable intensity levels.
- Beep Function: Provides an audible tone. Often used as a warning or positive reinforcement signal.
- Vibration Function: Delivers a non-harmful vibration. Adjustable through 9 levels of intensity.
- Static Shock Function: Delivers a static correction. Adjustable through 9 levels of intensity. Always start at the lowest level and increase only if necessary.
Adjusting Intensity Levels
Use the dial on the transmitter to select the desired intensity level for vibration and static shock. Levels range from 1 (lowest) to 9 (highest). It is recommended to find the lowest effective level for your dog.
Auto Anti-Bark Function
The receiver collar features an automatic anti-bark function. When activated, the collar will automatically deliver a correction (typically a warning beep followed by vibration or static shock) if it detects excessive barking from your dog, even without remote operation.
Remote Range
The system has a remote control range of up to 600 yards (550 meters) in open areas. Environmental factors such as terrain, weather, and electromagnetic interference can affect the actual range.
Effective Training Guidelines
For best results, use the Aetertek AT-918C collar as part of a comprehensive training program. Consistency, patience, and positive reinforcement are key.
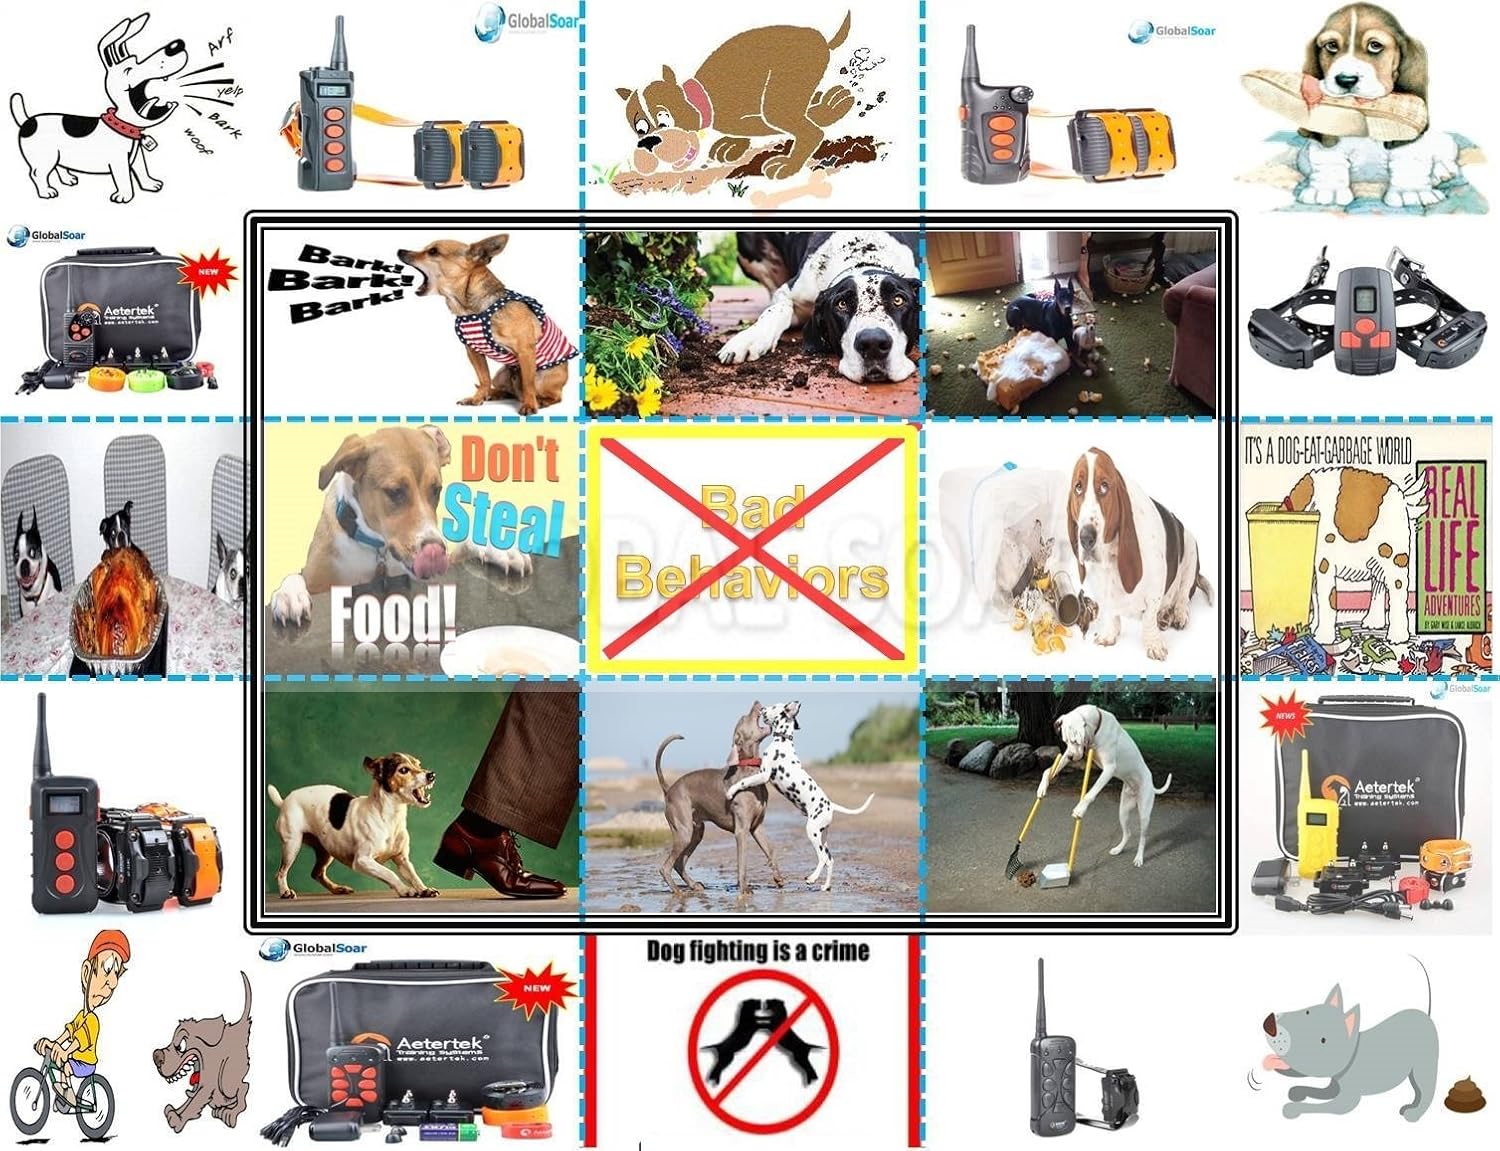
This image illustrates common undesirable dog behaviors that can be addressed with proper training, including excessive barking, digging, and food aggression.

This image demonstrates positive outcomes of effective dog training, showing dogs that are well-behaved, responsive to commands, and engaged in appropriate activities.
- Start with Basic Commands: Ensure your dog understands basic commands like "sit," "stay," and "come" before introducing the collar for more complex issues.
- Introduce the Collar Gradually: Let your dog wear the collar for short periods without activation so they associate it with comfort, not correction.
- Find the Right Level: Begin with the lowest vibration or static level. Observe your dog's reaction; a slight twitch or ear movement indicates the level is noticeable. Avoid levels that cause yelping or extreme distress.
- Timing is Crucial: Deliver the correction immediately as the undesirable behavior occurs. This helps your dog associate the correction with their action.
- Be Consistent: Use the collar consistently for the same behaviors. Everyone in the household should follow the same training protocols.
- Positive Reinforcement: Always pair corrections with positive reinforcement when your dog performs the desired behavior. Reward good behavior with praise, treats, or play.
- Short Training Sessions: Keep training sessions short and positive (5-10 minutes).
- Avoid Over-Correction: Do not over-correct your dog. Excessive use can lead to fear or anxiety.
Maintenance
- Cleaning: Regularly clean the receiver collar and contact points with a damp cloth. Ensure no dirt or debris accumulates around the prongs.
- Battery Care: Recharge the transmitter and receiver when the battery indicator shows low power. Avoid fully draining the batteries frequently to prolong their lifespan. Store in a cool, dry place when not in use.
- Strap Inspection: Periodically check the TPU collar strap for wear and tear. Replace if damaged.
Troubleshooting
| Problem | Possible Cause | Solution |
|---|---|---|
| Collar not working (no beep/vibration/static shock) | Low battery; Not turned on; Not paired; Out of range; Loose contact points. | Charge both units; Turn on both units using magnetic induction; Re-pair if necessary (refer to pairing instructions if applicable, though not explicitly detailed in input); Move closer to dog; Adjust collar fit. |
| Dog not responding to correction | Level too low; Poor contact with skin; Dog's coat too thick; Dog is desensitized. | Increase intensity level gradually; Ensure contact points touch skin; Use longer prongs for thick-coated dogs; Re-evaluate training approach or consult a professional. |
| Auto anti-bark function not working or false triggers | Collar too loose; Environmental noise; Malfunction. | Adjust collar fit; Reduce environmental noise; Contact customer support if issue persists. |
| Short battery life | Not fully charged; Old battery; Frequent use. | Ensure full charge; Batteries have a finite lifespan; Reduce frequency of use if possible. |
Specifications

The table provides a detailed comparison of various Aetertek models, including the AT-918C, highlighting features such as dog size compatibility, range, anti-bark function, static shock/vibration/sound levels, and power switch type.
- Model: AT-918C
- Remote Range: Up to 600 yards (550 meters)
- Training Modes: Beep, Vibration, Static Shock
- Intensity Levels: 9 levels for Vibration and Static Shock
- Anti-Bark Function: Automatic
- Waterproof: Receiver is 100% submersible (genuine waterproof)
- Battery: Rechargeable Lithium Polymer batteries (Transmitter & Receiver)
- Dog Size Compatibility: Suitable for medium to large dogs, 15 to 150 lbs.
- Collar Strap: Adjustable TPU strap (fits 12"-26" neck size)
- Power Switch: Magnetic Induction
Warranty and Support
For warranty information or technical support, please refer to the product packaging or contact Aetertek customer service directly. Keep your purchase receipt as proof of purchase.
For further assistance, please visit the official Aetertek website or contact their support team through the contact information provided with your product.