Introduction
Thank you for choosing the WMF CE Coffee Grinder. This manual provides essential information for the safe and efficient operation, maintenance, and troubleshooting of your new appliance. Please read it thoroughly before first use and keep it for future reference. The WMF CE Coffee Grinder is a high-quality appliance designed for grinding whole coffee beans to your desired consistency, suitable for various brewing methods.
Important Safety Instructions
When using electrical appliances, basic safety precautions should always be followed, including the following:
- Read all instructions before operating the appliance.
- Do not immerse the appliance, cord, or plug in water or other liquids.
- Close supervision is necessary when any appliance is used by or near children.
- Unplug from outlet when not in use, before putting on or taking off parts, and before cleaning.
- Avoid contact with moving parts.
- Do not operate any appliance with a damaged cord or plug, or after the appliance malfunctions or has been damaged in any manner.
- The use of attachments not recommended or sold by the manufacturer may cause fire, electric shock, or injury.
- Do not use outdoors.
- Do not let cord hang over edge of table or counter, or touch hot surfaces.
- Do not place on or near a hot gas or electric burner, or in a heated oven.
- Always attach plug to appliance first, then plug cord into the wall outlet. To disconnect, turn any control to "off", then remove plug from wall outlet.
- Do not use appliance for other than intended use.
Parts Overview
Familiarize yourself with the components of your WMF CE Coffee Grinder:
- Bean Hopper with Lid
- Grind Setting Dial
- Power Button
- Ground Coffee Container with Lid
- Grinding Mechanism (Burr)
- Quantity Selector Dial

Figure 1: Exploded view showing the bean hopper, grinding mechanism, and ground coffee container of the WMF CE Coffee Grinder.

Figure 2: Front view of the WMF CE Coffee Grinder, highlighting the grind setting dial (numbered 2-10) and the WMF logo.
Setup
- Unpacking: Carefully remove all packaging materials and inspect the grinder for any damage. Retain packaging for future storage or transport.
- Initial Cleaning: Before first use, clean all removable parts (bean hopper, ground coffee container, and their lids) with warm soapy water. Rinse thoroughly and dry completely. Wipe the main unit with a damp cloth. Do not immerse the main unit in water.
- Assembly:
- Place the ground coffee container into its designated slot on the front of the grinder. Ensure it is fully seated.
- Place the bean hopper onto the top of the grinder. Twist it gently until it locks into place.
- Ensure the lid is securely placed on the bean hopper.
- Placement: Place the coffee grinder on a stable, flat, and dry surface, away from heat sources and direct sunlight. Ensure there is adequate ventilation around the unit.
- Power Connection: Plug the power cord into a suitable electrical outlet (240 Volts).

Figure 3: The WMF CE Coffee Grinder fully assembled and ready for operation.
Operating Instructions
Follow these steps to grind your coffee beans:
- Fill Bean Hopper: Open the lid of the bean hopper and pour in whole coffee beans. Do not fill past the 'MAX' line indicated inside the hopper. Close the lid securely.
- Select Grind Setting: Turn the grind setting dial on the front of the unit to your desired fineness. The numbers typically correspond to:
- Finer Settings (e.g., 2-4): Ideal for Espresso and Moka Pot.
- Medium Settings (e.g., 5-7): Suitable for Drip Coffee Makers and Pour Over.
- Coarser Settings (e.g., 8-10): Best for French Press and Cold Brew.
Note: Adjust the grind setting only when the grinder is not operating to prevent damage to the burrs.
- Select Quantity: Use the quantity selector dial (usually on the side) to choose the amount of coffee you wish to grind. This dial often corresponds to the number of cups.
- Start Grinding: Press the power button located on the top of the unit. The grinder will start and automatically stop once the selected quantity has been ground.
- Collect Ground Coffee: Once grinding is complete, carefully remove the ground coffee container from the unit. The freshly ground coffee is now ready for brewing.
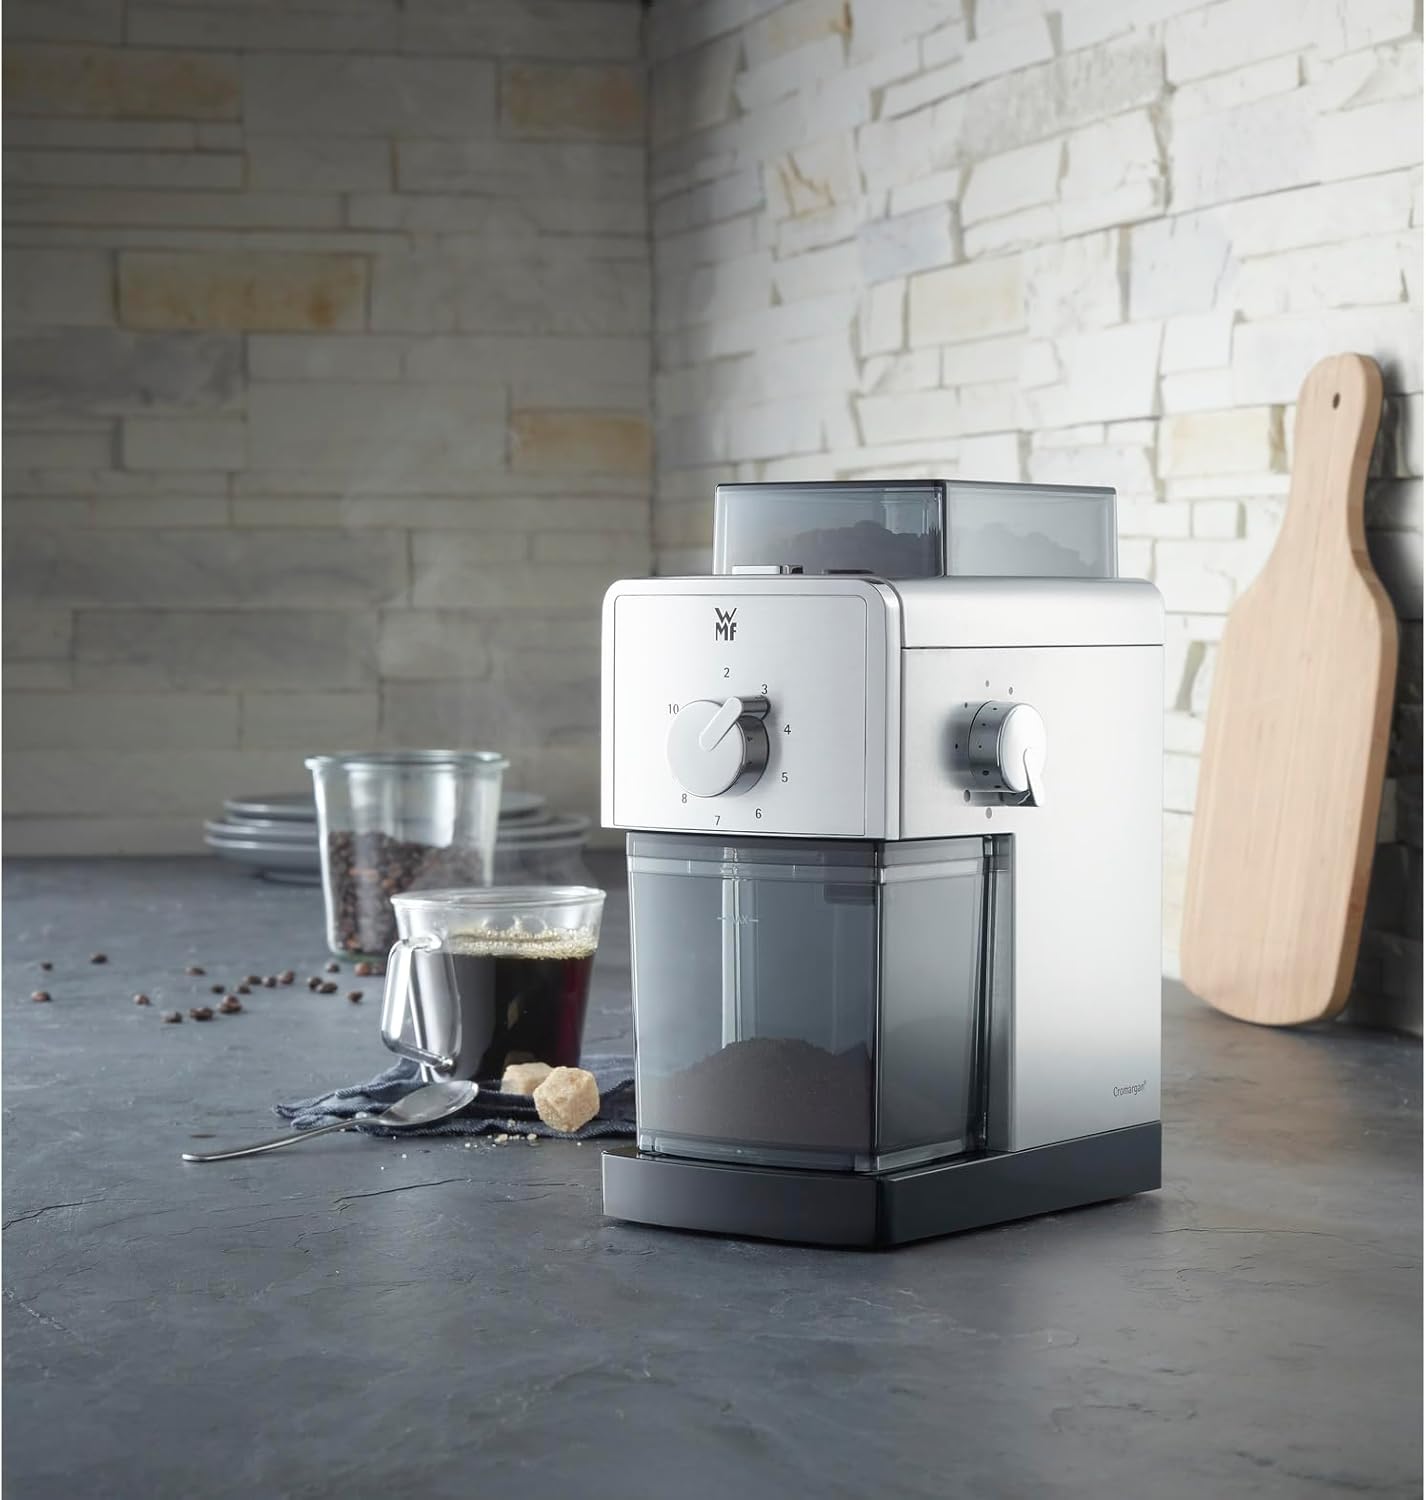
Figure 4: The WMF CE Coffee Grinder in use, demonstrating its integration into a typical kitchen environment alongside a cup of coffee.
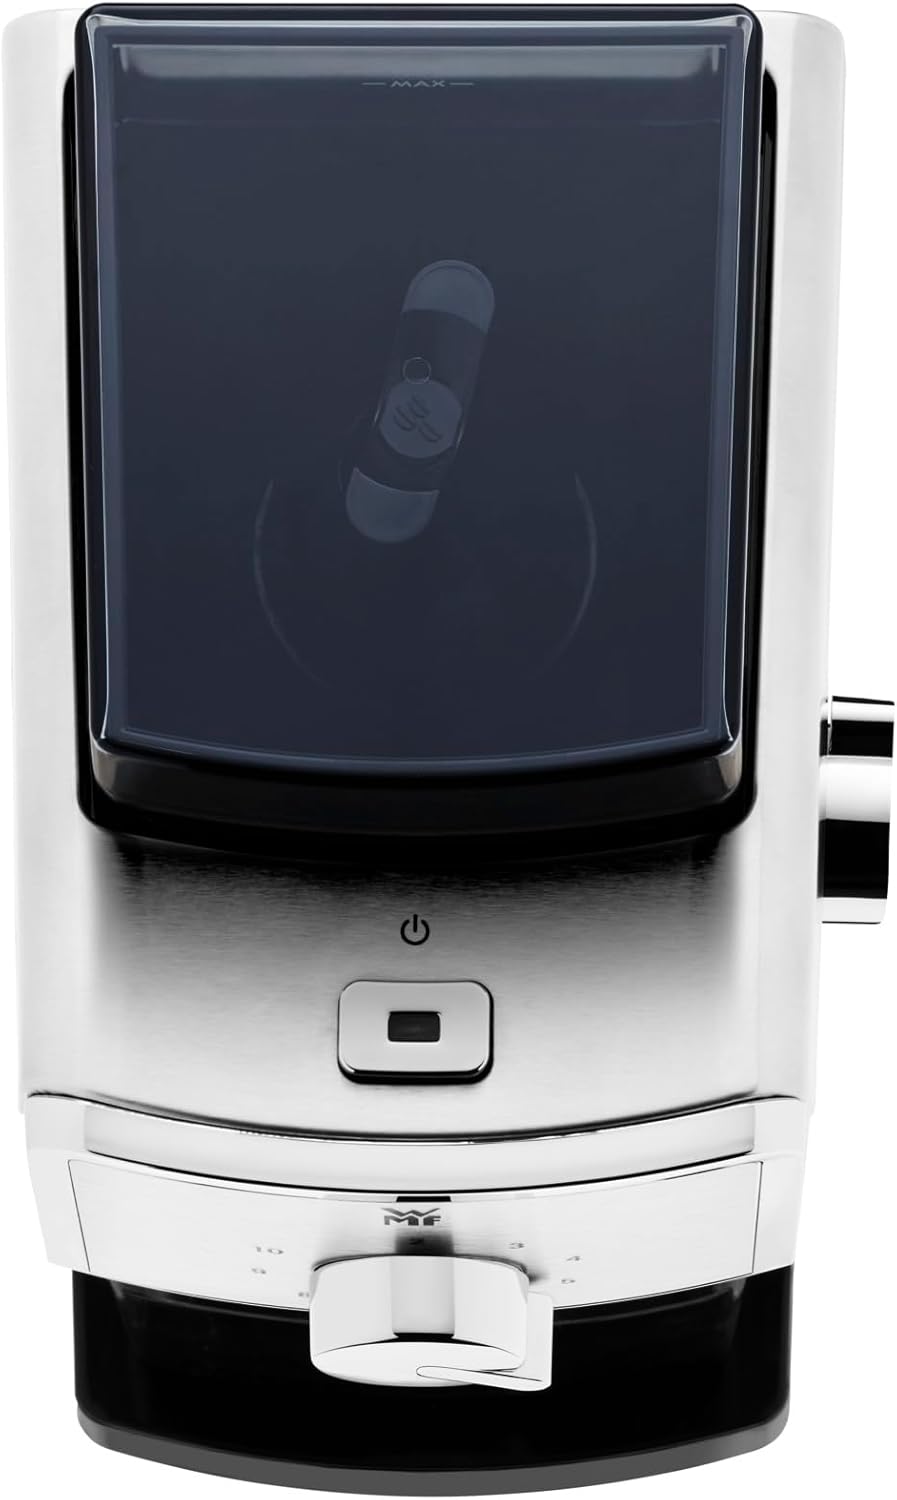
Figure 5: Top view of the WMF CE Coffee Grinder, clearly showing the power button and the lid of the bean hopper.
Maintenance and Cleaning
Regular cleaning ensures optimal performance and extends the life of your coffee grinder.
- Unplug: Always unplug the grinder from the power outlet before cleaning.
- Empty Containers: Remove and empty the bean hopper and ground coffee container.
- Clean Removable Parts: Wash the bean hopper, ground coffee container, and their lids with warm, soapy water. Rinse thoroughly and dry completely before reassembling.
- Clean Grinding Chamber: Use a small brush (often supplied with grinders, or a stiff bristle brush) to remove any residual coffee grounds from the grinding chamber and around the burrs. You may need to remove the upper burr for a more thorough cleaning (refer to specific instructions if provided with your unit for burr removal).
- Wipe Main Unit: Wipe the exterior of the main unit with a soft, damp cloth. Do not use abrasive cleaners or immerse the main unit in water.
- Storage: When not in use for extended periods, store the grinder in a clean, dry place.
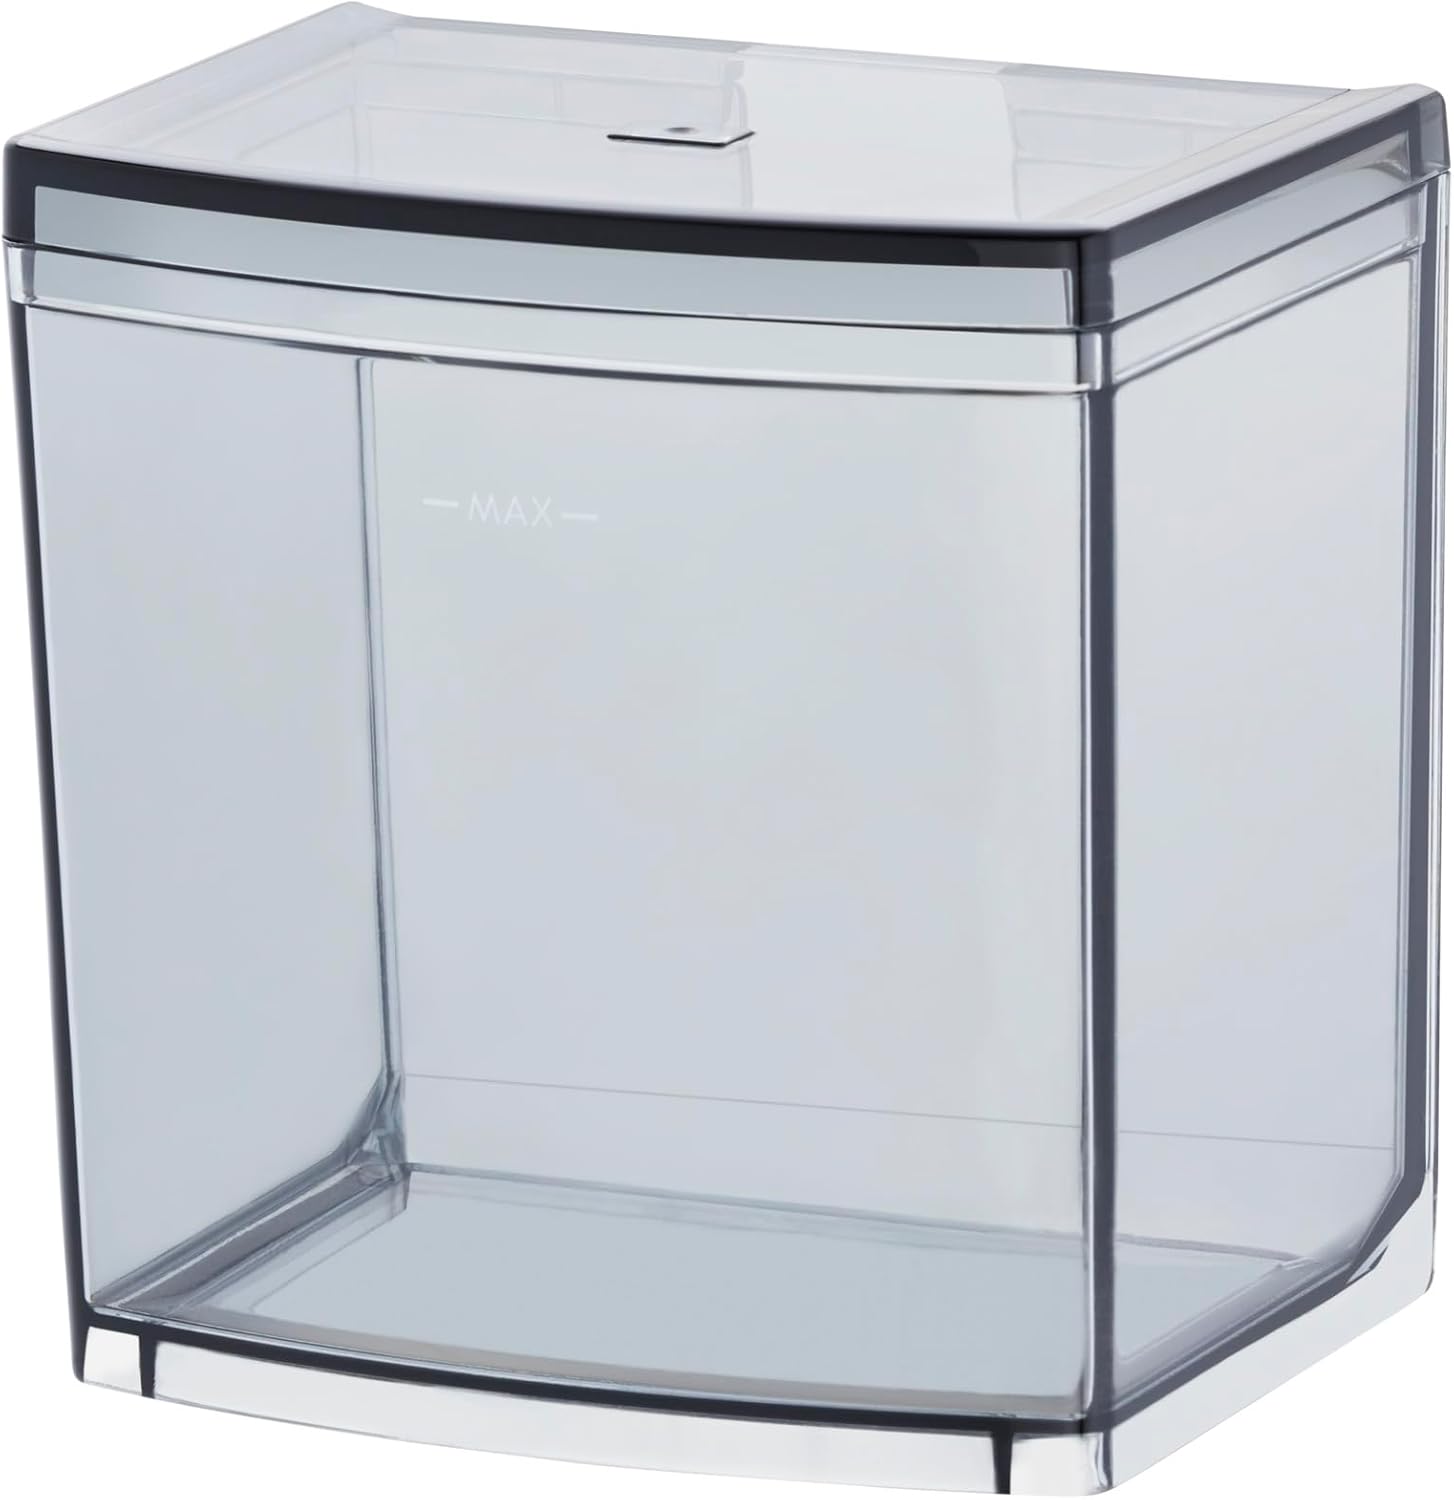
Figure 6: The transparent ground coffee container, showing its capacity and design for easy removal and cleaning.

Figure 7: The bean hopper, designed to hold whole coffee beans before grinding, with a clear view of its interior.
Troubleshooting
| Problem | Possible Cause | Solution |
|---|---|---|
| Grinder does not start. | Not plugged in; power outage; bean hopper or ground coffee container not correctly seated; thermal cutout activated. | Ensure plug is firmly in outlet. Check power supply. Ensure bean hopper and ground coffee container are securely in place. Unplug and let cool for 30 minutes before restarting. |
| Grinder stops during operation. | Overheating; too many beans; foreign object in burrs. | Unplug and let cool. Reduce bean quantity. Unplug and carefully inspect/clear burrs. |
| Inconsistent grind. | Burrs are dirty or clogged; grind setting too coarse/fine for desired result. | Clean the grinding burrs thoroughly. Adjust grind setting as needed. |
| Beans not feeding into grinder. | Hopper empty; beans stuck; burrs clogged. | Refill hopper. Gently shake the grinder to dislodge beans. Clean burrs. |
If the problem persists after attempting these solutions, please contact WMF customer support.
Specifications
| Brand | WMF |
| Model Number | 6130241112 |
| Color | Silver |
| Material | Stainless Steel (Cromargan®) |
| Product Dimensions | 8.66"L x 6.89"W x 101.38"H |
| Item Weight | 3.2 pounds |
| Voltage | 240 Volts |
| Recommended Use | Grinding coffee beans for coffee preparation |
Warranty and Support
WMF products are manufactured to the highest quality standards. For warranty information or technical support, please refer to the warranty card included with your purchase or visit the official WMF website. Please have your model number (6130241112) and purchase date available when contacting support.
For further assistance, you may visit the WMF official website.


