Introduction
Thank you for purchasing the Andoer AD-980II i-TTL GN58 Flash Speedlite. This powerful and versatile flash unit is designed to provide enhanced lighting for your photography, compatible with Nikon cameras. It features a high guide number of 58 (ISO 100, 180mm), multiple operating modes including i-TTL, Manual, Multi, Master, and Slave, as well as High-Speed Sync (HSS) up to 1/8000s. Please read this manual thoroughly to understand the product's functions and ensure safe and optimal operation.
Safety Precautions
- Do not disassemble or modify the flash unit. High voltage components are present inside.
- Keep the flash unit dry. Do not expose it to rain, moisture, or high humidity.
- Avoid direct eye exposure to the flash light, especially at close range, as it can impair vision.
- Keep out of reach of children.
- Use only recommended batteries. Do not mix old and new batteries or different types of batteries.
- If the flash unit overheats, allow it to cool down before further use.
Product Overview
Components

Figure 1: Front view of the Andoer AD-980II Flash Speedlite, showing the flash head and infrared sensor.

Figure 2: Rear view of the flash, highlighting the LCD display and control buttons (Mode, Fn, Clear, Zoom, On/Off, Directional Pad, Lock).
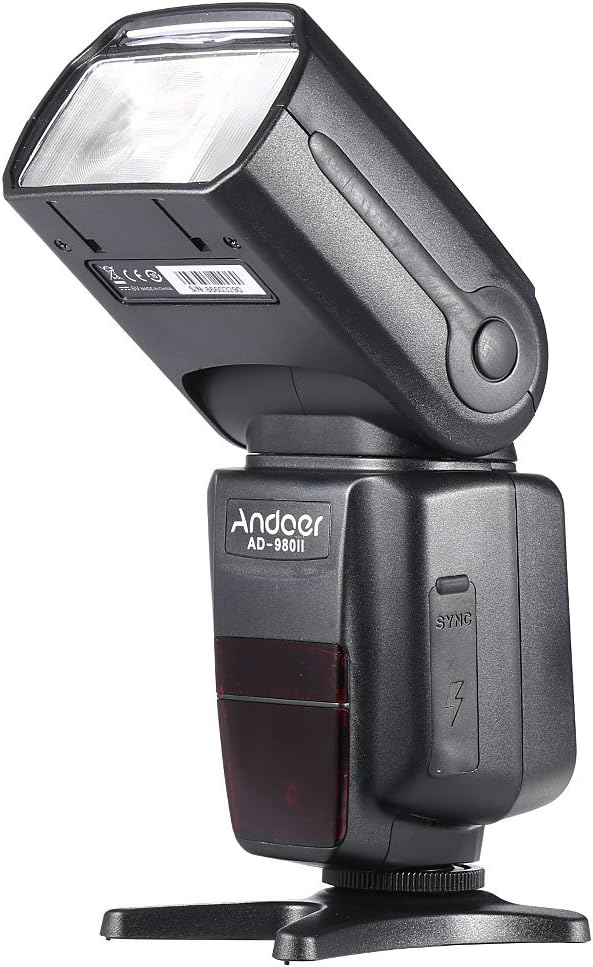
Figure 3: Side view of the flash, illustrating the PC sync port and external power interface cover.

Figure 4: Exploded view showing key components: built-in diffuser and reflector, PC port & external power interface, battery compartment, and fast transmission contacts on the hot shoe.
Control Panel and Display
The rear of the flash unit features an LCD display and several control buttons for adjusting settings and selecting modes.
- MODE Button: Cycles through i-TTL, Manual (M), Multi, and Slave modes.
- Fn Button: Accesses function settings.
- CLEAR Button: Used to clear settings or confirm selections.
- ZOOM Button: Adjusts the flash head's zoom position (Auto/Manual).
- ON/OFF Button: Powers the unit on or off.
- Directional Pad: Navigates menus and adjusts values.
- LOCK Switch: Secures the flash to the camera hot shoe.
Setup
1. Battery Installation
- Open the battery compartment cover located on the side of the flash unit (refer to Figure 4).
- Insert four (4) AA-size batteries, ensuring correct polarity (+/-) as indicated inside the compartment.
- Close the battery compartment cover securely.
Note: For optimal performance and recycle times, use high-quality alkaline or Ni-MH rechargeable batteries.
2. Mounting the Flash to Your Camera
- Slide the flash unit's hot shoe into your camera's hot shoe mount.
- Rotate the LOCK switch clockwise until it is firmly secured. Do not overtighten.
- To remove the flash, rotate the LOCK switch counter-clockwise and slide the flash off the hot shoe.
Operating Modes
Press the MODE button to cycle through the available flash modes.
1. i-TTL Mode (Automatic Flash)
In i-TTL mode, the flash automatically determines the optimal flash output based on the camera's metering system. This mode is ideal for quick and convenient shooting.
- Attach the flash to your Nikon camera's hot shoe.
- Turn on the flash and the camera.
- Select i-TTL mode using the MODE button.
- The flash will communicate with the camera to set the appropriate exposure.
2. Manual (M) Mode
Manual mode allows you to set the flash output power manually, from 1/1 (full power) to 1/128 power, in 1/3 stop increments. This provides precise control over lighting.
- Select M mode using the MODE button.
- Use the directional pad to adjust the flash output power.
- Take a test shot and adjust power as needed.
3. Multi (Stroboscopic) Mode
Multi mode fires the flash repeatedly during a single exposure, creating a stroboscopic effect. You can set the flash frequency (Hz), number of flashes, and flash output.
- Select Multi mode using the MODE button.
- Use the directional pad and Fn button to set the frequency, number of flashes, and power.
4. Master/Slave Modes (Wireless Flash)
The AD-980II can function as a master unit to control other slave flashes or as a slave unit triggered by a master flash or camera's built-in flash. It supports 4 channels in 3 groups.
- Master Mode: Set the flash to Master mode (often indicated by a specific icon or 'M' with wireless symbol). Use the Fn button to set channels and groups.
- Slave Mode (C/N, S1, S2):
- C/N Slave Mode: Optical slave mode compatible with Nikon's wireless flash system.
- S1 Mode: Optical slave mode that triggers the flash upon detecting the first flash from a master unit. Suitable for manual flash.
- S2 Mode: Optical slave mode that ignores the pre-flash from a master unit and triggers on the main flash. Suitable for i-TTL flash.
To use slave modes, ensure the flash's optical sensor is facing the master flash or camera's built-in flash.
Advanced Features
1. High-Speed Sync (HSS)
The AD-980II supports High-Speed Sync (HSS) up to 1/8000s, allowing you to use flash at shutter speeds faster than your camera's maximum flash sync speed. This is useful for freezing fast motion or using wide apertures in bright conditions.
- Ensure your camera supports HSS.
- Activate HSS on the flash unit (usually via the Fn button or a dedicated HSS icon on the display).
- Set your camera's shutter speed above its normal sync speed.
2. Rear-Curtain Sync
Rear-curtain sync fires the flash just before the second curtain closes, creating a natural-looking trail of light behind moving subjects when using slow shutter speeds.
- Activate Rear-curtain sync through the flash's custom functions or camera settings.
3. Auto/Manual Zoom
The flash head's zoom position can be adjusted automatically to match the lens focal length or manually set from 18mm to 180mm.
- Press the ZOOM button to cycle between Auto and Manual zoom settings.
- In Manual zoom, use the directional pad to adjust the focal length.
4. Sound Prompt
The flash unit includes a sound prompt feature to indicate when the flash is fully recycled and ready to fire. This can be enabled or disabled via the function settings.
5. Over-Heat Protection
To prevent damage from continuous high-power firing, the flash unit has an over-heat protection system. If the unit becomes too hot, it will temporarily disable firing until it cools down.
Maintenance
- Cleaning: Use a soft, dry cloth to clean the flash unit. For stubborn dirt, use a slightly damp cloth and then dry thoroughly. Do not use organic solvents or strong cleaning agents.
- Storage: When not in use for extended periods, remove the batteries to prevent leakage. Store the flash in a cool, dry place away from direct sunlight and extreme temperatures.
- Battery Care: Replace all batteries at the same time. Do not mix battery types.
Troubleshooting
| Problem | Possible Cause | Solution |
|---|---|---|
| Flash does not power on. | Batteries are dead or incorrectly inserted. | Replace batteries or check polarity. |
| Flash does not fire. | Flash not securely mounted; camera settings incorrect; flash in sleep mode; flash overheated. | Ensure flash is locked onto hot shoe; check camera flash settings; press shutter button halfway to wake flash; allow flash to cool down. |
| Flash output is too weak/strong. | Incorrect flash exposure compensation (FEC) or manual power setting. | Adjust FEC on camera or flash; adjust manual power setting in M mode. |
| Wireless slave mode not working. | Optical sensor blocked; incorrect channel/group settings; master flash not firing. | Ensure clear line of sight to optical sensor; verify channel/group settings match master; check master flash operation. |
Specifications
| Model Number | AD-980II |
| Guide Number | GN58 (ISO 100, 180mm) |
| Flash Coverage | 18-180mm (Auto/Manual Zoom) |
| Flash Modes | i-TTL, M, Multi, Master, Slave (C/N, S1, S2) |
| High-Speed Sync (HSS) | Up to 1/8000s |
| Recycle Time | Approx. 2.9s (full power) |
| Vertical Rotation Angle | -7 to 90 degrees |
| Horizontal Rotation Angle | 0 to 360 degrees |
| Wireless Communication | Optical Pulse (4 channels, 3 groups) |
| Power Source | 4 x AA-size batteries |
| Dimensions | 19.56 x 5.08 x 7.62 cm |
| Weight | 616.89 g |
| UPC | 743022313320 |
Warranty and Support
For warranty information and technical support, please refer to the documentation provided with your purchase or contact your retailer. Keep your proof of purchase for any warranty claims.
You can also visit the official Andoer website for further assistance and product updates.