1. Introduction
This manual provides essential instructions for the safe and effective use of your RAWLINK 36020 Bicycle Floor Pump with Manometer. Please read this manual thoroughly before operating the pump and retain it for future reference. This pump is designed for inflating bicycle tires and other inflatables using the appropriate adapters.

Image 1.1: RAWLINK 36020 Bicycle Floor Pump, showing the full pump with its base, handle, hose, and integrated manometer.
2. Safety Instructions
- Always ensure the pump is stable on a flat, non-slip surface before use.
- Do not exceed the maximum pressure recommended by the tire or inflatable manufacturer. Over-inflation can cause damage or injury.
- Keep hands and fingers clear of moving parts during operation.
- This product is not a toy. Keep out of reach of children.
- Do not modify the pump or use it for purposes other than its intended use.
- Inspect the pump and hose for any damage before each use. Do not use if damaged.
3. Package Contents
Upon unpacking, please verify that all components are present and undamaged:
- 1 x RAWLINK 36020 Bicycle Floor Pump with Manometer
- 1 x Flexible hose with dual valve head (Presta/Schrader compatible)
- 1 x Set of inflation adapters (e.g., for balls, air mattresses)
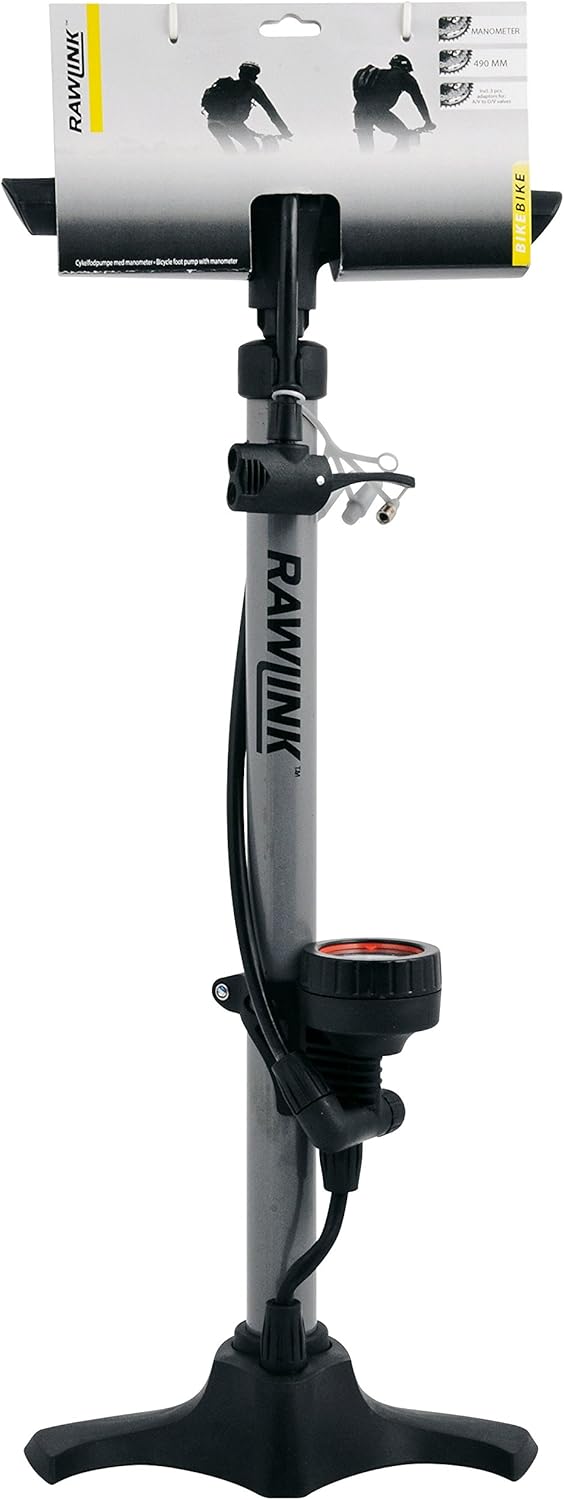
Image 3.1: RAWLINK 36020 Bicycle Floor Pump as packaged, showing the pump and its retail packaging.
4. Assembly and Setup
The RAWLINK 36020 pump typically comes pre-assembled. Follow these steps to prepare it for use:
- Unpack: Carefully remove the pump and all accessories from its packaging.
- Position: Place the pump on a firm, level surface. Ensure the base is stable.
- Hose Management: Unclip the hose from its storage position on the pump body.
- Identify Valve Type: The pump head is designed to work with both Presta and Schrader valves.
- Schrader Valve: This is the wider valve, commonly found on car tires and many mountain bikes. The larger opening of the pump head fits over this valve.
- Presta Valve: This is the thinner valve, often found on road bikes. Unscrew the small nut at the top of the Presta valve stem before attaching the pump head. The smaller opening of the pump head fits over this valve.
5. Operating Instructions
- Prepare the Tire Valve: If using a Presta valve, unscrew the small nut at the top of the valve stem.
- Attach the Pump Head: Firmly push the appropriate opening of the pump head onto the tire valve. For Schrader valves, ensure it's pushed down completely. For Presta valves, push it down until it feels secure.
- Secure the Lever: Flip the locking lever on the pump head to secure it to the valve. The lever should be in the 'up' position to attach, then pushed 'down' to lock.
- Inflate: Place your feet on the pump's base for stability. Grip the handle firmly and push it down smoothly and completely, then pull it up fully. Repeat this motion to inflate the tire.
- Monitor Pressure: Observe the manometer (pressure gauge) on the pump body to monitor the tire pressure. Inflate until the desired pressure is reached. Refer to your tire's sidewall for recommended pressure (usually in PSI or BAR).
- Remove Pump Head: Once the desired pressure is reached, flip the locking lever back to the 'up' position and carefully pull the pump head off the valve.
- Secure Presta Valve: If using a Presta valve, screw the small nut back down to seal the valve.
- Store Hose: Clip the hose back into its storage position on the pump body.

Image 5.1: Close-up view of the RAWLINK 36020 pump's manometer, displaying pressure readings in both PSI and BAR.
6. Maintenance
- Cleaning: Wipe the pump body and hose with a damp cloth after use to remove dirt and grime. Do not use harsh chemicals or abrasive cleaners.
- Storage: Store the pump in a dry, cool place, away from direct sunlight and extreme temperatures. Ensure the hose is neatly stored to prevent kinks or damage.
- Lubrication: Periodically, a small amount of silicone-based lubricant can be applied to the pump shaft (under the handle) to ensure smooth operation. Do not use petroleum-based lubricants as they can damage rubber seals.
- Inspection: Regularly check the hose, pump head, and seals for any signs of wear or damage. Replace damaged parts if necessary.
7. Troubleshooting
| Problem | Possible Cause | Solution |
|---|---|---|
| Pump not inflating tire | Pump head not securely attached to valve; Valve core loose or damaged; Leak in hose or pump seals. | Ensure pump head lever is locked down; Tighten valve core; Check hose and connections for leaks; Inspect pump seals for wear. |
| Manometer not showing pressure | Pump head not securely attached; Tire pressure too low to register; Manometer malfunction. | Re-attach pump head firmly; Continue pumping until pressure builds; If issue persists, contact support. |
| Air leaking from pump head | Pump head not fully engaged; Worn rubber gasket in pump head. | Push pump head further onto valve and lock lever; Replace pump head gasket if worn. |
8. Specifications
- Brand: RAWLINK
- Model: 36020
- Valve Compatibility: Presta and Schrader
- Pressure Gauge: Integrated Manometer (PSI/BAR)
9. Warranty and Support
RAWLINK products are manufactured to high-quality standards. For information regarding warranty coverage, technical support, or replacement parts, please refer to the warranty card included with your purchase or visit the official RAWLINK website. Please have your model number (36020) and proof of purchase ready when contacting support.