1. Introduction
This manual provides essential information for the proper installation, operation, and maintenance of your Bitspower None Chamfer Crystal Link Tubes. These clear acrylic tubes, with a 16mm outer diameter and 1000mm length, are designed for custom liquid cooling systems in desktop computers. Please read these instructions carefully before use to ensure optimal performance and safety.
2. Safety Information
- Always wear appropriate eye protection when cutting or bending tubing.
- Use a heat gun in a well-ventilated area to avoid inhaling fumes.
- Handle sharp tools with care to prevent injury.
- Ensure your liquid cooling system is completely drained and powered off before performing any installation or maintenance.
- Perform a leak test on your completed loop before powering on your computer.
3. Package Contents
The package contains:
- 4 x Bitspower None Chamfer Crystal Link Tubes (Clear Acrylic, 16mm OD, 1000mm Length)
4. Setup and Installation
4.1. Preparation
Before beginning, gather the following tools (not included):
- Heat gun with temperature control
- Fine-tooth saw (e.g., hacksaw or specialized tubing saw)
- Deburring and chamfering tool
- Silicone bending insert (12mm OD for 16mm OD tubing)
- Measuring tape and marker
- Compatible 16mm OD rigid tube fittings
4.2. Cutting the Tubing
Measure the required length for your loop. Use a fine-tooth saw to cut the acrylic tube. Ensure the cut is straight and clean. Do not use pipe cutters, as they can cause the acrylic to crack or shatter due to stress.
4.3. Deburring and Chamfering
After cutting, it is crucial to deburr and chamfer both the inner and outer edges of the tube. This process removes sharp edges that could damage the O-rings within your fittings, preventing leaks and ensuring a secure connection.
4.4. Bending the Tubing
Insert a 12mm OD silicone bending insert into the tube to prevent kinking during bending. Using a heat gun, apply heat evenly to the section of the tube you wish to bend. A temperature of approximately 480°F (250°C) is generally effective for acrylic. Rotate the tube constantly to ensure uniform heating. Once the acrylic becomes pliable, slowly and carefully bend it to the desired angle. Hold the shape until the tube cools and hardens. Allow the tube to cool completely before removing the silicone insert.
4.5. Installation with Fittings
These tubes are compatible with Bitspower C89/eML16 series fittings and other rigid tube fittings designed for 16mm Outer Diameter (OD) tubing. Ensure the tube is fully inserted into the fitting and the compression ring is tightened securely by hand. Avoid over-tightening.
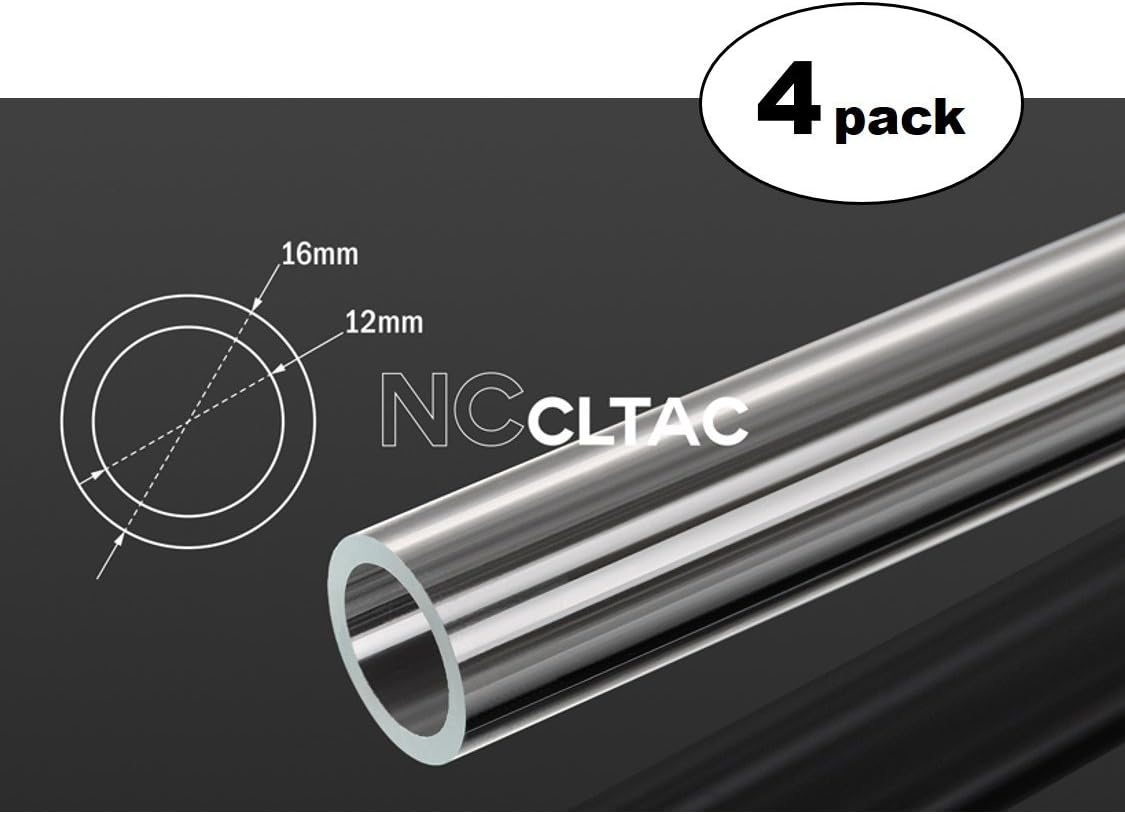
Image: Bitspower Crystal Link Tube dimensions (16mm OD, 12mm ID).
5. Operating Instructions
Once all tubes are installed and fittings are secured, perform a thorough leak test of your entire liquid cooling system. Fill the loop with coolant and run the pump for several hours (typically 12-24 hours) without powering on other PC components. Carefully inspect all connections for any signs of leaks. After confirming no leaks, the system is ready for normal operation.
6. Maintenance
- Regular Inspection: Periodically inspect the tubes for any signs of discoloration, cloudiness, micro-cracks, or stress, especially near bends and fittings.
- Cleaning: The exterior of the tubes can be cleaned with a soft, damp cloth. For internal cleaning, follow the recommended maintenance procedures for your specific liquid cooling system, which typically involves flushing the loop with a dedicated cleaning solution.
- Coolant Compatibility: Ensure you use coolants compatible with acrylic to prevent material degradation over time.
7. Troubleshooting
- Leaks at Fittings: Ensure tubes are properly deburred and chamfered. Verify the tube is fully seated in the fitting and the compression ring is tightened. Check O-rings for damage.
- Cracking During Cutting: This often occurs when using improper tools. Always use a fine-tooth saw and apply even, gentle pressure. Avoid pipe cutters.
- Kinking or Cracking During Bending: Ensure even heat distribution with the heat gun. Do not overheat or bend too quickly. Always use a silicone bending insert.
- Difficulty Inserting into Fittings: Confirm the tube ends are properly deburred and chamfered. Ensure the fitting is designed for 16mm OD rigid tubing.
8. Specifications
| Feature | Specification |
|---|---|
| Material | Acrylic |
| Outer Diameter (OD) | 16 mm |
| Inner Diameter (ID) | 12 mm (approximate, for silicone insert compatibility) |
| Length | 1000 mm (39.37 inches) |
| Color | Clear |
| Quantity | 4-Pack |
| Model Number | TR-BP-NCCLT16AC-L1000-4P |
| UPC | 701851183408 |
9. Warranty Information
For detailed warranty terms and conditions, please refer to the official Bitspower website or contact their customer support directly. Retain your proof of purchase for any warranty claims.
10. Support
Should you require technical assistance, have questions regarding installation, or encounter any issues not covered in this manual, please visit the official Bitspower website for support resources or contact their customer service department.