1. Product Overview
The Lavor Sealing Set 209 (Part Number 6.005.0226) is a replacement kit containing various seals designed for maintaining the optimal performance of compatible Lavor, Einhell, and Delta Jet pressure washers. This set includes 7 essential sealing components to address common wear and tear, ensuring leak-free operation and consistent pressure output from your equipment.
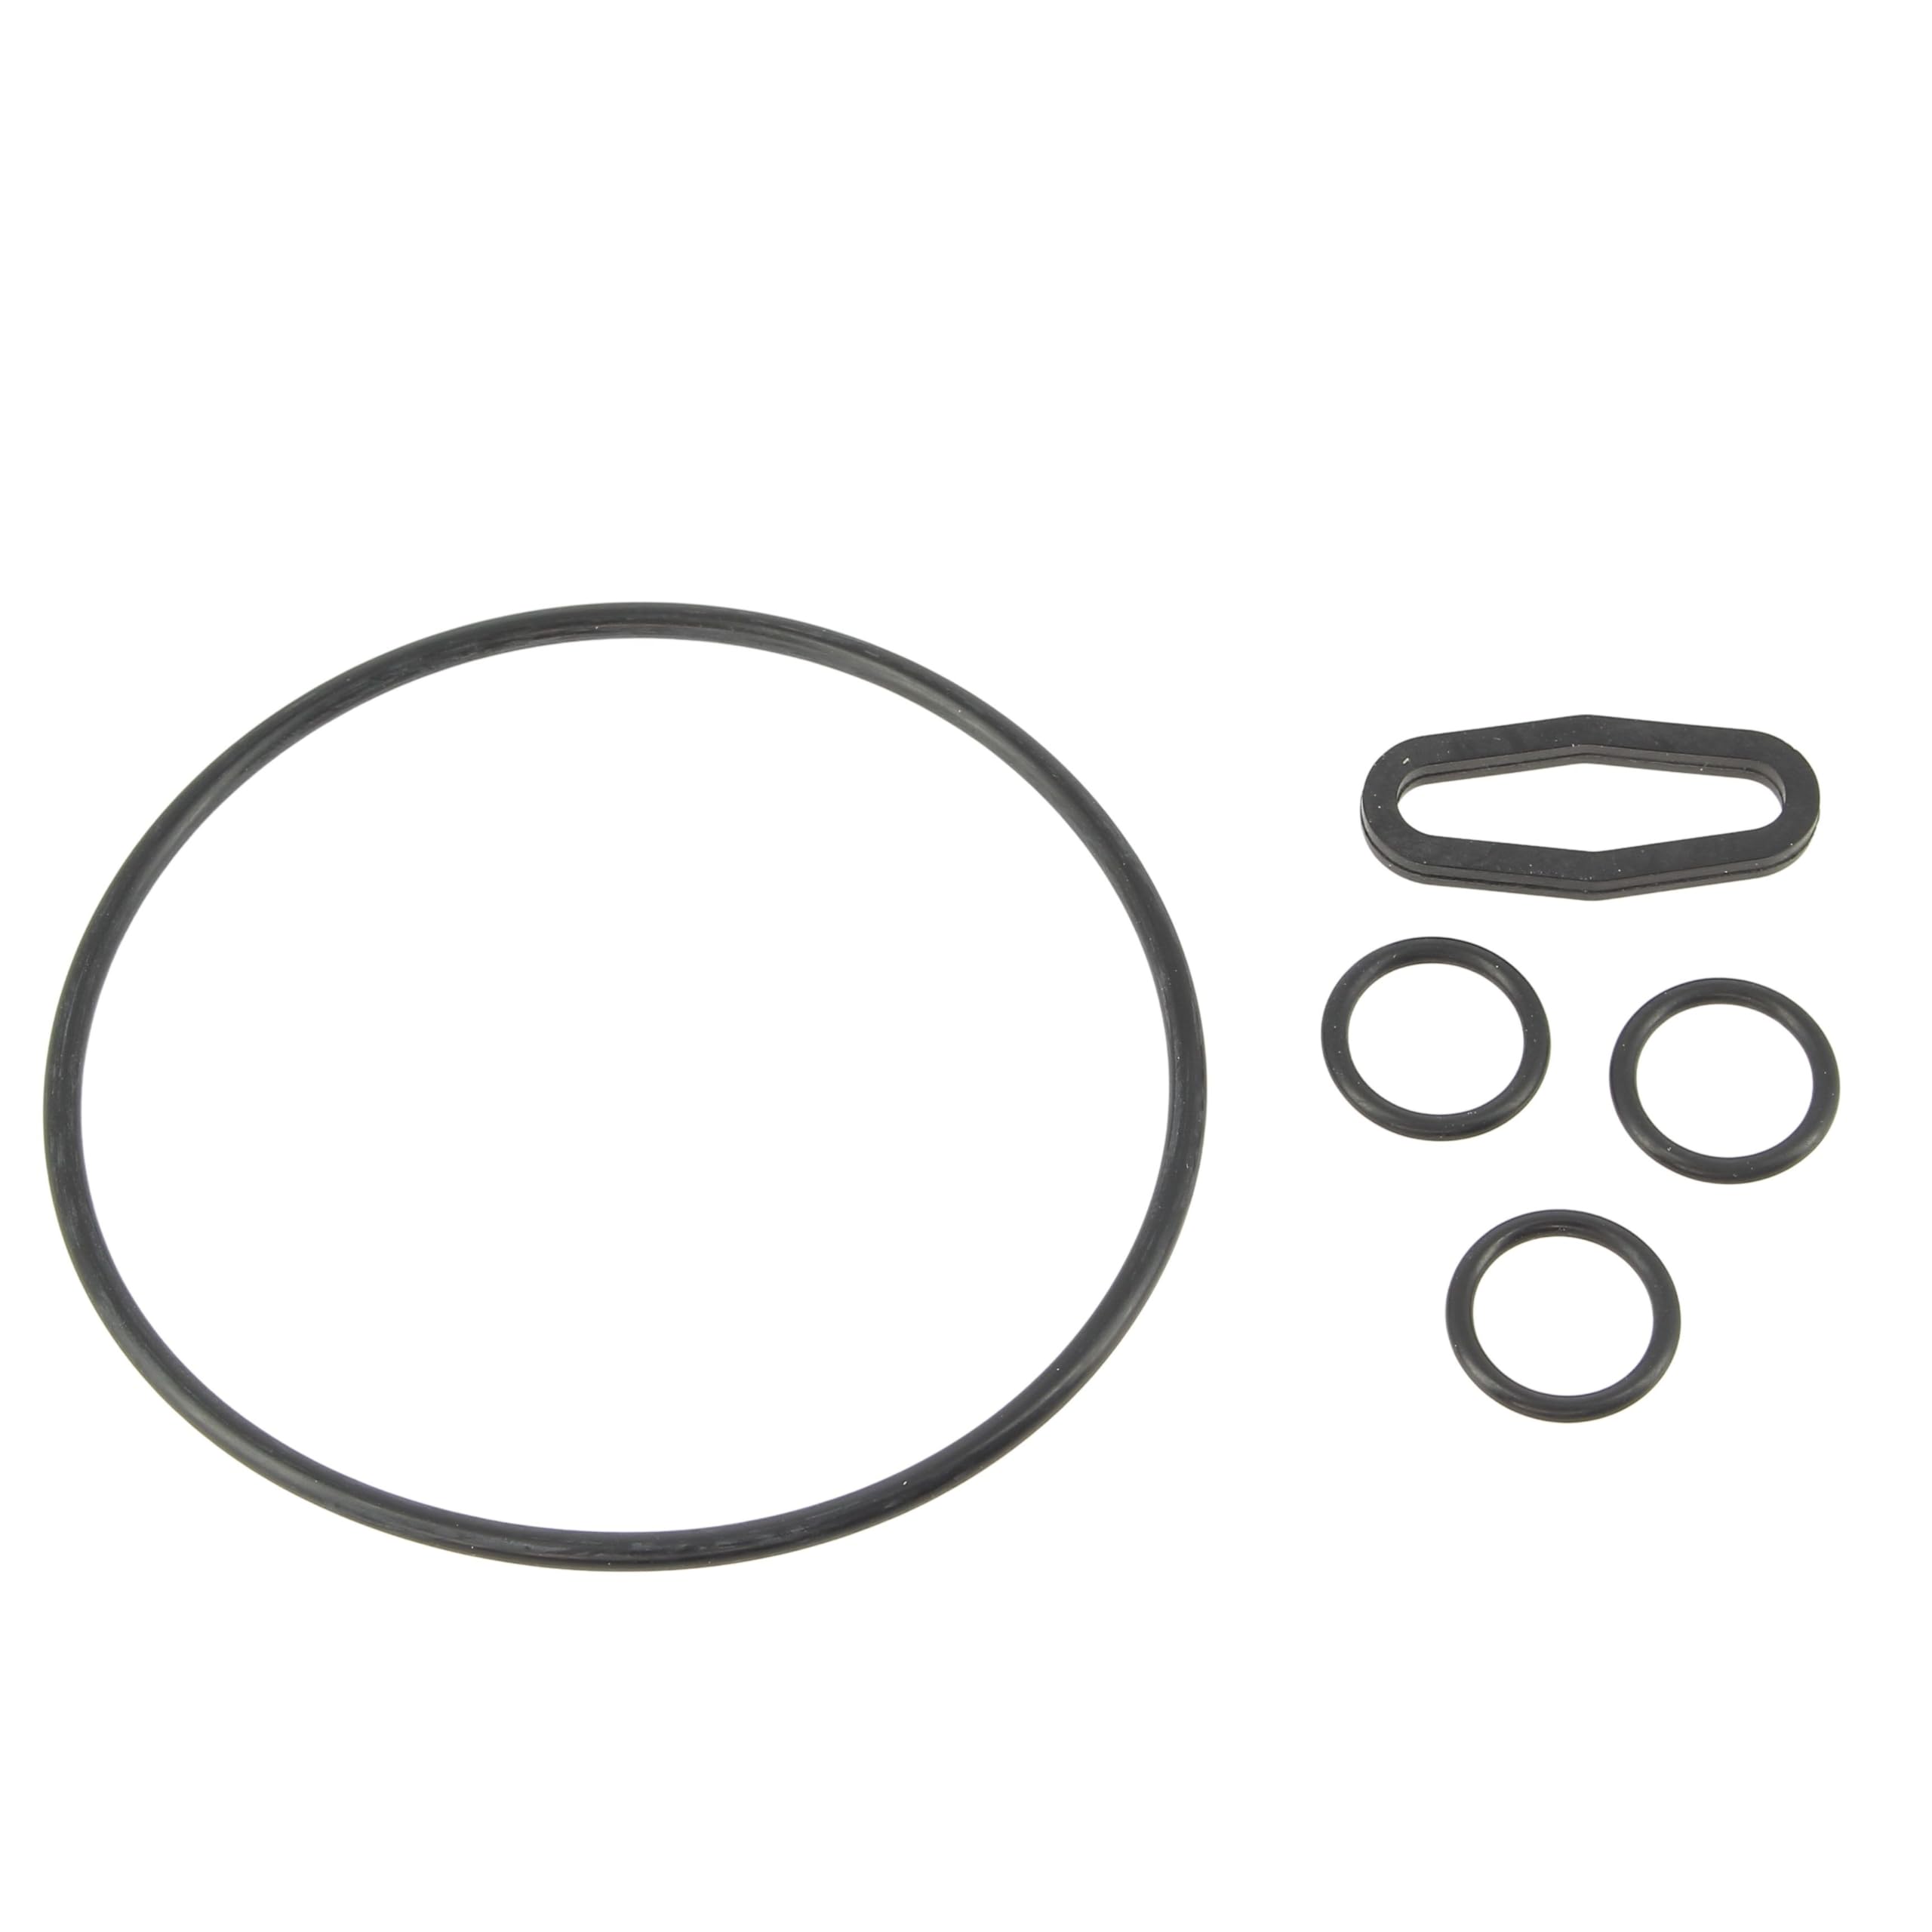
Image 1: Example of a circular rubber O-ring from the sealing set.
2. Package Contents
The Lavor Sealing Set 209 includes a total of 7 sealing components. These typically consist of various rubber O-rings and flat gaskets, essential for sealing connections and preventing leaks within your pressure washer system.
- Multiple O-rings of varying sizes
- Assorted flat gaskets or specialized seals

Image 2: Example of an elongated flat rubber seal included in the set.
3. Compatibility
This sealing set is compatible with a wide range of Lavor, Einhell, and Delta Jet pressure washer models. Please verify your specific pressure washer model against the list below to ensure compatibility:
- Lavor: Army 110, Eagle 28, Expert 160, Fast Extra 145, Fast Plus 130, Force 145, Galaxy 140, Galaxy 150, Galaxy 160, Independent 1900, Independent 2300, LM2500ES, MEK1108 (8.619.0610), Missouri 1310, Ninja Extra 145, Ninja Plus 130, One 100, One Extra 135, Planet 160 WPS, Prime 165, Raptor 23, Rio 1108, Rio P80.0229 XTR 1007, Space Full 180, STM150, STM150 P80.0502U (8.086.0002 C), STM160, STM160 WPS, Superwash 160 (8.062.08.36, 8.062.09.09), Tempesta 24, Temporale 19, Tormenta 28, Vertigo 22, Vertigo 28, Wave HR135, XTR1000 7
- Einhell: RT-HP1545 (4140530), RT-HP1648TR (4140540)
- Delta Jet (specific models not listed, refer to your pressure washer manual for part number 6.005.0226)
4. Safety Information
Always prioritize safety when working with pressure washers and their components. Failure to follow safety guidelines can result in injury or damage to equipment.
- Disconnect Power: Before attempting any maintenance or seal replacement, ensure the pressure washer is unplugged from the power source and the water supply is turned off.
- Release Pressure: Activate the spray gun trigger to release any residual pressure in the system.
- Wear Protective Gear: Use appropriate personal protective equipment, such as gloves and eye protection.
- Consult Manual: Refer to your specific pressure washer's instruction manual for detailed disassembly and reassembly procedures.
5. Installation Instructions
Replacing seals in a pressure washer typically involves disassembling the pump head or specific connections. The exact procedure varies by model. The following are general steps:
- Prepare the Unit: Follow all safety instructions outlined in Section 4. Place the pressure washer on a stable, clean surface.
- Access the Seals: Depending on the location of the worn seal, you may need to remove the outer casing, pump head, or specific hose connections. Consult your pressure washer's manual for precise disassembly steps.
- Remove Old Seals: Carefully extract the old, worn, or damaged seals. Note their orientation and position for correct reinstallation. Use a small, non-abrasive tool if necessary to pry them out.
- Clean Surfaces: Thoroughly clean the grooves and surfaces where the new seals will be seated. Remove any debris, old lubricant, or corrosion.
- Install New Seals: Select the correct replacement seal from the Lavor Sealing Set 209. Lightly lubricate new rubber seals with silicone grease or a compatible lubricant to aid installation and prevent damage. Carefully seat the new seals into their respective grooves, ensuring they are not twisted or pinched.
- Reassemble: Reassemble the pressure washer components in reverse order of disassembly. Ensure all connections are tightened securely but do not overtighten.
- Test: Reconnect the water supply and power. Slowly turn on the water and check for leaks before fully operating the pressure washer.

Image 3: A smaller O-ring, typical for internal pump components or fittings.
6. Maintenance
Proper maintenance extends the life of your pressure washer and its seals:
- Regular Inspection: Periodically inspect hoses, connections, and the pump area for signs of leaks or worn seals.
- Proper Storage: Store the pressure washer in a frost-free environment to prevent water freezing and damaging internal components and seals.
- Use Clean Water: Always use clean, filtered water to prevent debris from damaging seals and pump components.
- Lubrication: When reassembling components, apply a thin layer of silicone grease to rubber seals to maintain their flexibility and sealing properties.
7. Troubleshooting
If you experience issues after replacing seals or during normal operation, consider the following:
- Leaks: If leaks persist, re-check the installation of all seals. Ensure they are correctly seated, not twisted, and the correct size for the application. Tighten connections appropriately.
- Loss of Pressure: A loss of pressure can indicate a faulty or improperly installed seal, allowing air or water to escape. Inspect all seals, especially those in the pump head.
- Water Spraying from Connections: This is a clear sign of a failed or improperly seated seal at that connection point. Disassemble, inspect, and reinstall the seal.
- Difficulty Assembling: If seals are difficult to install, ensure they are lightly lubricated and not forced, which can cause damage.
8. Specifications
| Product Name | Lavor Sealing Set 209 |
| Lavor Part Number | 6.005.0226 |
| EAN/UPC | 3665392043454 |
| Brand | Lavor |
| Number of Items | 7 |
| Material | Rubber/Elastomer (for seals) |
| Package Dimensions (L x W x H) | 21 x 17 x 14 cm |
9. Warranty and Support
For specific warranty information regarding the Lavor Sealing Set 209, please refer to the purchase documentation or contact your retailer. For technical support or further assistance with installation, please contact Lavor customer service or an authorized service center. Always provide the product name (Sealing Set 209) and part number (6.005.0226) when seeking support.