1. Introduction
This manual provides detailed instructions for setting up, operating, maintaining, and troubleshooting your NETGEAR EX6400 AC1900 WiFi Mesh Range Extender. The EX6400 is designed to extend your existing WiFi network, eliminate dead zones, and provide seamless connectivity throughout your home or office. It features AC1900 dual-band WiFi, Smart Roaming, and FastLane technology to enhance your wireless experience.
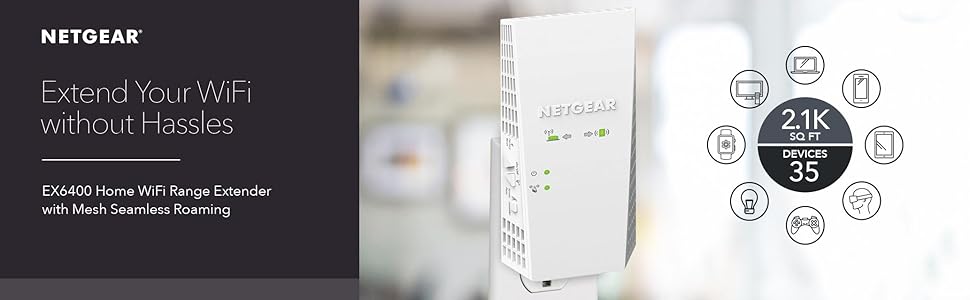
Image 1.1: NETGEAR EX6400 WiFi Range Extender. This image illustrates the product's purpose of extending WiFi coverage.
2. Product Overview
The NETGEAR EX6400 is a wall-plug WiFi Mesh Range Extender that boosts your existing WiFi signal. It integrates seamlessly with your current router to create a unified network name, allowing devices to roam without interruption.
2.1 Key Features
- Extended Wireless Coverage: Adds WiFi range coverage up to 2100 sq ft.
- Device Connectivity: Connects up to 35 devices, including laptops, smartphones, and IoT devices.
- Seamless Smart Roaming: Uses your existing network SSID name for uninterrupted connectivity.
- AC1900 WiFi Speed: Provides up to 1900Mbps performance using dual-band technology.
- FastLane™ Technology: Optimizes performance for demanding HD streaming and online gaming.
- Universal Compatibility: Works with any wireless router, gateway, or cable modem with WiFi.
- Wired Ethernet Port: One Gigabit Ethernet port for connecting wired devices.
- Amplified Internal Antenna Array: Increases signal range and strength.
2.2 Package Contents
- AC1900 WiFi Range Extender (EX6400)
- Quick start guide
2.3 Physical Description

Image 2.1: Front view of the NETGEAR EX6400 Extender. This image shows the device's indicators and side buttons.
The EX6400 features LED indicators on the front panel for power, router connection, device connection, and WiFi signal strength. On the side, you will find buttons for power, factory reset, and mode selection (Extender/Access Point).
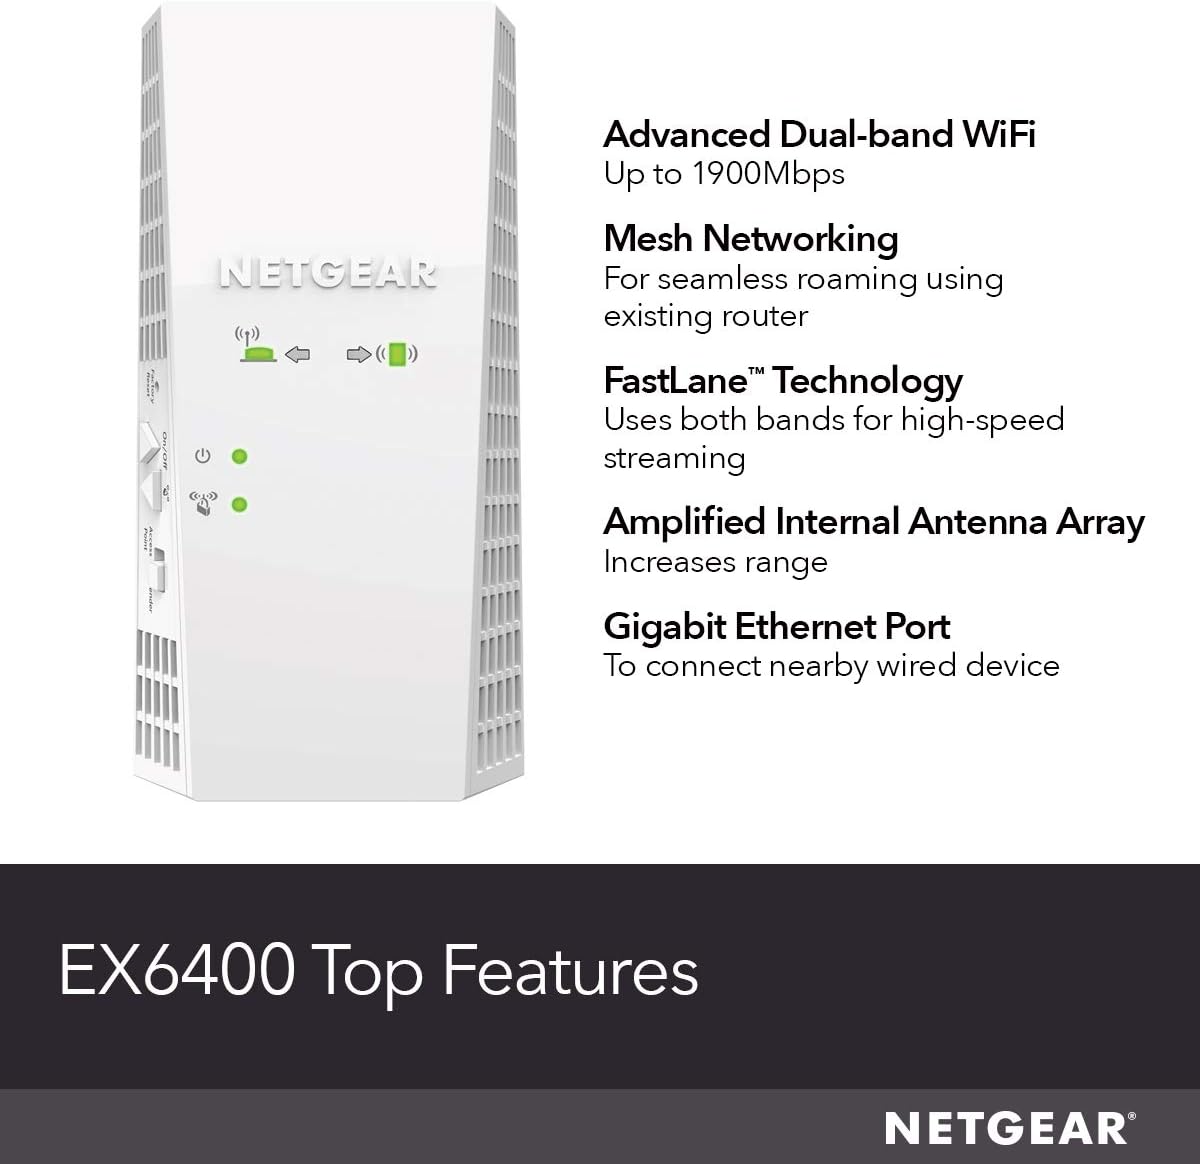
Image 2.2: Diagram highlighting key features of the EX6400, including dual-band WiFi, Mesh Networking, FastLane Technology, amplified internal antenna, and Gigabit Ethernet port.
3. Setup Instructions
Follow these steps to set up your NETGEAR EX6400 WiFi Mesh Range Extender.
3.1 Placement
Plug the extender into an electrical outlet that is approximately halfway between your router and the area where you want to extend WiFi coverage. Ensure the extender is within the range of your existing WiFi network.
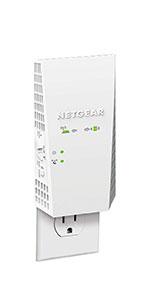
Image 3.1: The EX6400 extender plugged into a wall outlet, ready for setup.
3.2 Connection Methods
You can set up your extender using either the WPS (WiFi Protected Setup) button or the NETGEAR Nighthawk app.
3.2.1 WPS Setup (Recommended for quick setup)
- Plug in the EX6400 extender. Wait for the Power LED to turn solid green.
- Press the WPS button on your existing WiFi router.
- Within two minutes, press the WPS button on the side of your EX6400 extender.
- Wait for the Router Link LED on the extender to turn solid green, indicating a successful connection.
- If the Router Link LED does not turn solid green, try moving the extender closer to your router and repeat the steps.

Image 3.2: Illustration of the one-touch setup process using the WPS button on the EX6400.
3.2.2 NETGEAR Nighthawk App Setup
- Download the NETGEAR Nighthawk app from your mobile device's app store.
- Connect your mobile device to the extender's default WiFi network (e.g., 'NETGEAR_EXT').
- Open the Nighthawk app and follow the on-screen instructions to connect the extender to your existing WiFi network.
- During setup, ensure your router has a firewall enabled. Some ISP-provided routers may require manual firewall activation for the extender to connect securely.
4. Operating Instructions
Once set up, your EX6400 extender operates to provide extended WiFi coverage.
4.1 Seamless Smart Roaming
The EX6400 supports Smart Roaming, which means it uses the same network name (SSID) as your main router. Your devices will automatically switch between your router and the extender as you move around your home, ensuring a continuous and strong WiFi signal without manual intervention.

Image 4.1: A user enjoying seamless connectivity on a tablet, illustrating the benefit of Smart Roaming.
4.2 FastLane™ Technology
FastLane Technology utilizes both WiFi bands (2.4 GHz and 5 GHz) to create a super-fast WiFi connection, ideal for high-bandwidth activities like HD streaming and online gaming. This feature ensures that devices requiring higher speeds receive optimized performance.

Image 4.2: Users engaged in online gaming, demonstrating the high-speed capabilities provided by the extender.
4.3 Gigabit Ethernet Port
The EX6400 includes one Gigabit Ethernet port. You can connect a wired device, such as a smart TV, gaming console, or desktop computer, directly to this port for a stable and high-speed network connection.
5. Maintenance
Regular maintenance helps ensure optimal performance and longevity of your EX6400 extender.
5.1 Firmware Updates
NETGEAR periodically releases firmware updates to improve performance, add features, and address security vulnerabilities. It is recommended to check for and install the latest firmware through the Nighthawk app or by accessing the extender's web interface.
5.2 Factory Reset
If you encounter persistent issues or wish to reconfigure your extender from scratch, you can perform a factory reset. To do this, use a paperclip to press and hold the Reset button on the side of the extender for about 5-10 seconds until the LEDs flash. The extender will then revert to its default factory settings.
6. Troubleshooting
This section addresses common issues you might encounter with your EX6400 extender.
6.1 No Internet Connection or Weak Signal
- Check Placement: Ensure the extender is placed within the optimal range of your main router. The Router Link LED should be solid green. If it's amber or red, move the extender closer to the router.
- Verify Router Connection: Confirm your main router is functioning correctly and providing an internet connection.
- Restart Devices: Power cycle both your router and the EX6400 extender. Unplug them, wait 30 seconds, then plug them back in.
- Firmware Update: Ensure your extender has the latest firmware installed.
6.2 Devices Not Connecting to Extended Network
- Check WiFi Password: Ensure you are using the correct WiFi password for your network.
- Router Firewall: Some routers, particularly ISP-provided ones, may have firewall settings that interfere with extender connectivity. Ensure your router's firewall is configured to allow new devices or temporarily disable it for testing purposes (re-enable immediately after).
- Factory Reset: If issues persist, perform a factory reset on the extender and re-run the setup process.
6.3 Mesh WiFi Features Not Active
To unlock full Mesh WiFi features, including Smart Roaming and One WiFi Name, a firmware upgrade and factory reset may be required after initial setup. Refer to the maintenance section for instructions on firmware updates and factory resets.
7. Specifications
| Feature | Specification |
|---|---|
| Model Number | EX6400-100NAS |
| Wireless Standard | 802.11ac (WiFi 5) |
| Data Transfer Rate | Up to 1900 Mbps (AC1900) |
| Frequency Band Class | Dual-Band (2.4 GHz & 5 GHz) |
| Ethernet Ports | 1 x Gigabit Ethernet |
| Dimensions (H x W x D) | 5.56 x 6.93 x 3.82 inches |
| Item Weight | 10.6 ounces |
| Color | White |
8. Warranty and Support
8.1 Warranty Information
NETGEAR products typically come with a limited hardware warranty. Please refer to the official NETGEAR website or your product packaging for the most current and specific warranty terms applicable to your region and purchase date.
8.2 Technical Support
NETGEAR offers technical support for its products. For assistance with setup, optimization, or troubleshooting, you can contact NETGEAR's expert help. Support options and availability may vary.

Image 8.1: Information regarding NETGEAR's free expert help for setup and optimization.
For direct assistance, you may contact NETGEAR support at 866-853-4942.
9. Video Resources
No official product video URLs were provided in the product data for embedding in this manual.


