1. Introduction
This manual provides comprehensive instructions for the safe and efficient use of your BLACK+DECKER Vitessa Advanced Steam Iron, model IR2050. Designed for optimal garment care, this iron features an Even Steam soleplate, SmartSteam Technology, an Auto Clean system, and automatic shutoff for enhanced safety and performance.
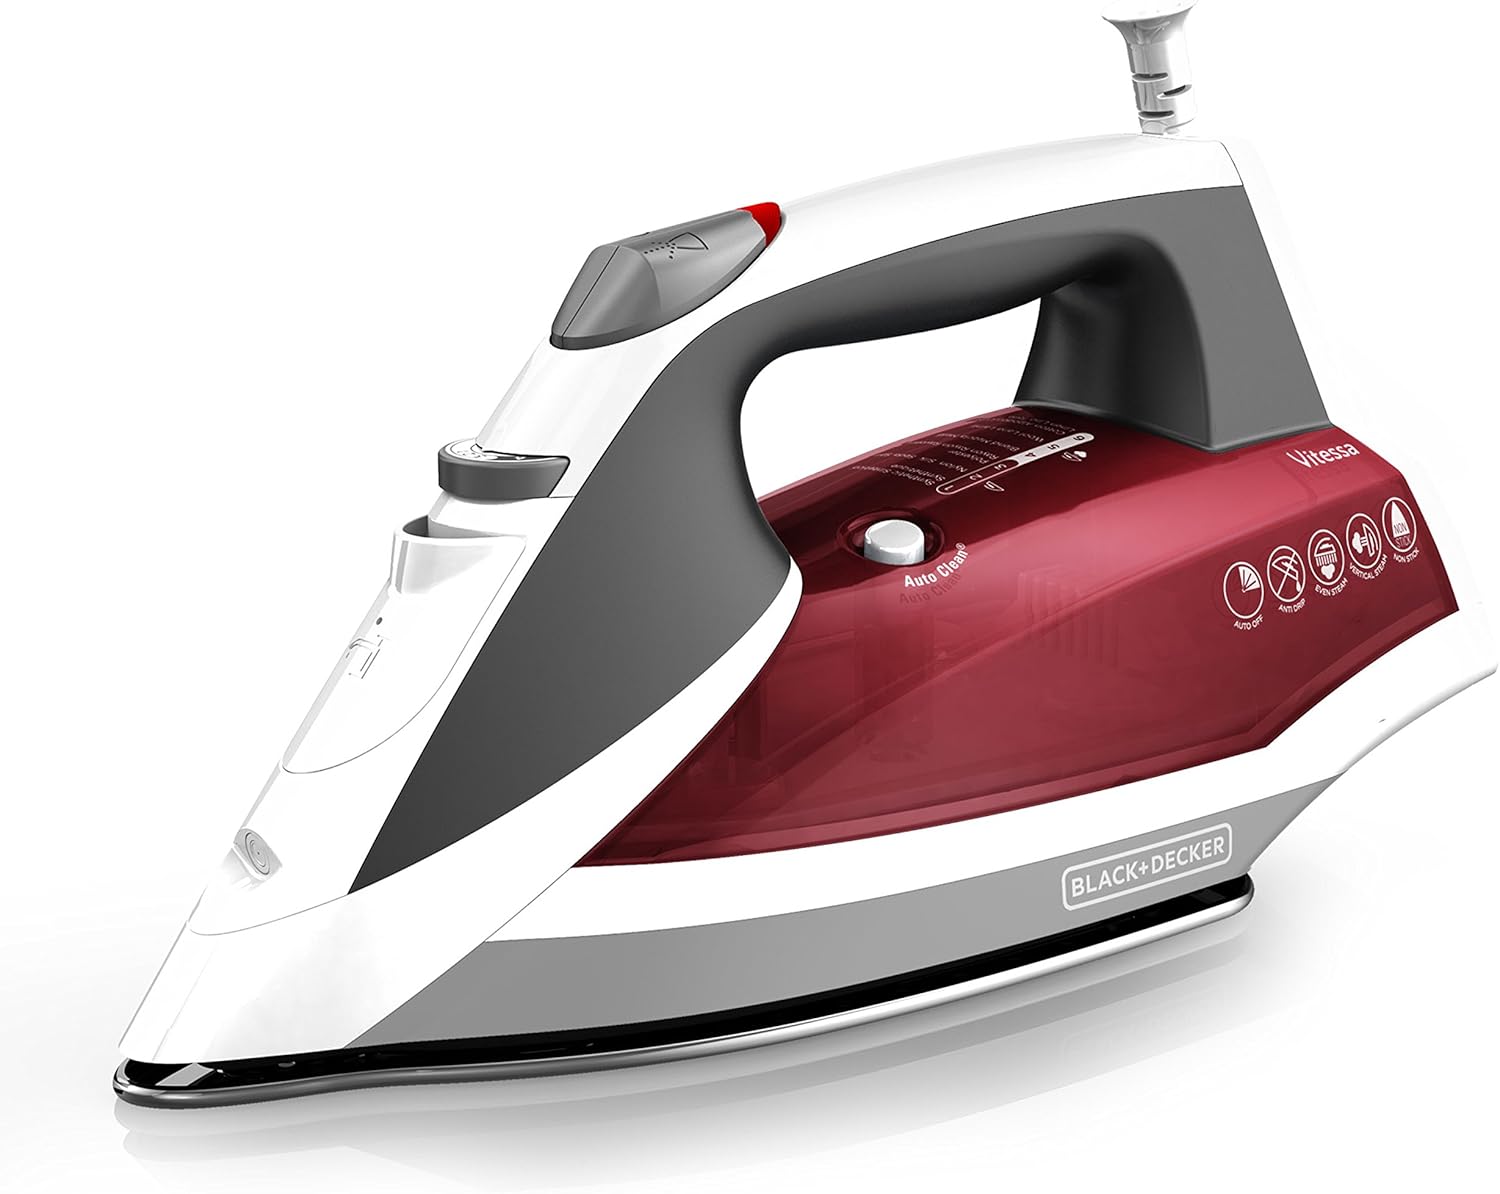
Image 1: The BLACK+DECKER Vitessa Advanced Steam Iron IR2050, showcasing its sleek design and ergonomic handle.
2. Important Safety Information
Always follow basic safety precautions when using electrical appliances to reduce the risk of fire, electric shock, and personal injury. Read all instructions before use.
- Use the iron only for its intended purpose.
- To protect against electric shock, do not immerse the iron in water or other liquids.
- Always turn the iron OFF before plugging or unplugging from the outlet. Never yank the cord to disconnect; instead, grasp the plug and pull to disconnect.
- Do not allow the cord to touch hot surfaces. Let the iron cool completely before putting away.
- Always disconnect the iron from the electrical outlet when filling with water or emptying, and when not in use.
- Do not operate the iron with a damaged cord or if the iron has been dropped or damaged.
- To avoid a circuit overload, do not operate another high-wattage appliance on the same circuit.
- Do not use outdoors.
- Do not leave the iron unattended while connected or on an ironing board.
- Keep out of reach of children.
3. Product Features
The BLACK+DECKER Vitessa Advanced Steam Iron IR2050 is equipped with several features designed to simplify your ironing tasks:
- Even Steam Soleplate Design: The advanced soleplate is engineered to produce consistent steam flow from heel to tip for fast, professional results.
- SmartSteam Technology: This feature automatically optimizes the amount of steam based on the temperature you select, eliminating guesswork.
- Auto Clean System: Maintain peak performance by regularly using the Auto Clean system, which flushes out mineral deposits.
- Automatic Shutoff: For added peace of mind, the iron automatically shuts off when left unattended for 30 seconds on its side or soleplate, and after 8 minutes on the heel rest.

Image 2: Close-up of the iron highlighting SmartSteam Technology, which automatically adjusts steam based on fabric settings.

Image 3: The iron's Anti-Drip and 3-Way Auto Shutoff features, ensuring safety and preventing water stains.
4. Getting Started (Setup)
Before first use, remove all labels, tags, and stickers from the iron body and soleplate. It is recommended to save the instruction manual for future reference.
4.1 Filling Water Tank
- With the iron unplugged, rest it on a flat surface with the soleplate down or tilted at a 45-degree angle.
- Open the water fill cover (2).
- Using a clean measuring cup, pour water into the opening until the water reaches the MAX level (14) on the side of the water tank (11). Do not overfill.
- Close the water fill cover securely.
Note: This iron can be filled with ordinary tap water. If your water is hard or soft, you may want to use distilled water. Do not use water processed through a home softening system.
4.2 Initial Heating
- Stand the iron on its heel rest (9).
- Plug the iron into a polarized 120V AC electrical outlet. The power indicator light (6) will illuminate and you will hear a beep for about 1 second.
- Press the fabric select dial (10) to select your desired fabric. The light will blink and the iron starts heating. Once the iron reaches the temperature, the light stays on and the power indicator light shuts off.
Note: For maximum performance, allow the iron to stand on the heel rest for two minutes before beginning to iron.
Product Demonstration Video
Video 1: A brief product demonstration of the BLACK+DECKER Vitessa Advanced Steam Iron, showing its features and basic operation.
5. Operating Instructions
5.1 Selecting Fabric Temperature
- Read fabric labels to determine the fabric type.
- If the fabric is a blend, test a small area on the inside seam or hem before proceeding to iron the entire garment.
- When ironing a garment with mixed fabrics, select the fabric setting for the most delicate fabric. For example, when ironing a shirt that is 65% cotton and 35% polyester, use the polyester setting.
- Press the fabric select dial (10) to select your desired fabric setting.
Whenever the temperature setting is changed to a higher or lower temperature, allow the iron to stand a minute or so to allow the iron to heat up or cool down. Test the garment by pressing a small hidden area to make sure the temperature is just right.
Important: Always iron on its heel rest when powered on but not in use.
5.2 Dry Ironing
Ironing without steam (dry ironing) can be performed at any setting.
- If not necessary to empty the water tank, simply move the variable steam selector (3) to the NO STEAM position.
- Select the desired setting referring to the fabric temperature suggestions.
5.3 Steam Ironing
- Select the desired fabric setting on the fabric select dial (10).
- Stand the iron on its heel rest (9) and allow it to cool.
Important: Always iron on its heel rest when powered on but not in use.
5.4 Variable Steam Ironing
This iron allows for using the Surge of Steam at settings 3 (Cotton Blend / Wool) and 4 (Cotton / Linen). Push the steam selector (3) to select the amount of steam desired; this will help remove set-in creases and wrinkles.
5.5 Burst Steam (Steam Shot)
Use the iron in the vertical and horizontal position. Press the steam button (4) to generate a burst of steam. For best performance, leave an interval of several seconds between bursts.
5.6 Spray Mist
Note: Only use this function at setting 4 (Cotton/Linen). Use only during the setting a red/orange light stays on, not blinking time.
- Press the spray button (5) to generate a spray of water. The water spray can be used with dry or steam ironing as desired.
Tip: Use to dampen tough wrinkles and creases at any setting.

Image 4: The iron being used vertically to steam a garment, ideal for quick touch-ups.
6. Care and Cleaning
This product contains no user serviceable parts. Refer service to qualified service personnel.
6.1 Cleaning Outside Surfaces
- Make sure the iron is unplugged and has cooled completely.
- Wipe the soleplate and outer surfaces with a soft cloth dampened with water. Add household detergent. Never use abrasives, heavy-duty cleaners, vinegar, or scouring pads that may scratch or discolor the iron.
- After cleaning, steam iron over an old cloth to remove any residue from the steam vents.
6.2 Auto Clean System
To keep the steam vents free of any buildup, follow these instructions about once a month:
- Fill the water tank (11) below the MAX line (14). Plug in the iron.
- Select fabric setting 3 on the fabric select dial (10) and stand the iron on its heel rest (9).
- Wait 2 minutes for the iron to heat fully, then unplug the iron.
- Hold the iron over a sink with the soleplate facing down.
- Press the Auto Clean button (12).
- Continue to hold the Auto Clean button until all the water has emptied.
- If necessary, move the iron side-to-side and front-to-back.
- When finished, rest the iron on its heel rest (9) and unplug it. Allow to cool for about 2 minutes to dry out any remaining water.

Image 5: The Auto Clean button, used for maintaining the iron's steam performance.
6.3 Storing Your Iron
- Unplug the iron and allow it to cool.
- Check that the fabric select dial (10) is set to the minimum setting and that the variable steam selector (3) is set to dry.
- Store vertically on its heel rest (9) to prevent water leaking from the soleplate.
7. Troubleshooting
If your iron is not functioning properly, consult the table below for common issues and solutions:
| Problem | Possible Cause | Solution |
|---|---|---|
| Iron does not heat. | Iron is not plugged in or not receiving power. | Plug the iron into a working outlet. Check circuit breaker. |
| Iron leaks water. | Water tank overfilled; temperature too low for steam; steam selector set incorrectly. | Do not overfill. Increase temperature setting. Ensure steam selector is not on steam for low temperatures. |
| No steam or insufficient steam. | Water tank empty; steam vents clogged; temperature too low for steam. | Fill water tank. Perform Auto Clean. Increase temperature setting. |
| Iron shuts off unexpectedly. | Automatic Shutoff feature activated. | This is a safety feature. Move the iron to reactivate heating. |
8. Specifications
- Brand: BLACK+DECKER
- Model Name: IR2050
- Special Feature: Auto Shutoff, Lightweight
- Color: Red
- Product Dimensions: 13"L x 12.5"W
- Item Weight: 2.5 pounds
- Base Material: Stainless Steel
- Recommended Uses: Wrinkles
- Included Components: Iron
- Assembly Required: No
- Batteries Required: No
- UPC: 050875816398

Image 6: Visual representation of the iron's dimensions (13 inches long, 6.3 inches high).
9. Warranty and Support
This BLACK+DECKER Vitessa Advanced Steam Iron, model IR2050, comes with a 2-year limited warranty. For warranty claims, technical support, or service inquiries, please refer to the contact information provided in your product packaging or visit the official BLACK+DECKER website.
10. Parts Diagram
Refer to the diagram below for an overview of the iron's components:

Image 7: Detailed diagram illustrating the various parts of the BLACK+DECKER Vitessa Advanced Steam Iron.
- Spray Nozzle
- Water Fill Cover
- Variable Steam Selector
- Steam Button
- Spray Button
- Power Indicator Light
- Comfort Grip Handle
- 360° Pivoting Cord
- Heel Rest
- Fabric Select Dial
- Water Tank
- Auto Clean Button
- Soleplate
- Max Fill Line