1. Introduction
Welcome to the Azumi L2Z Smartphone instruction manual. This guide provides essential information to help you set up, operate, maintain, and troubleshoot your device. Please read this manual carefully to ensure proper use and to maximize the functionality of your Azumi L2Z.
The Azumi L2Z is a compact mobile phone designed for essential communication, featuring a 1.7-inch QQVGA display, a Spreadtrum SC6531DA processor, and a 0.3-megapixel rear camera with LED flash.
2. Product Overview
Familiarize yourself with the physical components of your Azumi L2Z Smartphone.
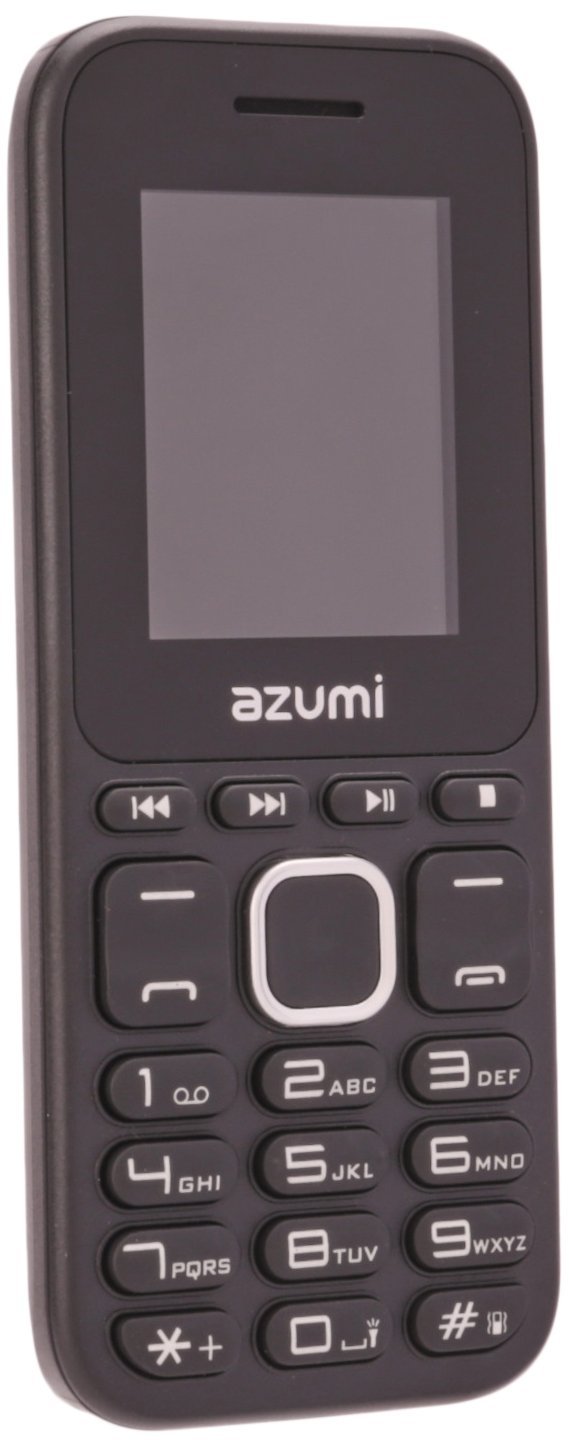
Figure 2.1: Front View. This image displays the front of the Azumi L2Z Smartphone, showing its 1.7-inch QQVGA display, physical keypad, and the Azumi brand logo below the screen. The screen shows "Insert SIM" and a clock.

Figure 2.2: Back View. This image shows the rear of the Azumi L2Z Smartphone, featuring the 0.3-megapixel camera lens, LED flash, speaker grille, Azumi brand logo, and the Telcel carrier logo at the bottom.

Figure 2.3: Side View. This image presents a profile view of the Azumi L2Z Smartphone, highlighting its slim design and the texture of its casing.
Key Features:
- 1.7-inch QQVGA Display (128x160 pixels)
- Spreadtrum SC6531DA Processor
- 0.3 Megapixel Rear Camera with LED Flash
- Bluetooth Connectivity
- Micro SD Card Slot (expandable up to 16GB, card not included)
- GSM, LTE, Wi-Fi Network Technology
3. Setup
3.1. Inserting the SIM Card
- Power off the device completely.
- Remove the back cover and battery.
- Locate the SIM card slot.
- Insert your SIM card into the designated slot with the gold contacts facing down, ensuring it clicks into place.
- Replace the battery and back cover.
3.2. Inserting a Micro SD Card (Optional)
- Follow steps 1 and 2 from "Inserting the SIM Card".
- Locate the Micro SD card slot, usually adjacent to the SIM card slot.
- Insert the Micro SD card with the gold contacts facing down until it is securely in place.
- Replace the battery and back cover.
3.3. Charging the Battery
- Connect the charger to the charging port on your phone.
- Plug the charger into a power outlet.
- The battery indicator on the screen will show charging status.
- Once fully charged, disconnect the charger.
3.4. Powering On/Off
- To Power On: Press and hold the Power/End Call button until the screen lights up.
- To Power Off: Press and hold the Power/End Call button until the power options appear, then select "Power off".
4. Operating Instructions
4.1. Basic Navigation
- Use the directional keys (up, down, left, right) to navigate through menus.
- Press the center key (OK/Select) to confirm selections.
- Use the left and right soft keys for context-sensitive options displayed on the screen.
- Press the End Call button to return to the home screen or cancel an action.
4.2. Making and Receiving Calls
- To Make a Call: Enter the phone number using the keypad and press the Call button (green).
- To Answer a Call: When the phone rings, press the Call button (green).
- To End a Call: Press the End Call button (red).
4.3. Sending and Receiving Messages
- Navigate to the "Messages" menu.
- Select "New Message" to compose an SMS.
- Enter the recipient's number and your message.
- Press "Send".
- Received messages will appear in your inbox.
4.4. Using the Camera
- From the main menu, select "Camera".
- Frame your shot using the display.
- Press the center key (OK/Select) to capture a photo.
- Photos are saved to the phone's memory or the inserted Micro SD card.
4.5. Bluetooth Connectivity
- Go to "Settings" > "Connectivity" > "Bluetooth".
- Turn Bluetooth "On".
- Select "Search for devices" to find nearby Bluetooth devices.
- Select the desired device and follow the on-screen prompts to pair.
5. Maintenance
5.1. Cleaning the Device
- Use a soft, dry cloth to wipe the screen and body of the phone.
- Avoid using liquid cleaners, aerosols, or abrasive materials.
5.2. Battery Care
- Do not expose the battery to extreme temperatures.
- Use only the original or approved charger.
- Avoid overcharging or completely draining the battery frequently.
5.3. Software Updates
Periodically check for available software updates in the phone's settings menu to ensure optimal performance and security. Follow on-screen instructions for any updates.
6. Troubleshooting
If you encounter issues with your Azumi L2Z, refer to the following common problems and solutions:
6.1. Phone Does Not Turn On
- Ensure the battery is charged. Connect the charger and wait a few minutes before attempting to power on.
- Verify the battery is correctly inserted.
6.2. No Network Signal
- Check if the SIM card is properly inserted.
- Ensure you are in an area with network coverage.
- Restart the phone.
6.3. Cannot Make or Receive Calls
- Verify that you have sufficient credit or an active plan with your service provider.
- Check network signal strength.
- Ensure call barring or flight mode is not activated.
6.4. Bluetooth Pairing Issues
- Ensure both devices have Bluetooth enabled and are within range.
- Make sure the other device is in pairing mode.
- Restart both devices and try pairing again.
7. Specifications
| Feature | Description |
|---|---|
| Model Name | L2Z |
| Display Size | 1.7 Inches QQVGA (128x160 pixels) |
| Processor | Spreadtrum SC6531DA |
| Rear Camera | 0.3 Megapixels with LED Flash |
| Internal Storage | Not specified, but typically minimal for feature phones. |
| Expandable Memory | Micro SD up to 16GB (card not included) |
| Connectivity | Bluetooth, GSM, LTE, Wi-Fi |
| Operating System | Android (as per specifications, though typically a feature phone OS for this model) |
| Dimensions | 11.2 x 4.7 x 1.3 centimeters |
| Color | Black |
8. Warranty and Support
For warranty information, please refer to the warranty card included with your product packaging or contact your point of purchase. Azumi provides customer support for product inquiries and technical assistance.
For further assistance, please visit the official Azumi website or contact their customer service department. Keep your purchase receipt and product serial number handy when seeking support.