Product Overview
The CiT F3 is a Micro-ATX tower PC case designed for gaming systems. It features a plastic top cover and mesh steel front and top panels for enhanced cooling. The case includes two pre-installed 120mm green LED fans for efficient airflow. Conveniently located I/O ports on the top front panel provide easy access to two USB 2.0 ports, one USB 3.0 port, HD Audio jacks (headphone and microphone), and a built-in SD/TF card reader. The case also boasts a stylish side window and a black finish with green accents.
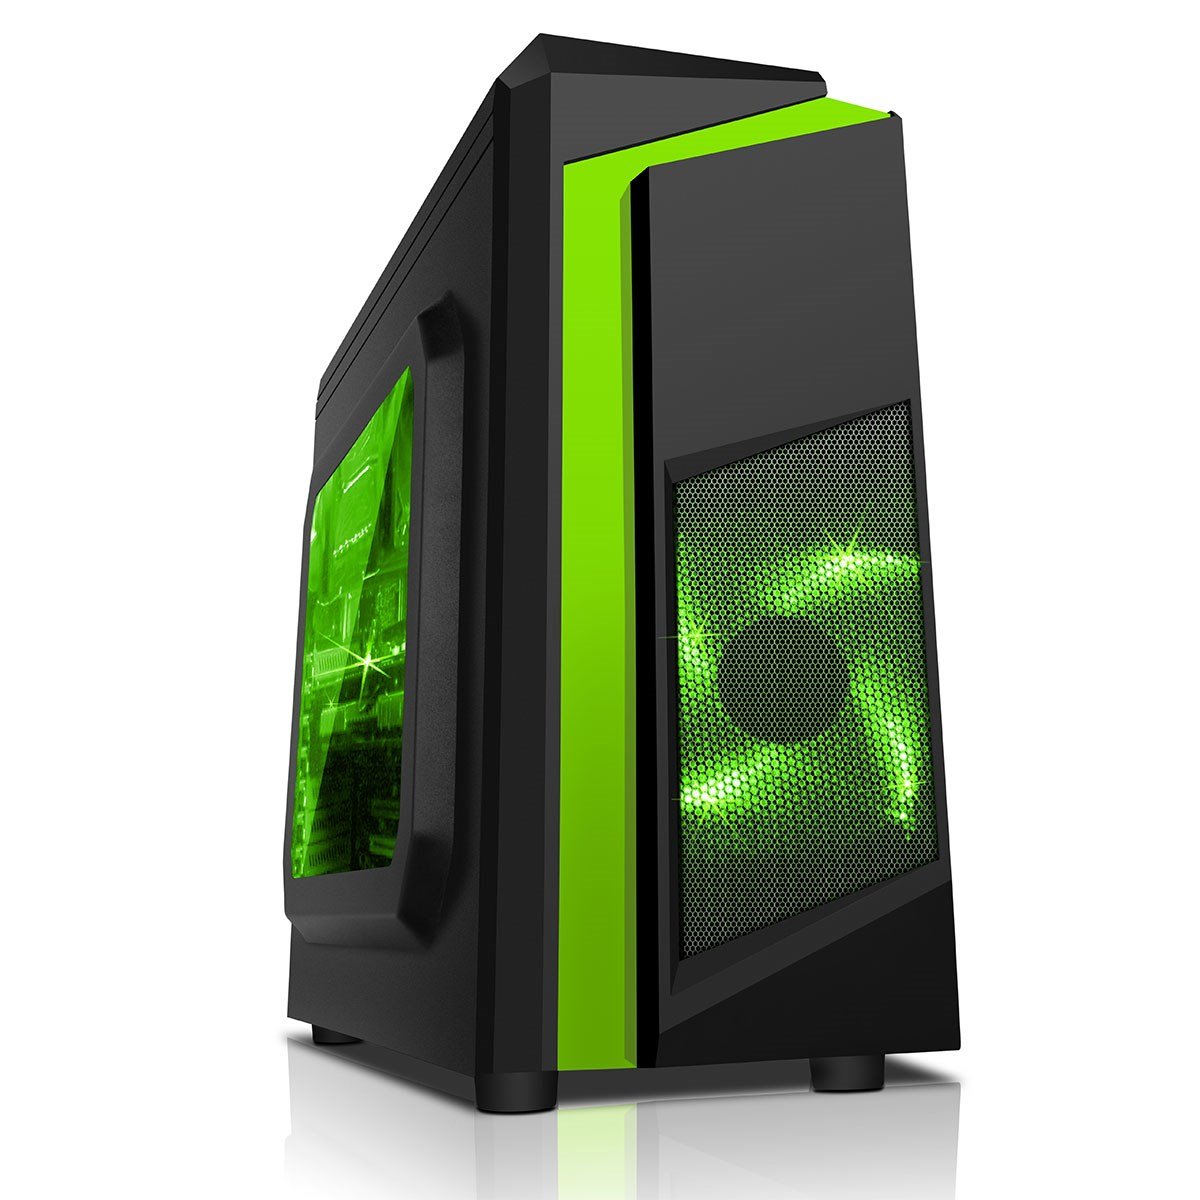
Front and side view of the CiT F3 Micro-ATX PC Gaming Case, showcasing its compact design and side panel window.
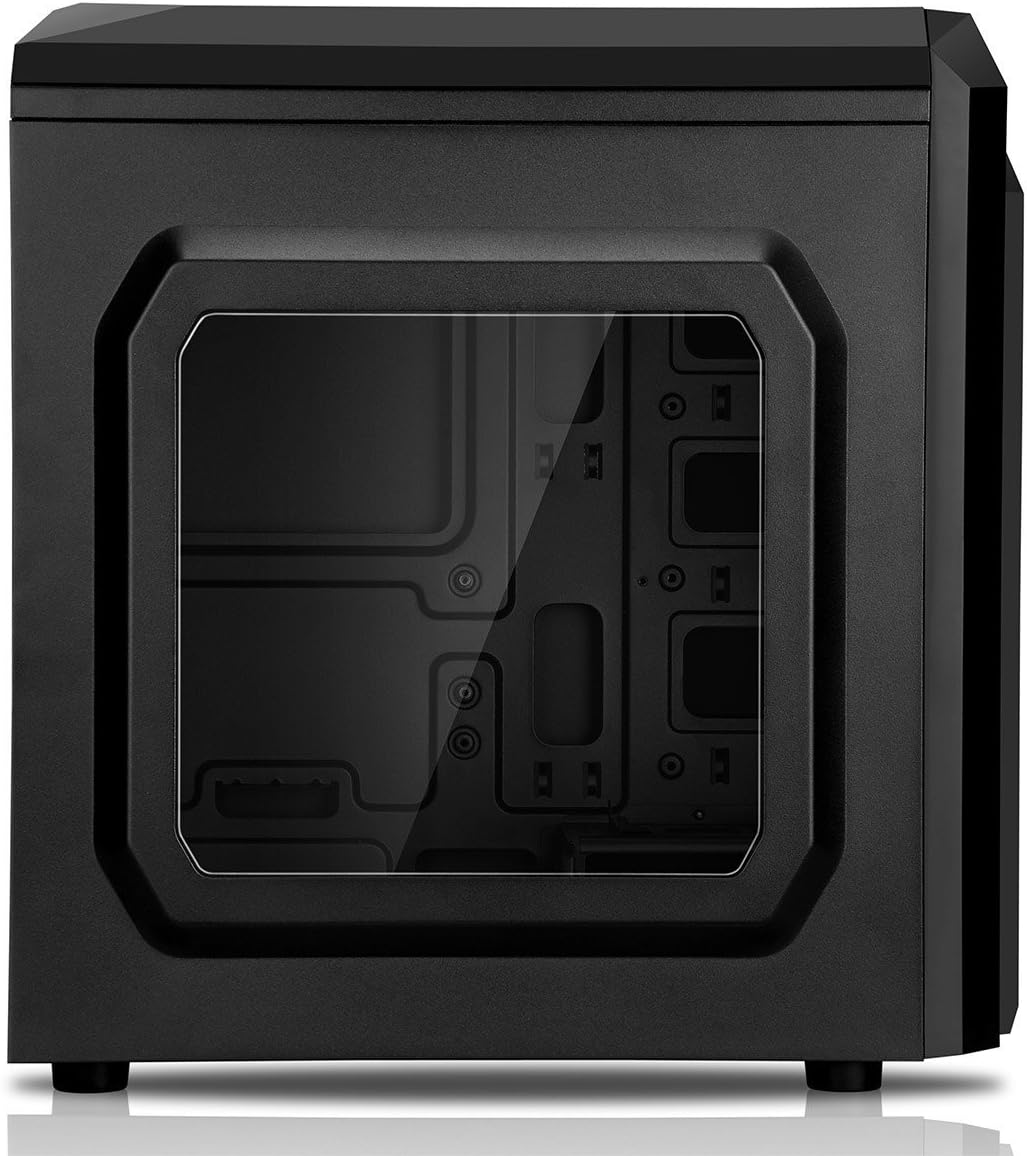
Detailed view of the CiT F3 Micro-ATX PC Gaming Case's side panel, featuring a clear window to display internal components.
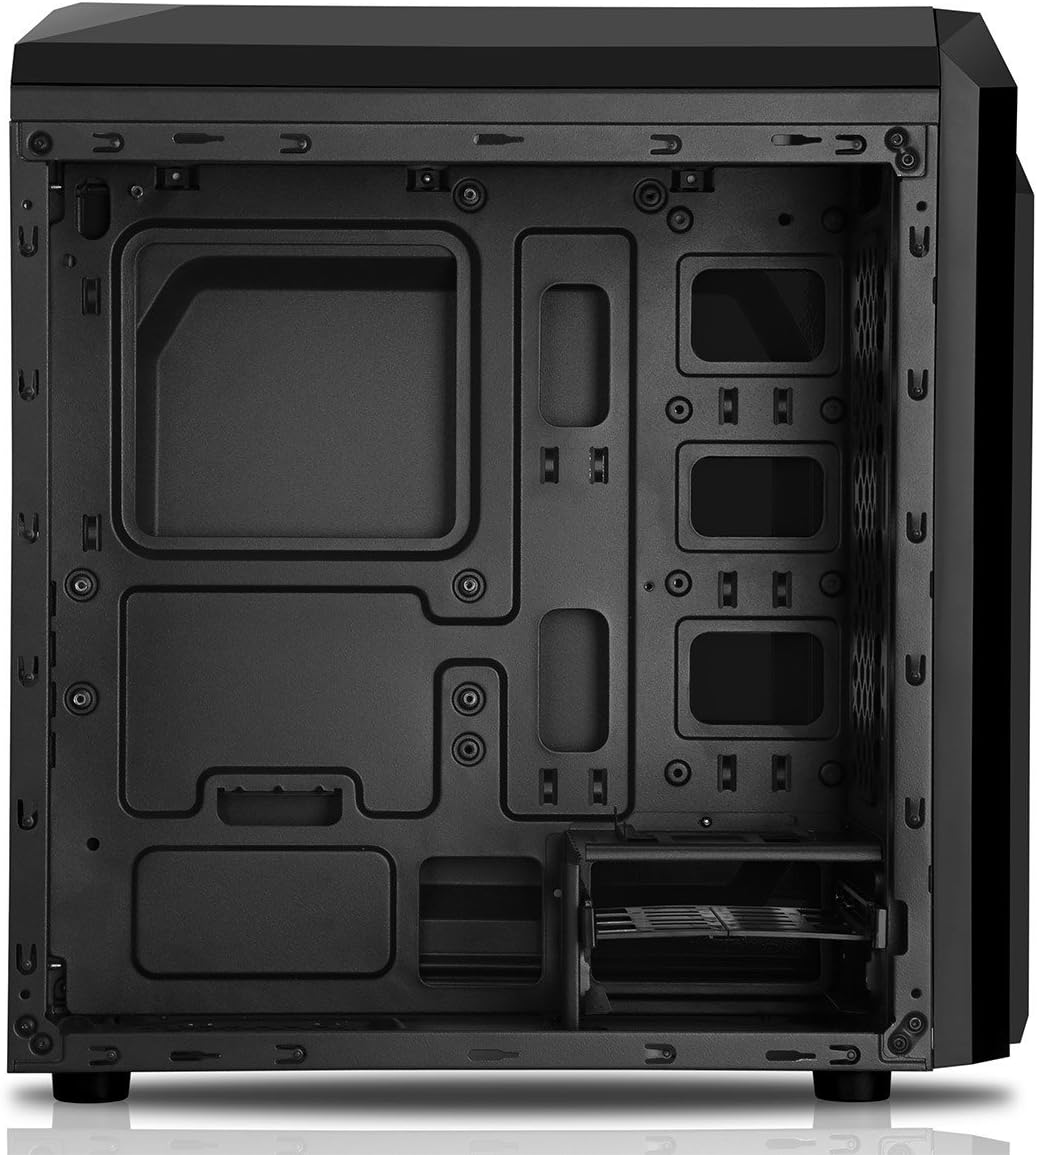
Interior layout of the CiT F3 Micro-ATX PC Gaming Case, highlighting motherboard mounting points, drive bays, and cable management cutouts.
Package Contents
Please check the package contents carefully. If any items are missing or damaged, contact your retailer.
- CiT F3 Micro-ATX PC Gaming Case
- Accessory kit (screws, standoffs, cable ties)
- User Manual (this document)
Specifications
| Brand | CiT |
| Series | F3 |
| Model Number | CIT-F3BLACKGREEN |
| Motherboard Compatibility | Micro ATX |
| Case Type | Midi Tower |
| Dimensions (LxWxH) | 14.41 x 8.19 x 16.22 inches |
| Item Weight | 8.58 pounds |
| Material | Alloy Steel |
| Color | Black/Green Stripe |
| Front I/O Ports | 2x USB 2.0, 1x USB 3.0, HD Audio, 1x Card Reader (SD/TF) |
| Included Fans | 2x 120mm Green LED Fans |
| Cooling Method | Air |
| Power Supply Mounting Type | Bottom Mount |
Setup Instructions
1. Preparing the Case
Unpack the CiT F3 case and place it on a stable, flat surface. Remove the side panels by unscrewing the thumbscrews at the rear of the case and sliding the panels backward.
2. Motherboard Installation
Install the necessary motherboard standoffs onto the motherboard tray according to your Micro-ATX motherboard's screw hole pattern. Carefully place your motherboard onto the standoffs and secure it with screws.
Interior view of the CiT F3 case, showing the motherboard tray with pre-drilled holes for standoffs and cable management cutouts.
3. Power Supply Unit (PSU) Installation
Mount your power supply unit at the bottom rear of the case. Secure it with screws from the rear of the case. Ensure the PSU fan faces downwards if there is a filtered vent on the bottom of the case, or upwards if not.
4. Drive Installation
2.5" SSD/HDD Installation
Locate the 2.5" drive mounting points (typically on the motherboard tray or behind it). Secure your SSDs or 2.5" HDDs using the provided screws.
3.5" HDD Installation
Install 3.5" hard drives into the designated drive cages, usually located at the bottom front of the case. Slide the drives into the bays and secure them with screws or tool-less mechanisms if available.
5. Expansion Card Installation
Remove the necessary PCI-E slot covers from the rear of the case. Insert your graphics card or other expansion cards into the motherboard's PCI-E slots and secure them with screws.
6. Cable Management
Route power cables from the PSU and data cables from drives through the cable management cutouts behind the motherboard tray. Use cable ties to organize and secure cables, ensuring optimal airflow and a clean interior.
7. Front Panel Connections
Connect the front panel cables (USB 2.0, USB 3.0, HD Audio, Power Switch, Reset Switch, Power LED, HDD LED, Card Reader) to their corresponding headers on your motherboard. Refer to your motherboard manual for exact header locations.
Operation
Powering On
After all components are installed and connected, replace the side panels. Connect your monitor, keyboard, mouse, and power cable to the PC. Press the power button located on the top front panel to start your system.
I/O Port Usage
The top front panel provides convenient access to two USB 2.0 ports, one USB 3.0 port, HD Audio jacks (headphone and microphone), and an SD/TF card reader for connecting peripherals and transferring data.
Fan Operation
The pre-installed 120mm green LED fans provide airflow to cool your internal components. These fans operate continuously when the system is powered on.
Maintenance
Dust Cleaning
Regularly clean the dust filters (if present) and interior of the case to maintain optimal airflow and prevent overheating. Use compressed air to remove dust from fans and components. Ensure the system is powered off and unplugged before cleaning.
Exterior Cleaning
Wipe the exterior surfaces of the case with a soft, damp cloth. Avoid abrasive cleaners or solvents that could damage the finish.
Troubleshooting
System Does Not Power On
- Verify that the power supply is properly connected to the wall outlet and the PSU switch is in the 'ON' position.
- Check all internal power connections, especially the 24-pin ATX power connector and the CPU power connector on the motherboard.
- Ensure the front panel power switch cable is correctly connected to the motherboard header.
Fans Not Spinning
- Confirm that the fan power cables are securely connected to the motherboard or a fan controller.
- Check motherboard BIOS settings to ensure fan headers are enabled and configured correctly.
USB Ports Not Functioning
- Verify that the front panel USB 2.0 and USB 3.0 cables are correctly connected to their respective headers on the motherboard.
- Ensure motherboard drivers are installed.
Warranty and Support
For warranty information or technical support, please refer to the manufacturer's official website or contact their customer service department. Keep your proof of purchase for warranty claims.