1. Product Overview
The CiT F3 is a Micro-ATX tower PC gaming case designed for compact system builds. It features a robust construction with a focus on airflow and component visibility. This case is compatible exclusively with Micro-ATX and Mini-ITX motherboards.
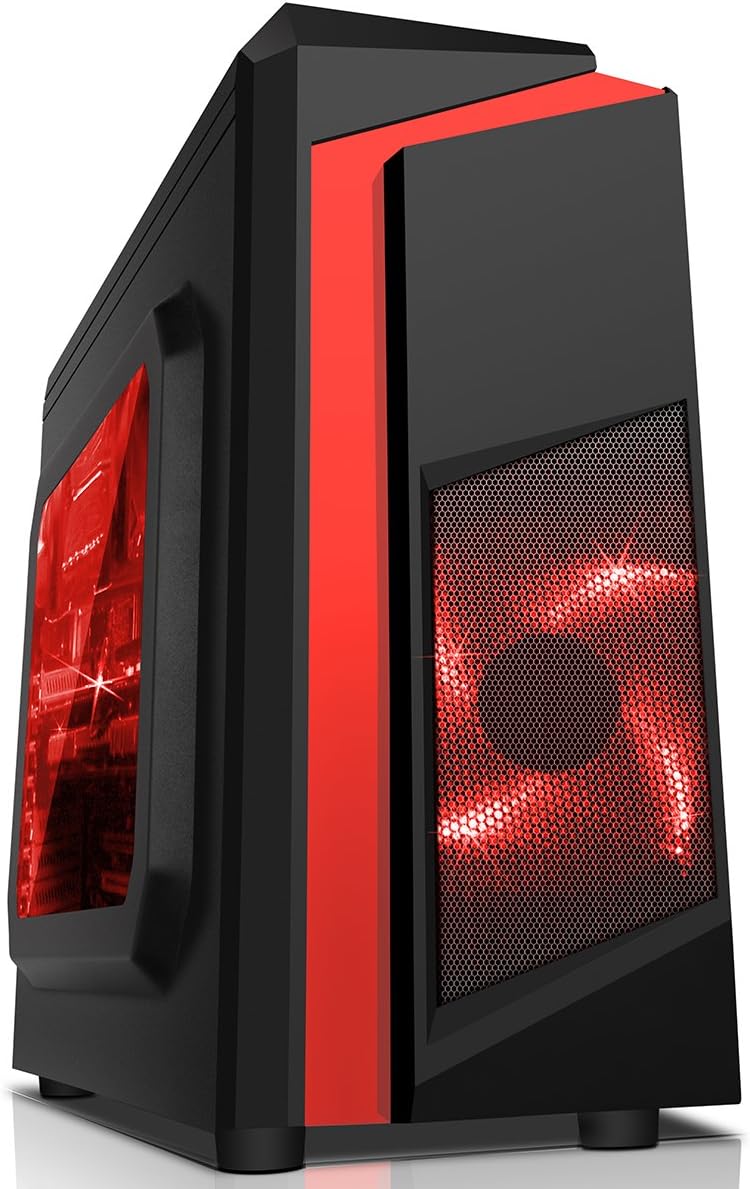
Figure 1: CiT F3 Micro-ATX PC Gaming Case (Red variant).
Key Features:
- Motherboard Support: Micro-ATX and Mini-ITX.
- Cooling: Mesh steel front and top panels for enhanced airflow. Supports up to 4 cooling fans. Includes 2x 120mm Red LED fans (one front, one rear).
- Storage: Multiple drive bays for 2.5-inch and 3.5-inch drives.
- Connectivity: Top-mounted I/O panel with USB 3.0, USB 2.0, HD Audio, and an integrated SD/TF card reader.
- Visibility: Transparent side window to showcase internal components.

Figure 2: Front and side view illustrating mesh panel for airflow and side window.

Figure 3: Top I/O panel with USB ports, audio jacks, and card reader.
2. Setup and Installation
Follow these steps for proper installation of your PC components into the CiT F3 case.
2.1 Preparing the Case
- Place the case on a stable, flat surface.
- Remove the side panels by unscrewing the thumbscrews at the rear of the case and sliding the panels backward.
2.2 Motherboard Installation
The CiT F3 case supports Micro-ATX and Mini-ITX motherboards only. Ensure your motherboard is compatible before proceeding.
- Install the I/O shield provided with your motherboard into the rear opening of the case.
- Align your Micro-ATX or Mini-ITX motherboard with the pre-installed standoffs inside the case.
- Secure the motherboard using the appropriate screws. Do not overtighten.

Figure 4: Interior view of the case, illustrating the motherboard mounting area.
2.3 Power Supply Installation
The power supply unit (PSU) is mounted at the rear bottom of the case.
- Position the PSU in the designated bay at the bottom rear of the case, ensuring the fan faces downwards (if the case has a bottom vent) or upwards.
- Secure the PSU to the case using screws from the rear.

Figure 5: Rear view of the case, showing the power supply mounting area at the bottom.
2.4 Drive Installation
The case provides flexible storage options for both 2.5-inch and 3.5-inch drives.
- 2.5-inch Drives: Up to 4 x 2.5-inch drives can be installed.
- 3.5-inch Drives: Up to 2 x 3.5-inch drives can be installed.
Locate the appropriate drive bays and secure your SSDs or HDDs using the provided screws or tool-less mechanisms if available.

Figure 6: Internal view showing locations for 2.5-inch and 3.5-inch drives.
2.5 Fan Installation
The case supports up to 4 fans. Two 120mm Red LED fans are pre-installed (one at the front, one at the rear).
- If installing additional fans, ensure they are 120mm in size.
- Mount fans in designated locations (e.g., top, front, rear) using fan screws.
- Connect fan power cables to your motherboard or power supply.
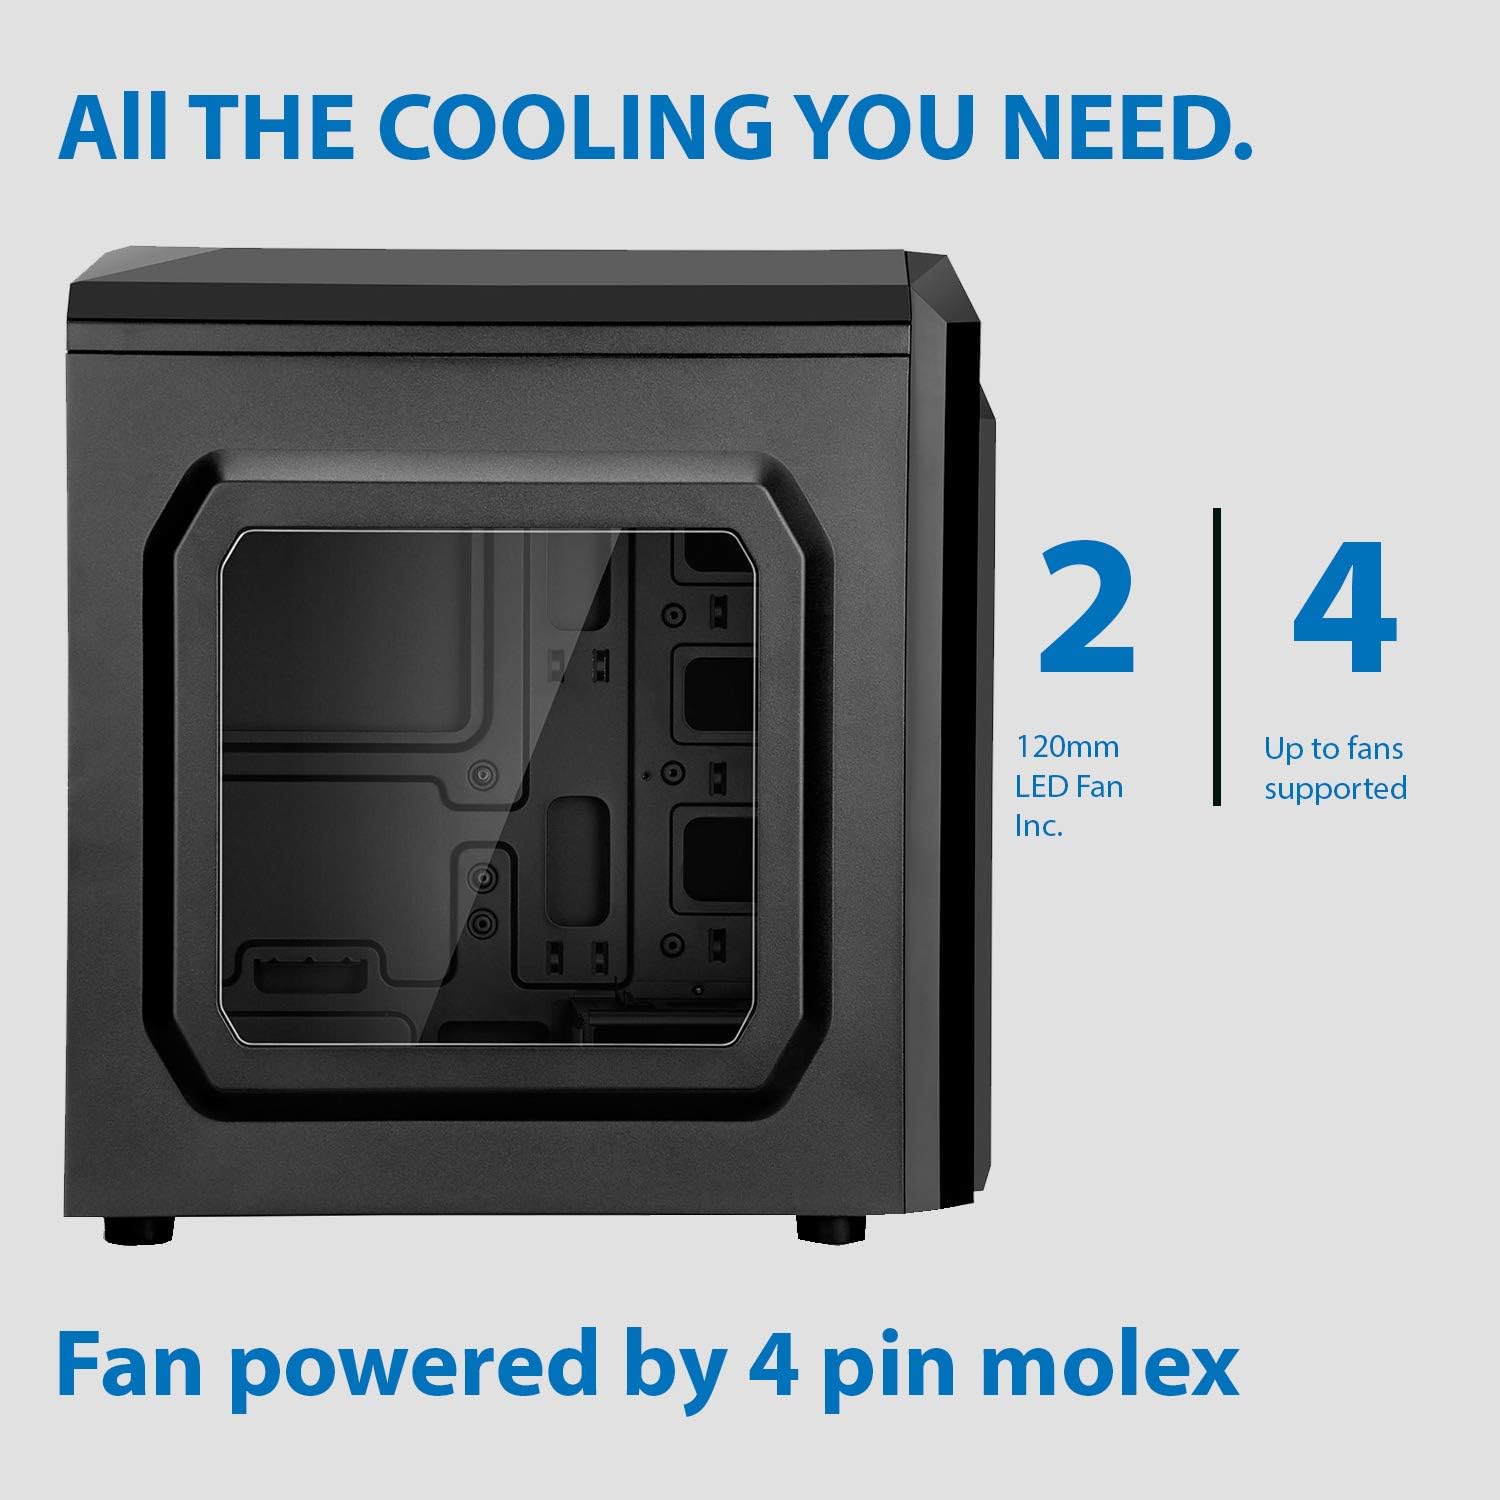
Figure 7: Illustration of fan support and included fans.
2.6 Connecting Front Panel I/O
Connect the front panel cables (USB, HD Audio, Power, Reset, LED indicators) to the corresponding headers on your motherboard. Refer to your motherboard manual for exact pin layouts.
3. Operating Instructions
Once all components are installed and connected, you can begin operating your PC.
3.1 Power On/Off
- Press the power button located on the top I/O panel to turn on your computer.
- To turn off, use the operating system's shutdown function. A short press of the power button may initiate a soft shutdown, while a long press (several seconds) will force a hard shutdown.
3.2 Using Front Panel Ports
- USB 3.0 Port: Connect high-speed USB devices for fast data transfer.
- USB 2.0 Ports: Connect standard USB devices such as keyboards, mice, or external storage.
- HD Audio Jacks: Connect headphones, microphones, or speakers.
- SD/TF Card Reader: Insert SD or TF (MicroSD) cards for data access.
4. Maintenance
Regular maintenance helps ensure optimal performance and longevity of your PC components.
4.1 Dust Management
- Periodically clean the mesh front and top panels to prevent dust buildup, which can restrict airflow. Use a soft brush or compressed air.
- Open the side panel and use compressed air to remove dust from internal components, especially CPU coolers, GPU fans, and power supply.
4.2 Cleaning the Side Window
Use a soft, lint-free cloth and a mild, non-abrasive cleaner (or just water) to clean the transparent side window. Avoid harsh chemicals that could scratch or damage the acrylic/tempered glass.
5. Troubleshooting
If you encounter issues, review the following common troubleshooting steps.
5.1 No Power
- Ensure the power supply is switched on and properly connected to a power outlet.
- Verify all power cables from the PSU are correctly connected to the motherboard and components.
- Check that the front panel power button cable is correctly connected to the motherboard's power header.
5.2 Fans Not Spinning
- Confirm that fan power cables are securely connected to the motherboard fan headers or directly to the power supply.
- Check BIOS/UEFI settings to ensure fan control is not set to a mode that prevents spinning at low temperatures.
5.3 Front Panel I/O Not Working
- Ensure all front panel cables (USB, HD Audio, Card Reader) are correctly connected to the corresponding headers on your motherboard.
- Refer to your motherboard manual for correct pin assignments for each header.
6. Specifications
Detailed technical specifications for the CiT F3 Micro-ATX PC Gaming Case.
| Feature | Specification |
|---|---|
| Brand | CiT |
| Model Name | F3 |
| Case Type | Micro-ATX Tower |
| Motherboard Compatibility | Micro ATX, Mini ITX |
| Material | Alloy Steel, Plastic |
| Color (Variant) | Black/Red Stripe |
| Cooling Method | Air |
| Included Fans | 2 x 120mm Red LED Fans (1 front, 1 rear) |
| Max Fan Support | 4 x 120mm Fans |
| Internal Drive Bays | 2 x 3.5-inch, 4 x 2.5-inch |
| Front I/O Ports | 1 x USB 3.0, 2 x USB 2.0, HD Audio (Mic/Headphone), 1 x SD/TF Card Reader |
| Power Supply Mounting | Rear Mount |
| Special Features | Built-In LED Fans, Side Window |
| Dimensions (L x W x H) | 434 x 200 x 458 mm (Approximate, based on product box) |

Figure 8: Product packaging with specifications.
7. Warranty and Support
For warranty information and technical support, please contact your retailer or the manufacturer directly. Keep your proof of purchase for warranty claims.
Manufacturer: CiT