
1. Introduction
Thank you for choosing the BOYO VISION VTS40 3rd Brake Light Replacement Camera. This product is specifically designed for Mercedes Sprinter Vans to provide a reliable and clear rear-view image, enhancing safety during reversing and parking maneuvers. This manual provides essential information for the proper installation, operation, and maintenance of your new camera. Please read this manual thoroughly before installation and keep it for future reference.
2. Safety Information
- Professional Installation Recommended: Installation of this camera system may require electrical and automotive knowledge. It is highly recommended that installation be performed by a qualified professional to ensure proper function and prevent damage to the vehicle or product.
- Disconnect Power: Always disconnect the vehicle's battery before beginning any electrical installation to prevent short circuits or electrical shock.
- Wiring: Ensure all wiring is routed safely, away from moving parts, sharp edges, and heat sources. Use appropriate connectors and insulation.
- Vehicle Compatibility: This camera is designed specifically for Mercedes Sprinter Vans. Using it on other vehicle types may result in improper fit or function.
- Operating Temperature: Do not expose the camera to temperatures outside its specified operating range.
- Waterproof Rating: The camera has an IP68 waterproof rating, meaning it is protected against dust and immersion in water. However, avoid high-pressure washing directly on the camera lens.
3. Package Contents
Please check the package contents to ensure all items are present:
- BOYO VISION VTS40 3rd Brake Light Replacement Camera
- Video Cable (RCA type)
- Power Cable
- Mounting Hardware (if applicable)
- User Manual (this document)
4. Product Overview
The BOYO VISION VTS40 is a high-quality replacement camera integrated into a 3rd brake light housing, designed to seamlessly replace the original brake light on Mercedes Sprinter Vans. It features a wide 120° viewing angle to provide comprehensive rear visibility.
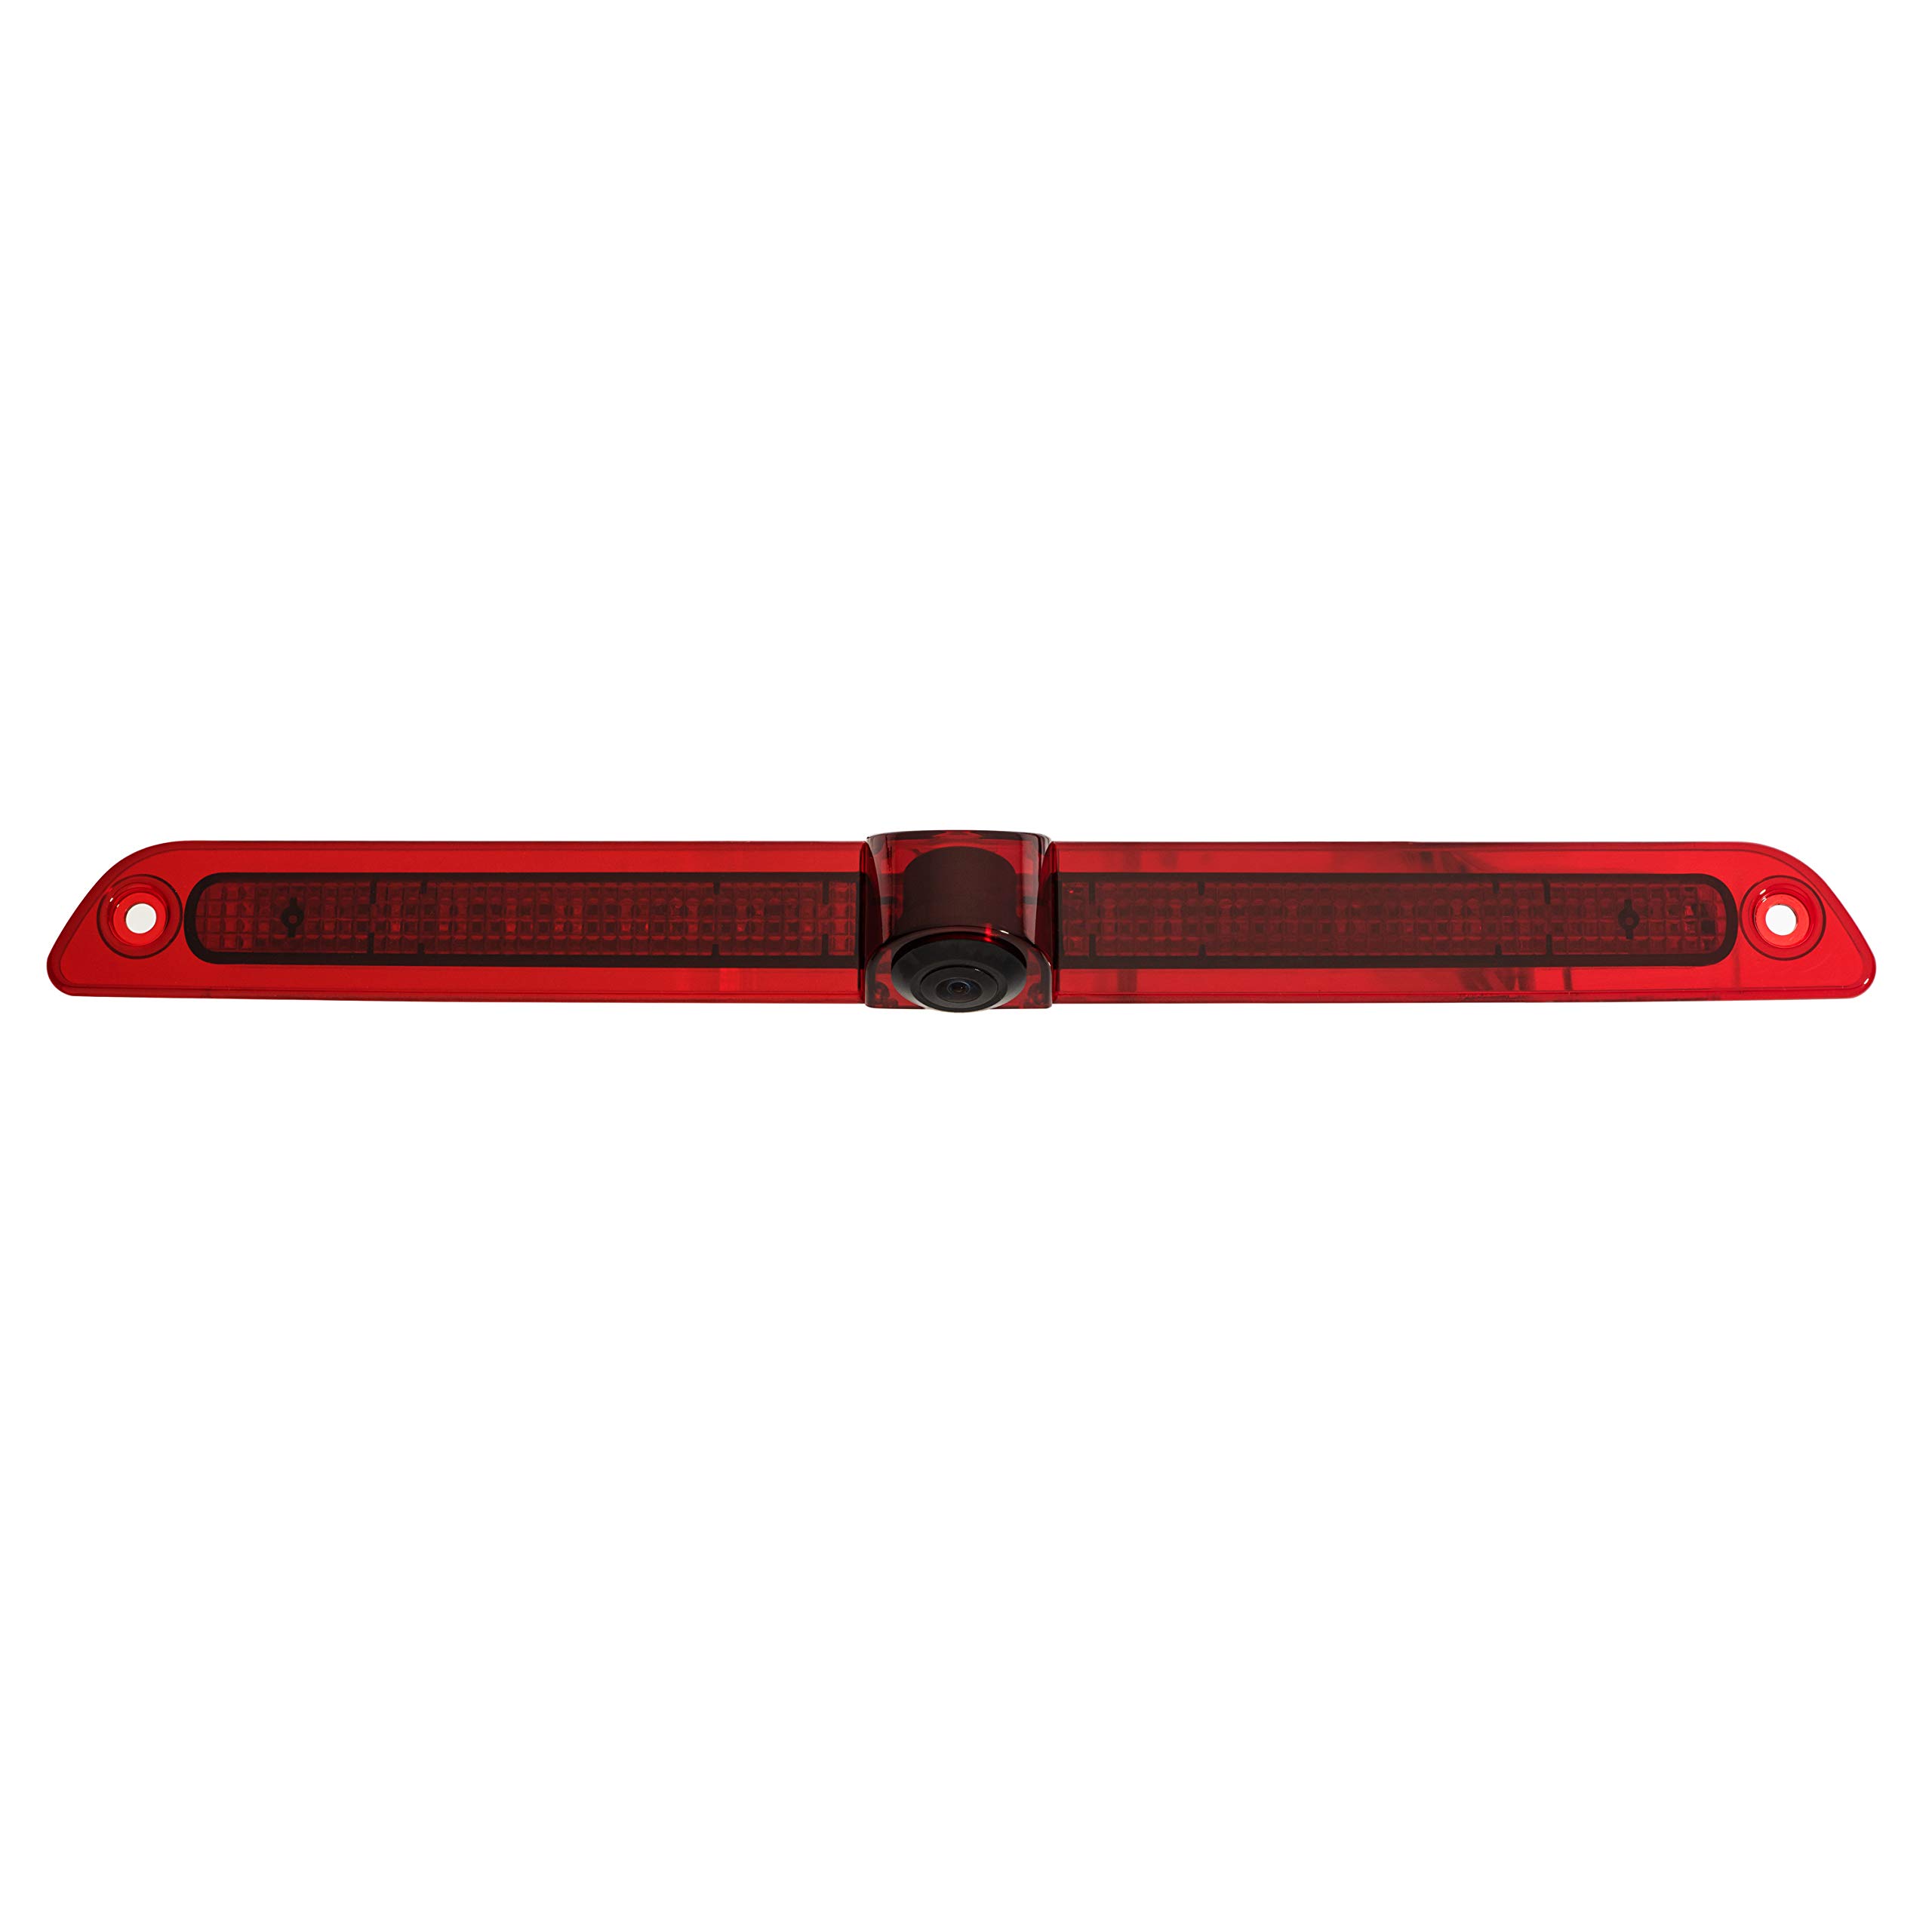
Image 1: BOYO VISION VTS40 3rd Brake Light Replacement Camera. This image shows the camera integrated into the brake light housing, ready for installation on a Mercedes Sprinter Van.
Key Features:
- Vehicle Specific Design: Engineered for a perfect fit and integration with Mercedes Sprinter Vans.
- CMOS PC3089 Sensor: Utilizes a high-performance CMOS sensor for clear imaging.
- High Resolution: Offers 648 x 488 effective pixels and 420TVL horizontal resolution for detailed video output.
- Wide Viewing Angle: Provides a 120° diagonal viewing angle to minimize blind spots.
- Waterproof (IP68): Designed to withstand harsh weather conditions, ensuring durability and reliable performance.
5. Installation (Setup)
The installation process involves replacing the existing 3rd brake light assembly with the VTS40 camera unit and connecting it to your vehicle's power and video display system. This guide provides general steps; specific vehicle wiring may vary.
Tools Required:
- Screwdriver set
- Wire strippers/crimpers
- Electrical tape or heat shrink tubing
- Multimeter (optional, for testing power)
Installation Steps:
- Prepare the Vehicle: Park the vehicle on a level surface, engage the parking brake, and turn off the ignition. Disconnect the negative terminal of the vehicle's battery.
- Remove Existing 3rd Brake Light: Carefully remove the screws or clips securing the original 3rd brake light assembly on the rear of your Mercedes Sprinter Van. Disconnect its electrical connector.
- Install VTS40 Camera: Connect the VTS40 camera's electrical connector to the vehicle's brake light wiring harness. Secure the VTS40 unit into the opening, ensuring a snug fit. Use the original screws or provided hardware to fasten it.
- Route Video Cable: Carefully route the video cable (RCA) from the camera location through the vehicle's interior to the location of your display monitor (e.g., dashboard, rearview mirror monitor). Ensure the cable is hidden and secured to prevent damage or interference.
- Connect Power: Connect the camera's power wire (usually red) to a 12V power source that is activated when the vehicle is in reverse. This is typically found near the reverse light circuit. Connect the ground wire (usually black) to a suitable chassis ground point.
- Connect to Display: Connect the RCA video cable from the camera to the video input of your compatible display monitor.
- Test System: Reconnect the vehicle's battery. Turn on the ignition and engage reverse gear. Verify that the camera image appears on your display monitor. Adjust the camera angle if necessary (if adjustable).
- Finalize Installation: Once confirmed operational, secure all wiring with cable ties and reassemble any removed interior panels.
6. Operation
The BOYO VISION VTS40 camera operates automatically when the vehicle is placed into reverse gear, provided it is correctly wired to the reverse light circuit. The image from the camera will be displayed on your connected monitor, assisting with rear visibility.
- Automatic Activation: When the vehicle's transmission is shifted into reverse, the camera will power on and transmit video to the connected display.
- Display Compatibility: Ensure your monitor is compatible with standard composite video input (RCA).
- Viewing Angle: The 120° wide-angle lens provides a broad view of the area behind the vehicle. Objects in the camera's view may appear closer or further away than they actually are. Always use mirrors and direct observation in conjunction with the camera for safe maneuvering.
7. Maintenance
Regular maintenance ensures the longevity and optimal performance of your VTS40 camera.
- Cleaning the Lens: Periodically clean the camera lens with a soft, damp cloth to remove dirt, dust, or water spots. Avoid abrasive cleaners or materials that could scratch the lens.
- Inspect Wiring: Occasionally check the visible wiring for any signs of wear, fraying, or loose connections. Secure any loose wiring.
- Housing Inspection: Inspect the camera housing for any cracks or damage that could compromise its waterproof seal.
8. Troubleshooting
If you encounter issues with your VTS40 camera, refer to the following troubleshooting guide:
| Problem | Possible Cause | Solution |
|---|---|---|
| No image on display |
|
|
| Poor image quality (blurry, distorted) |
|
|
| Camera not activating in reverse |
|
|
If the problem persists after attempting these solutions, please contact customer support or a qualified automotive technician.
9. Specifications
| Feature | Specification |
|---|---|
| Model Number | VTS40 |
| Sensor Type | CMOS PC3089 |
| Effective Pixels | 648 x 488 |
| Horizontal Resolution | 420 TV Lines (TVL) |
| Viewing Angle | 120° (Diagonal) |
| Waterproof Rating | IP68 |
| Vehicle Compatibility | Mercedes Sprinter Vans (Vehicle Specific) |
| Product Dimensions | 40.01 x 4.5 x 12.5 cm |
| Item Weight | 499 g |
10. Warranty
Specific warranty terms and conditions for the BOYO VISION VTS40 camera are provided by the manufacturer or the seller at the time of purchase. Please refer to your purchase documentation or contact the seller directly for detailed warranty information, including coverage period and claims process.
11. Support
For technical assistance, installation questions, or troubleshooting beyond what is covered in this manual, please contact the retailer from whom you purchased the product or the BOYO VISION customer support directly. Contact information can typically be found on the product packaging or the manufacturer's official website.