1. Introduction
This manual provides essential information for the proper installation, operation, and maintenance of your new 1UQ replacement carburetor. This carburetor is designed to be compatible with Prosource UG2300 and UG3500 gas generators. Please read this manual thoroughly before attempting any installation or maintenance procedures to ensure safe and effective use.
2. Product Overview
The carburetor is a crucial component in your generator's engine, responsible for mixing air and fuel in the correct ratio for combustion. A properly functioning carburetor ensures optimal engine performance, fuel efficiency, and reliable starting. This replacement unit is manufactured to meet or exceed original equipment specifications.

Image 2.1: The 1UQ replacement carburetor, shown with included gaskets and a fuel line. This image provides a comprehensive view of the main components you will receive.
3. Compatibility
This 1UQ carburetor is specifically designed as a direct replacement for the following generator models:
- Prosource 2000 (UG2300) Gas Generator
- Prosource 3000 (UG3500) Gas Generator
It is suitable for generators with 5.5HP and 6.5HP engines, typically found in 2000W and 3000W models.
4. Package Contents
Upon opening your package, please verify that all the following items are present:
- 1UQ Replacement Carburetor
- 3 Gaskets (various shapes for different mounting points)
- Fuel Line (pre-attached or separate, depending on specific model)
If any items are missing or damaged, please contact your seller immediately.
5. Safety Information
Working with fuel systems and internal combustion engines can be hazardous. Always prioritize safety. Failure to follow these safety guidelines may result in serious injury or property damage.
- Fuel Handling: Gasoline is highly flammable. Always work in a well-ventilated area, away from open flames, sparks, or other ignition sources. Do not smoke while handling fuel.
- Engine Heat: Engines can become extremely hot during operation. Allow the engine to cool completely before performing any maintenance or installation.
- Eye Protection: Always wear appropriate eye protection to guard against fuel splashes or debris.
- Gloves: Wear fuel-resistant gloves to protect your hands.
- Ventilation: Ensure adequate ventilation to avoid inhaling fuel vapors.
- Battery Disconnection: Disconnect the spark plug wire or battery terminal before starting work to prevent accidental engine startup.
- Professional Assistance: If you are unsure about any step, consult a qualified technician.
6. Setup / Installation
The following steps provide a general guide for replacing the carburetor. Specific generator models may have slight variations. Refer to your generator's original service manual for detailed instructions if available.
- Preparation:
- Ensure the generator is turned off and cooled down.
- Disconnect the spark plug wire to prevent accidental starting.
- Turn off the fuel valve (if equipped) and drain the fuel tank and carburetor bowl into an approved container.
- Access the Carburetor:
- Remove any air filter housing, air cleaner, or shrouds that obstruct access to the carburetor.
- Carefully disconnect the fuel line, throttle linkage, and choke linkage from the old carburetor. Note their positions for reassembly.
- Remove Old Carburetor:
- Unbolt the old carburetor from the engine intake manifold. Be mindful of any spacers or additional gaskets.
- Remove and discard the old gaskets.
- Install New Carburetor:
- Clean the mounting surfaces on the engine and air filter housing.
- Place the new gaskets in their correct positions. Ensure they are properly aligned to prevent air leaks.
- Mount the new 1UQ carburetor onto the engine, securing it with the original bolts. Do not overtighten.
- Reconnect Components:
- Reconnect the fuel line, ensuring a secure fit and no leaks.
- Reattach the throttle and choke linkages to their correct positions on the new carburetor. Verify smooth operation of both.
- Final Steps:
- Reinstall the air filter housing and any removed shrouds.
- Refill the fuel tank with fresh, clean gasoline.
- Turn on the fuel valve.
- Reconnect the spark plug wire.
- Start the generator according to its manufacturer's instructions. The engine may require a few pulls or longer cranking to prime the new carburetor with fuel.
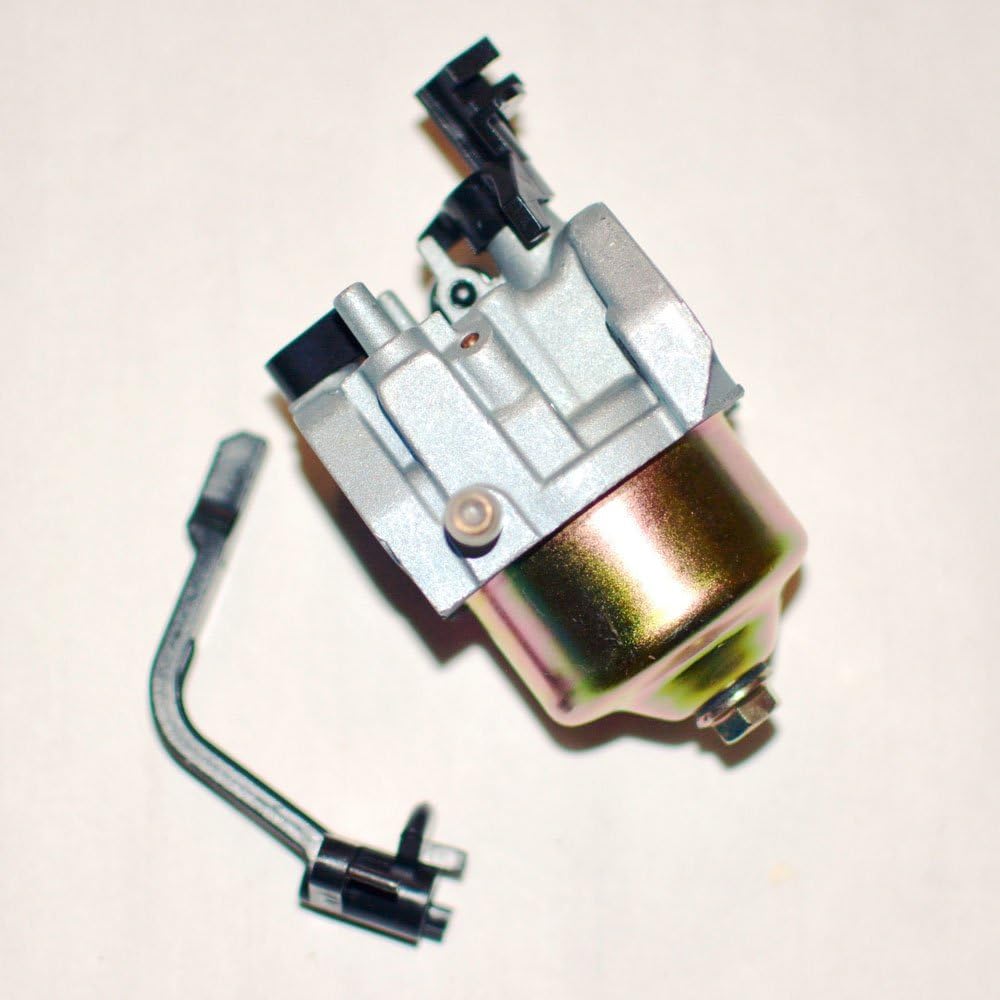
Image 6.1: A side view of the 1UQ carburetor, illustrating the fuel inlet and linkage attachment points. This perspective is useful during the installation process for connecting the fuel line and control linkages.
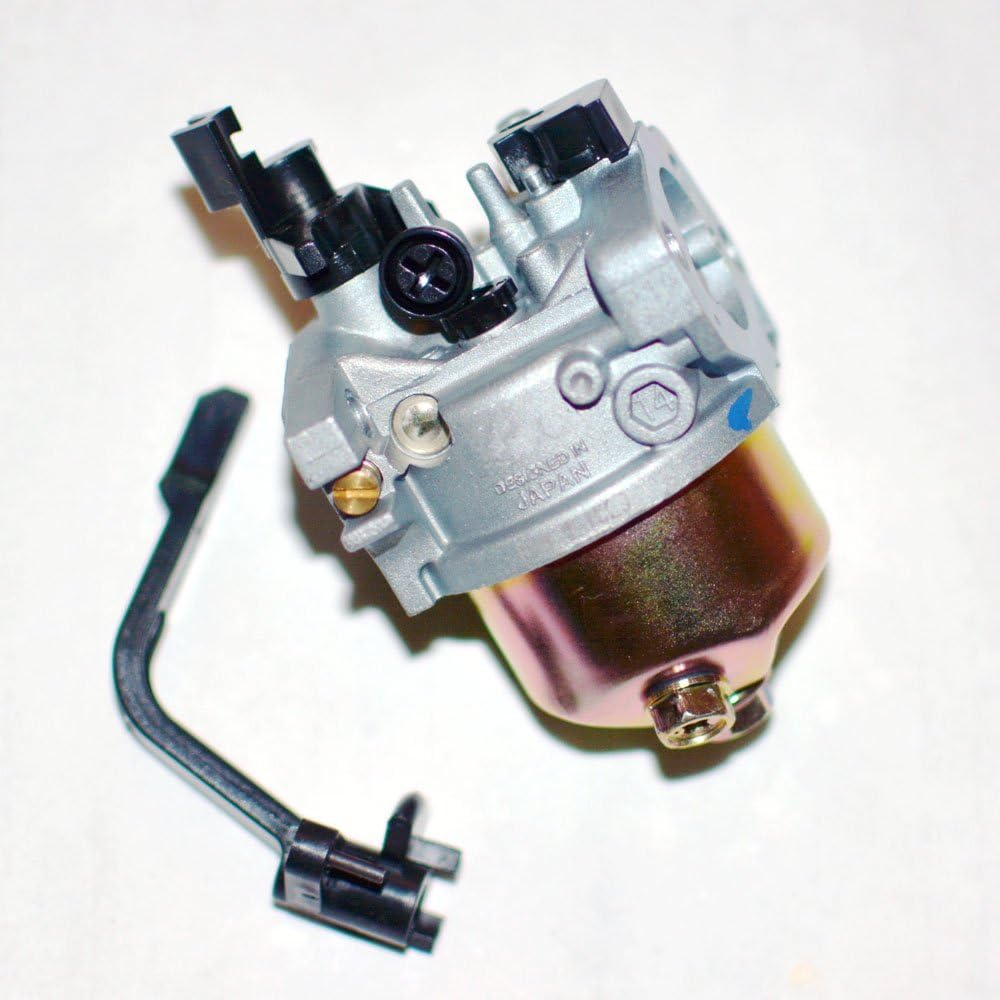
Image 6.2: Another side view of the 1UQ carburetor, highlighting potential adjustment screws (if present) and the overall assembly. This view can assist in identifying components during installation and initial setup.
7. Operating Principles (Brief)
Once installed, the carburetor automatically regulates the air-fuel mixture. When the engine is started, the carburetor draws air through its intake. Fuel is then drawn from the fuel bowl and atomized into the airstream. The throttle and choke linkages control the amount of air and fuel entering the engine, allowing for speed control and cold starting assistance. This replacement carburetor is typically pre-tuned for standard operation, minimizing the need for extensive adjustments.

Image 7.1: A front view of the 1UQ carburetor, showing the air intake and throttle plate. This is where the air-fuel mixture is prepared before entering the engine's combustion chamber.
8. Maintenance
Regular maintenance of your carburetor and fuel system is essential for the longevity and reliable performance of your generator.
- Fuel Quality: Always use fresh, clean, unleaded gasoline. Stale fuel can cause deposits and clog carburetor passages. Consider using a fuel stabilizer if the generator will be stored for extended periods.
- Fuel Filter: Regularly inspect and replace the fuel filter (if equipped) to prevent contaminants from reaching the carburetor.
- Air Filter: A clean air filter is vital. A dirty air filter can restrict airflow, leading to a rich fuel mixture and poor engine performance. Clean or replace the air filter as recommended by your generator's manual.
- Carburetor Cleaning: If the generator experiences fuel-related issues (e.g., rough running, hard starting), the carburetor may need cleaning. This typically involves disassembling the carburetor, cleaning jets and passages with carburetor cleaner, and replacing gaskets. This procedure should only be performed by individuals with mechanical experience.
9. Troubleshooting
This section addresses common issues that may be related to the carburetor. Always perform basic checks before assuming a carburetor problem.
| Symptom | Possible Cause | Solution |
|---|---|---|
| Engine will not start | No fuel reaching carburetor; clogged fuel filter; clogged carburetor jet; incorrect choke position | Check fuel level and fuel valve; replace fuel filter; clean carburetor; adjust choke |
| Engine runs rough/stalls | Dirty carburetor; incorrect air-fuel mixture; old/stale fuel | Clean carburetor; use fresh fuel; check air filter |
| Engine lacks power | Clogged air filter; partially clogged carburetor jet | Clean/replace air filter; clean carburetor |
| Fuel leaks from carburetor | Damaged float needle; stuck float; damaged bowl gasket | Inspect and replace float components or bowl gasket |
If these troubleshooting steps do not resolve the issue, professional service may be required.
10. Specifications
- Brand: 1UQ
- Manufacturer Part Number: 201-SSD-05
- Compatibility: Prosource UG2300, Prosource UG3500 Gas Generators (2000W, 3000W, 5.5HP, 6.5HP)
- Included: Carburetor, 3 Gaskets
11. Warranty and Support
For warranty information and customer support regarding your 1UQ carburetor, please refer to the documentation provided with your purchase or contact the seller directly. Keep your proof of purchase for any warranty claims.
