
Introduction
Thank you for choosing MTX Audio. This manual provides essential information for the proper installation, operation, and maintenance of your MTX Audio WET65-C 6.5" Coaxial Marine Speakers. Please read this manual thoroughly before use to ensure optimal performance and longevity of your product.
Safety Information
Always observe the following safety precautions:
- WARNING: Disconnect the vehicle's battery before installation to prevent electrical shorts.
- Ensure all wiring is properly insulated to prevent short circuits.
- Mount speakers securely to avoid detachment during operation.
- Avoid exposing speakers to extreme temperatures or direct sunlight for prolonged periods.
- Do not attempt to repair the unit yourself. Refer all servicing to qualified personnel.
What's in the Box
- MTX Audio WET65-C 6.5" Coaxial Marine Speakers (Pair)
- Speaker Wire
- Mounting Hardware (Screws)
Setup and Installation
The MTX Audio WET65-C speakers are designed for marine and outdoor environments. They can be installed directly into existing cutouts or into speaker pods. Ensure the mounting location provides sufficient space and is secure.
Step 1: Prepare the Mounting Location
Identify the desired mounting location. If installing into a pod, ensure the pod is appropriately sized for 6.5-inch speakers. The speaker terminals are located at the bottom of the speaker. Plan the wire routing accordingly.
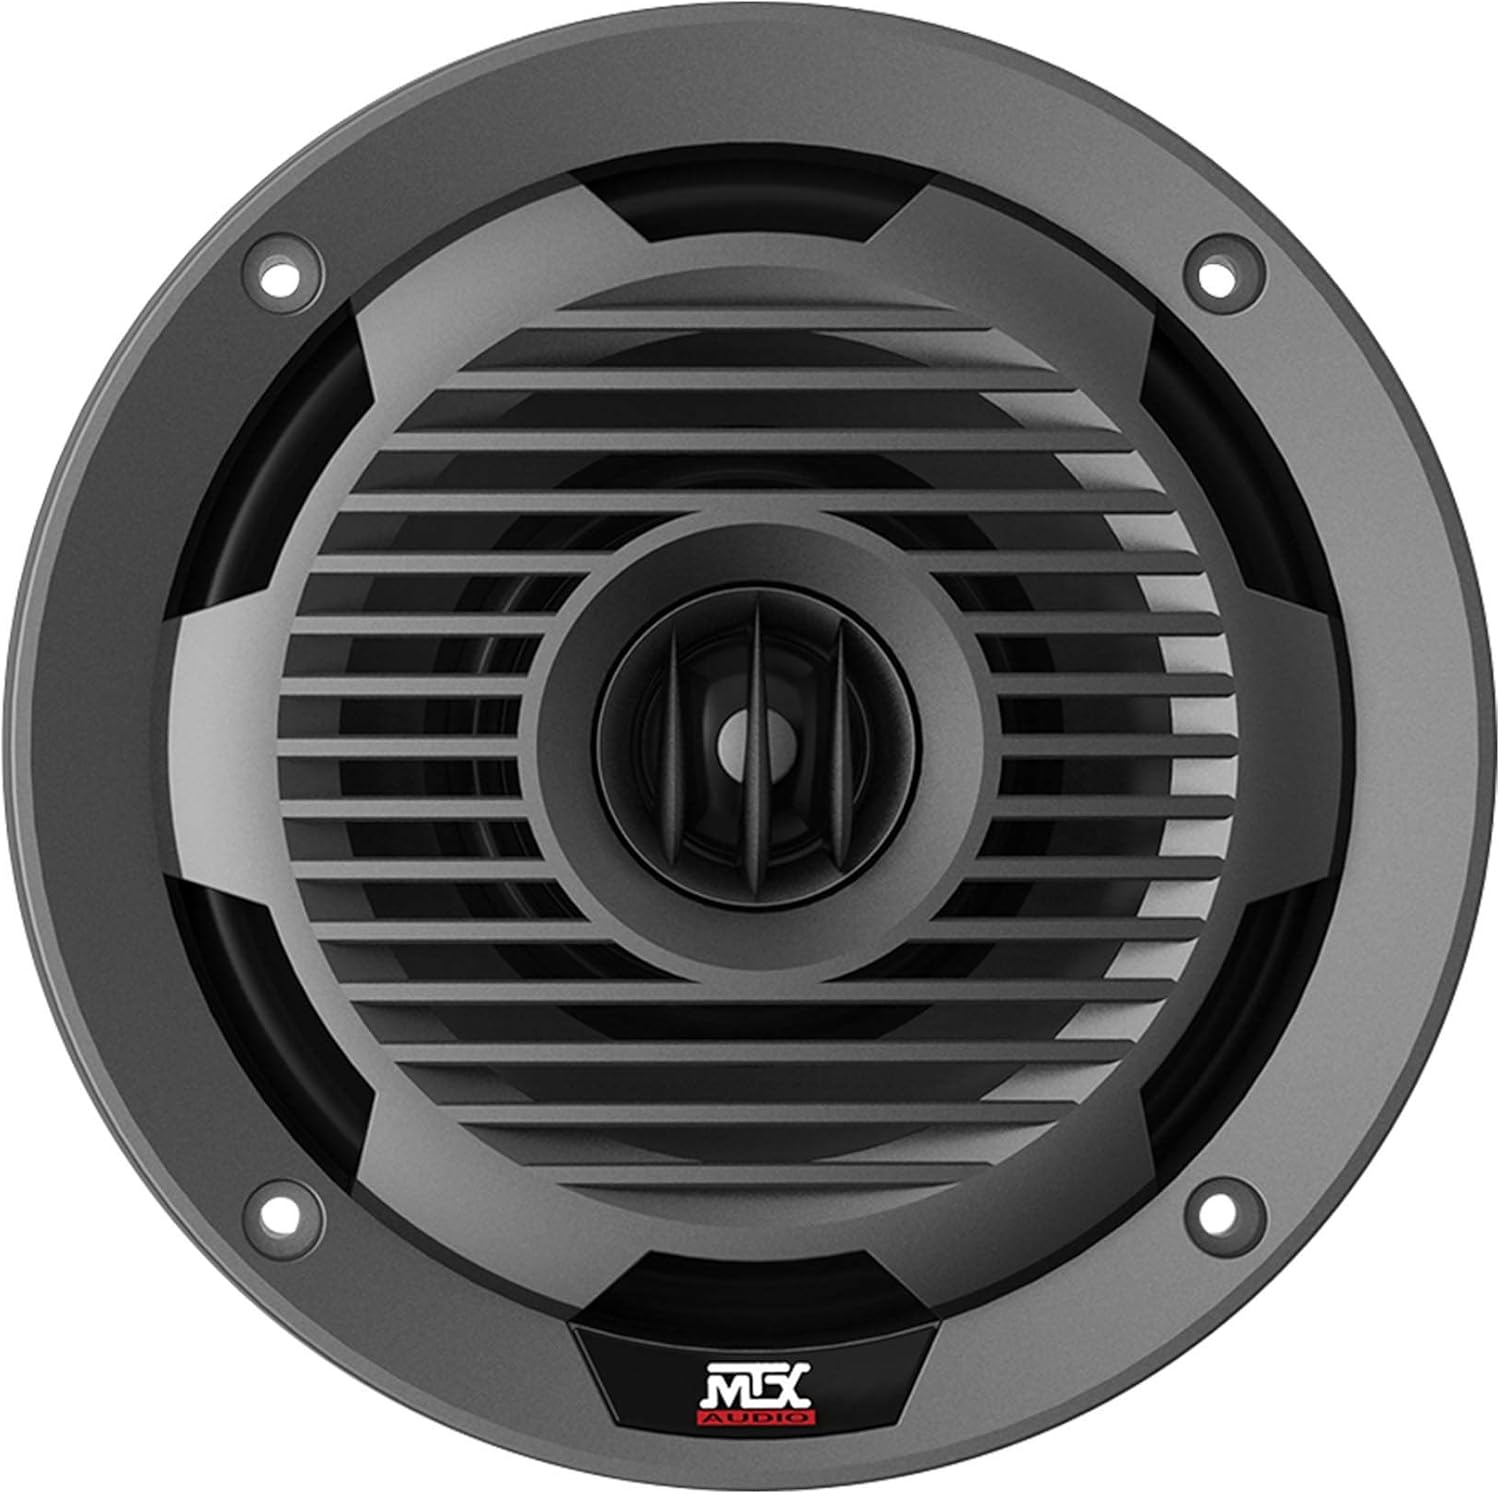
Image: Front view of the MTX Audio WET65-C marine speaker, showcasing the charcoal grille and coaxial design.

Image: Angled view of the MTX Audio WET65-C marine speaker, highlighting its depth and mounting flange.

Image: Side profile of the MTX Audio WET65-C marine speaker, showing the sealed ABS basket and overall construction.
Step 2: Drill Wire Holes (if necessary)
If installing into a sealed pod, drill a hole at the bottom rear of the pod to route the speaker wires. Ensure the hole is large enough for the wires but not excessively large to maintain the pod's integrity.
Video: Demonstrates drilling a hole in a speaker pod for wire routing. This step is crucial for proper installation and wire management.
Step 3: Connect Speaker Wires
Connect the provided speaker wires to the speaker terminals. The white wire typically connects to the positive terminal, and the black wire to the negative terminal. The speaker itself will indicate which terminal is positive (red wire to fuse) and negative (black wire). Ensure a secure connection.
Video: Shows how to connect speaker wires to the terminals, emphasizing correct polarity (white to positive, black to negative).
Step 4: Route Wires and Secure Speakers
Route the connected speaker wires through the drilled hole in the pod. Place the speaker into the pod, ensuring the MTX Audio emblem is oriented correctly for a clean look. Use the provided mounting screws to securely fasten the speaker to the pod. Repeat for the second speaker.
Step 5: Connect to Amplifier
Connect the other end of the speaker wires to your amplifier. Match the positive (white) and negative (black) wires to the corresponding terminals on your amplifier. Use an Allen key to loosen and tighten the terminals for a secure connection. Set the amplifier to full-range mode for optimal performance with these full-range speakers.
Operating Instructions
Once installed and connected, ensure your head unit or music source is properly connected to the amplifier. Adjust the amplifier's level settings to your preference. These speakers are designed for high-fidelity sound in all weather conditions.
Maintenance
- Cleaning: Use a soft, damp cloth to clean the speaker grilles and cones. Avoid harsh chemicals or abrasive cleaners.
- Inspection: Periodically check all connections and mounting hardware for tightness.
- Weather Protection: While the speakers are weather-resistant (IP67 rated when sealed), prolonged exposure to extreme elements can reduce their lifespan. Consider covering them when not in use for extended periods.
Troubleshooting
- No Sound:
- Check all speaker wire connections at both the speaker and amplifier for proper polarity and secure contact.
- Verify the amplifier is powered on and receiving a signal from the head unit.
- Ensure the amplifier's gain and crossover settings are correctly configured.
- Distorted Sound:
- Reduce the volume level on your head unit or amplifier.
- Check for loose wiring or damaged speaker cones.
- Ensure the amplifier's power output matches the speaker's RMS rating.
- Intermittent Sound:
- Inspect all wiring for frayed ends or loose connections.
- Check for any corrosion on terminals, especially in marine environments.
Specifications
| Feature | Detail |
|---|---|
| Model Name | WET65-C |
| Speaker Type | Outdoor, Coaxial Marine Speaker |
| Speaker Size | 6.5 Inches |
| RMS Power | 65 Watts |
| Peak Power | 130 Watts |
| Material | Plastic, Polypropylene Cone, UV-Protected ASA Plastic Grille, Sealed ABS Basket |
| Water Resistance Level | IP67 (when sealed) |
| Product Dimensions | 15.25"D x 9.75"W x 17"H |
| Item Weight | 5.71 pounds |
| Connectivity Technology | Coaxial, Wired |
| Audio Output Mode | Stereo |
Warranty Information
MTX Audio WET65-C speakers come with a 24-month limited warranty. Please retain your proof of purchase for warranty claims. For detailed warranty terms and conditions, refer to the official MTX Audio website or contact customer support.
Customer Support
If you have any questions, comments, or concerns regarding your MTX Audio WET65-C speakers, please contact our customer support team:
- Phone: 1-646-758-0144 (Open 24/7)
- Email: sales@rockvilleaudio.com


