Introduction
This manual provides detailed instructions for the safe installation, operation, and maintenance of your Z-Lite 7.25 inch Flush Mount Light, Model 1714412. Please read all instructions carefully before beginning installation and retain this manual for future reference.
Important Safety Information:
- Always disconnect power at the main fuse or circuit breaker before installation or servicing.
- Consult a qualified electrician if you are unsure about the installation process.
- This fixture is designed for indoor use only. Do not expose to water or moisture.
- Use only the specified bulb type and wattage to avoid fire hazards.
- WARNING: This product can expose you to chemicals including lead, which is known to the State of California to cause cancer and birth defects or other reproductive harm. For more information go to www.P65Warnings.ca.gov.
Package Contents
Carefully unpack your new light fixture and lay out all parts on a clear surface. Ensure all components listed below are present before discarding packaging materials.
- Flush Mount Light Fixture (1)
- Matte Opal Glass Shade (1)
- Mounting Hardware Kit (screws, wire nuts, mounting bracket) (1 set)
- Instruction Manual (1)
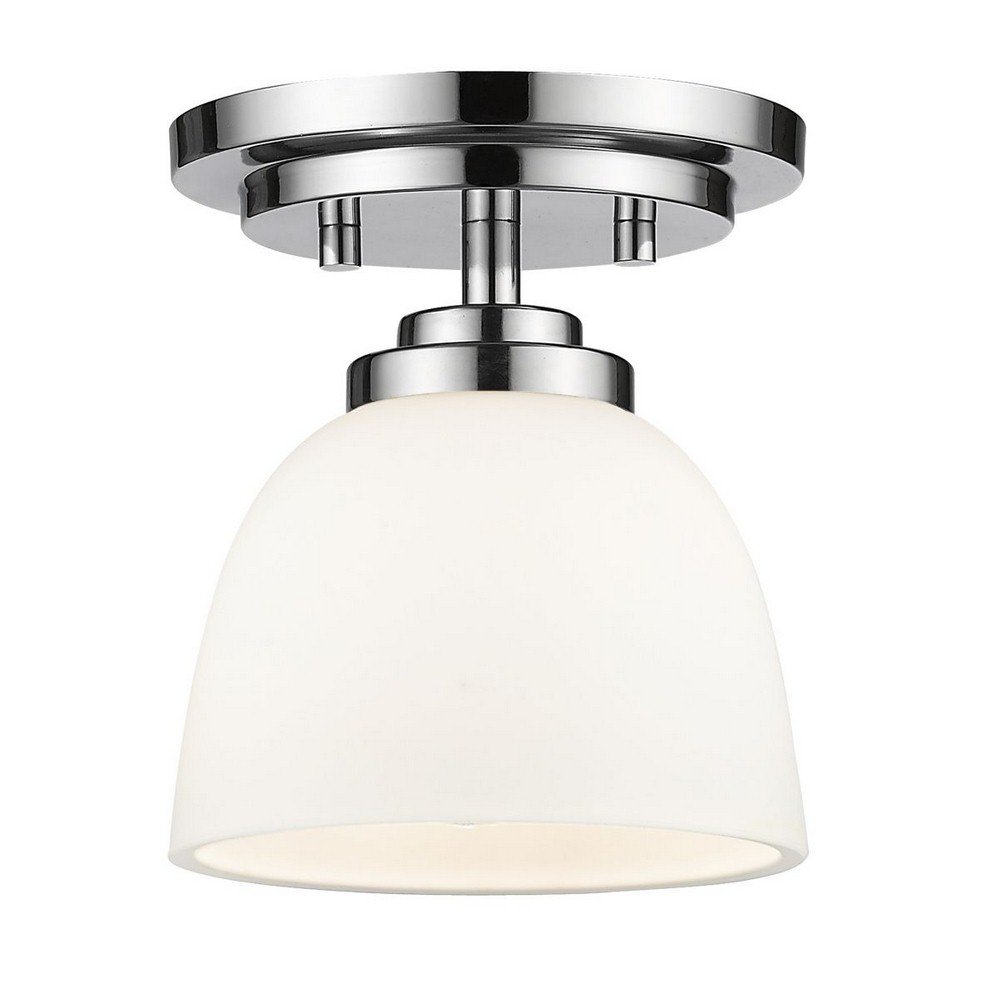
Image: Z-Lite 7.25 inch Flush Mount Light. This image displays the complete fixture, featuring a chrome-finished base and a matte opal glass shade, ready for installation.
Setup and Installation
Tools Required (not included): Phillips screwdriver, flathead screwdriver, wire strippers, electrical tape, safety glasses, ladder.
- Turn Off Power: Locate the circuit breaker or fuse box that supplies power to the light fixture location. Turn off the power completely to prevent electrical shock.
- Prepare Mounting Surface: If replacing an existing fixture, carefully remove it. Ensure the junction box is securely mounted and capable of supporting the fixture's weight.
- Install Mounting Bracket: Attach the mounting bracket (included in hardware kit) to the junction box using the provided screws. Ensure the bracket is flush and secure.
- Wire Connections:
- Connect the black wire from the fixture to the black (hot) wire from the junction box using a wire nut.
- Connect the white wire from the fixture to the white (neutral) wire from the junction box using a wire nut.
- Connect the ground wire (bare copper or green) from the fixture to the ground wire from the junction box (or to the junction box itself if no ground wire is present) using a wire nut.
- Carefully tuck all wires into the junction box.
- Attach Fixture to Mounting Bracket: Align the fixture base with the mounting bracket and secure it using the screws provided. Ensure the fixture is flush against the ceiling.
- Install Light Bulb: Insert one 100-watt maximum, E26 medium base incandescent bulb (not included) into the socket. Ensure the bulb is fully seated.
- Attach Glass Shade: Carefully place the matte opal glass shade onto the fixture and secure it according to the fixture's design (e.g., by twisting or using retaining screws). Do not overtighten.
- Restore Power: Turn the power back on at the circuit breaker or fuse box.
Operating Instructions
Your Z-Lite Flush Mount Light is designed for simple operation.
- Turning On/Off: Use the standard wall switch connected to the fixture to turn the light on or off.
- Dimming Functionality: This fixture is dimmable. To utilize the dimming feature, ensure you have a compatible dimmable E26 incandescent bulb installed and a compatible dimmer switch (sold separately) wired to the fixture.
- Control Methods: While the fixture itself is controlled by a wall switch, some specifications mention 'App' and 'Remote Control' as control methods. These refer to external smart home systems or universal remote controls that may be integrated with your home's electrical system and compatible dimmer switches. The fixture itself does not include an app or remote control.
Maintenance
Regular maintenance will ensure the longevity and optimal performance of your light fixture.
- Cleaning: Disconnect power before cleaning. Wipe the fixture with a soft, dry cloth. Do not use abrasive cleaners, solvents, or polishes as they may damage the finish. Clean the glass shade with a mild glass cleaner and a soft cloth.
- Bulb Replacement: Ensure power is off before replacing the bulb. Allow the old bulb to cool completely. Unscrew the old bulb and replace it with a new E26 medium base incandescent bulb, maximum 100 watts. Do not exceed the maximum wattage.
Troubleshooting
If your light fixture is not functioning correctly, refer to the following common issues and solutions:
| Problem | Possible Cause | Solution |
|---|---|---|
| Light does not turn on. | No power to the fixture. Loose wire connection. Faulty bulb. | Check circuit breaker/fuse. Verify all wire connections are secure (power off first). Replace bulb with a new one. |
| Light flickers. | Loose bulb. Incompatible dimmer switch. Loose wire connection. | Tighten bulb. Ensure dimmer switch is compatible with incandescent bulbs. Check wire connections (power off first). |
| Bulb burns out quickly. | Incorrect wattage bulb. Voltage fluctuations. | Ensure bulb wattage does not exceed 100W. Consult an electrician to check household voltage. |
Specifications
| Feature | Detail |
|---|---|
| Brand | Z-Lite |
| Model Number | 1714412 |
| Fixture Type | Flush Mount Ceiling Light |
| Dimensions | 7.25 inches (diameter, inferred from title) |
| Finish | Chrome Finish |
| Shade Material | Alloy Steel, Glass (Matte Opal) |
| Light Source | Incandescent |
| Number of Light Sources | 1 |
| Bulb Base | E26 Medium |
| Max Wattage | 100 watts |
| Voltage | 100 Volts (as per spec, typically 120V in US) |
| Dimmable | Yes |
| Indoor/Outdoor Usage | Indoor |
| Certifications | CUL and cETLu Certified for dry application |
| Item Weight | 3 Pounds |
Warranty and Support
Z-Lite products are manufactured to high-quality standards. For specific warranty information, please refer to the documentation included with your purchase or visit the official Z-Lite website. If you encounter any issues or require technical assistance, please contact Z-Lite customer support directly.
Manufacturer: Z-Lite
Contact Information: Please refer to the Z-Lite official website or your purchase documentation for the most current customer support contact details.