
Product Overview
The Vidpro LED-330 is a versatile on-camera LED light kit designed for photographers and videographers. It features 330 high-intensity LEDs, offering adjustable brightness and color temperature to suit various lighting conditions. This compact and portable unit is compatible with most cameras, video camcorders, and DSLRs equipped with a hot shoe mount.
Key Features:
- Continuous Illumination: 330 high-intensity LEDs provide a 185-watt equivalent light beam with a 70-degree beam angle.
- Adjustable Brightness: Stepless dimmer allows for 10-100% brightness control.
- Variable Color Temperature: Adjusts from daylight balanced 5600K to warm 3200K, with an additional 4300K option using included filters.
- Complete Kit: Includes a rechargeable NP-F550 battery, charger, AC power supply, 2 color gel filters, soft diffuser filter, and an adjustable shoe mount.
- Compact Design: Utilizes SMD technology for a lighter, slimmer, and more portable unit.
- High Color Rendering Index (CRI): Greater than 90 for accurate color reproduction.
Package Contents
Verify that all items are present in your Vidpro LED-330 kit:
- Vidpro LED-330 Video Light with Barn Doors
- Rechargeable NP-F550 Battery
- Battery Charger with AC Plug
- AC Power Adapter (12V, 2A)
- 2 Color Gel Filters (3200K, 4300K)
- Soft Diffuser Filter
- Adjustable Hot Shoe Mount
- Instruction Manual

Image: All included accessories for the Vidpro LED-330 kit.
Setup
1. Charging the Battery
- Insert the NP-F550 battery into the provided charger.
- Plug the charger into a standard AC outlet. The indicator light on the charger will turn red while charging and green when fully charged.
- Alternatively, the charger includes a European adapter for international use.
2. Installing the Battery
- Align the battery with the battery slot on the back of the LED-330 unit.
- Slide the battery into the slot until it clicks securely into place.
- To remove the battery, press the release button located next to the battery slot and slide the battery out.
3. Attaching the Hot Shoe Mount
- Screw the adjustable hot shoe mount into the 1/4-inch thread on the bottom of the LED-330 light.
- Slide the hot shoe mount into your camera's hot shoe slot.
- Tighten the locking wheel on the hot shoe mount to secure the light to your camera.
- Adjust the angle of the light using the adjustable knob on the mount.
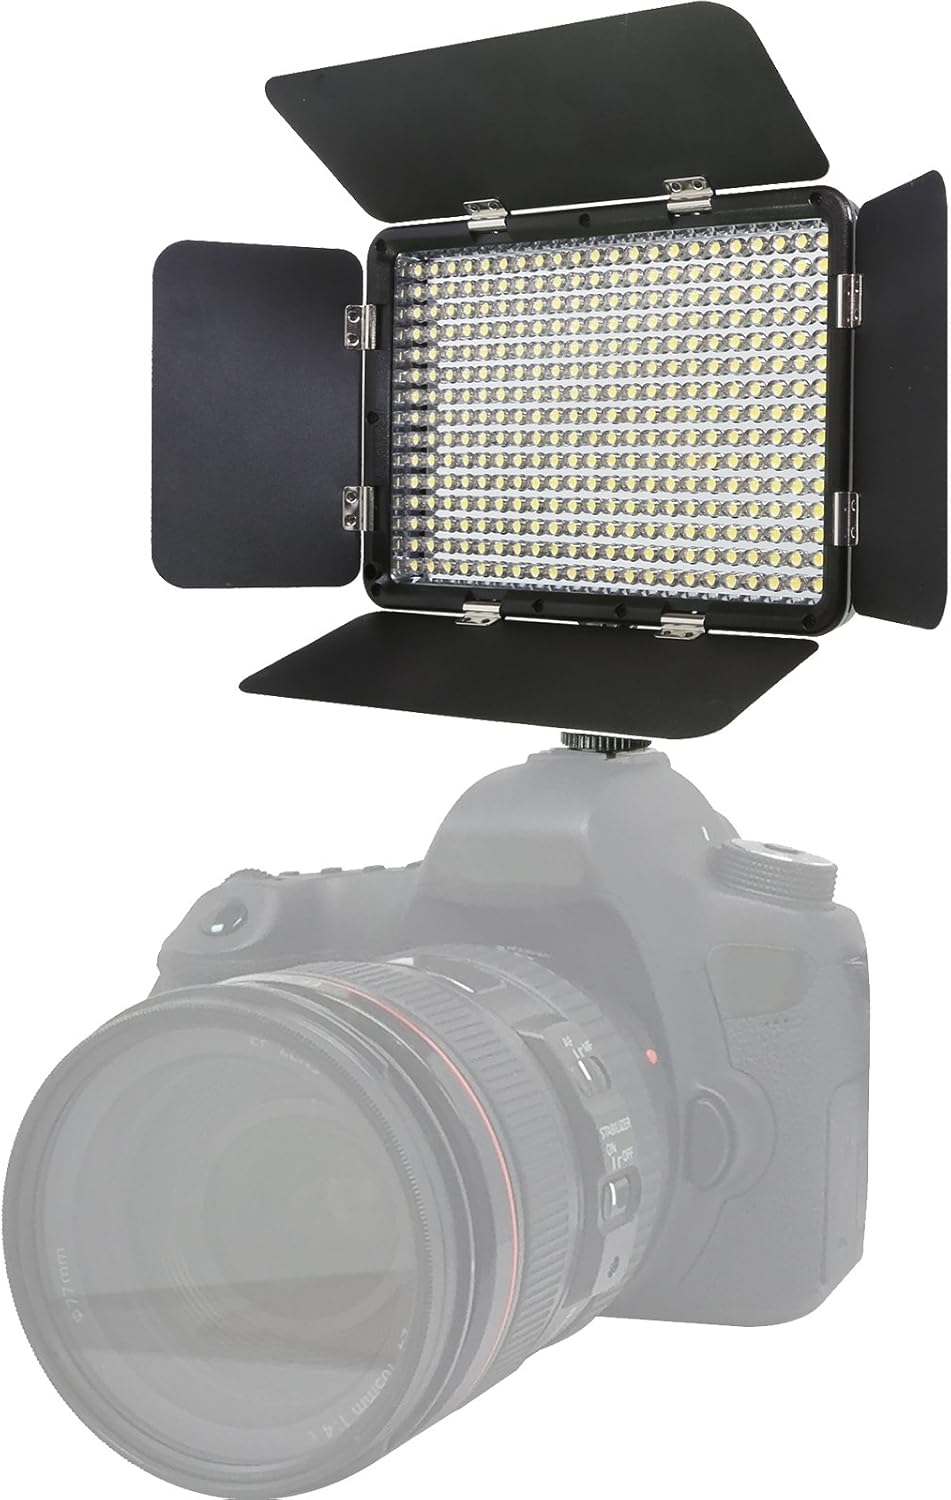
Image: Vidpro LED-330 mounted on a DSLR camera.
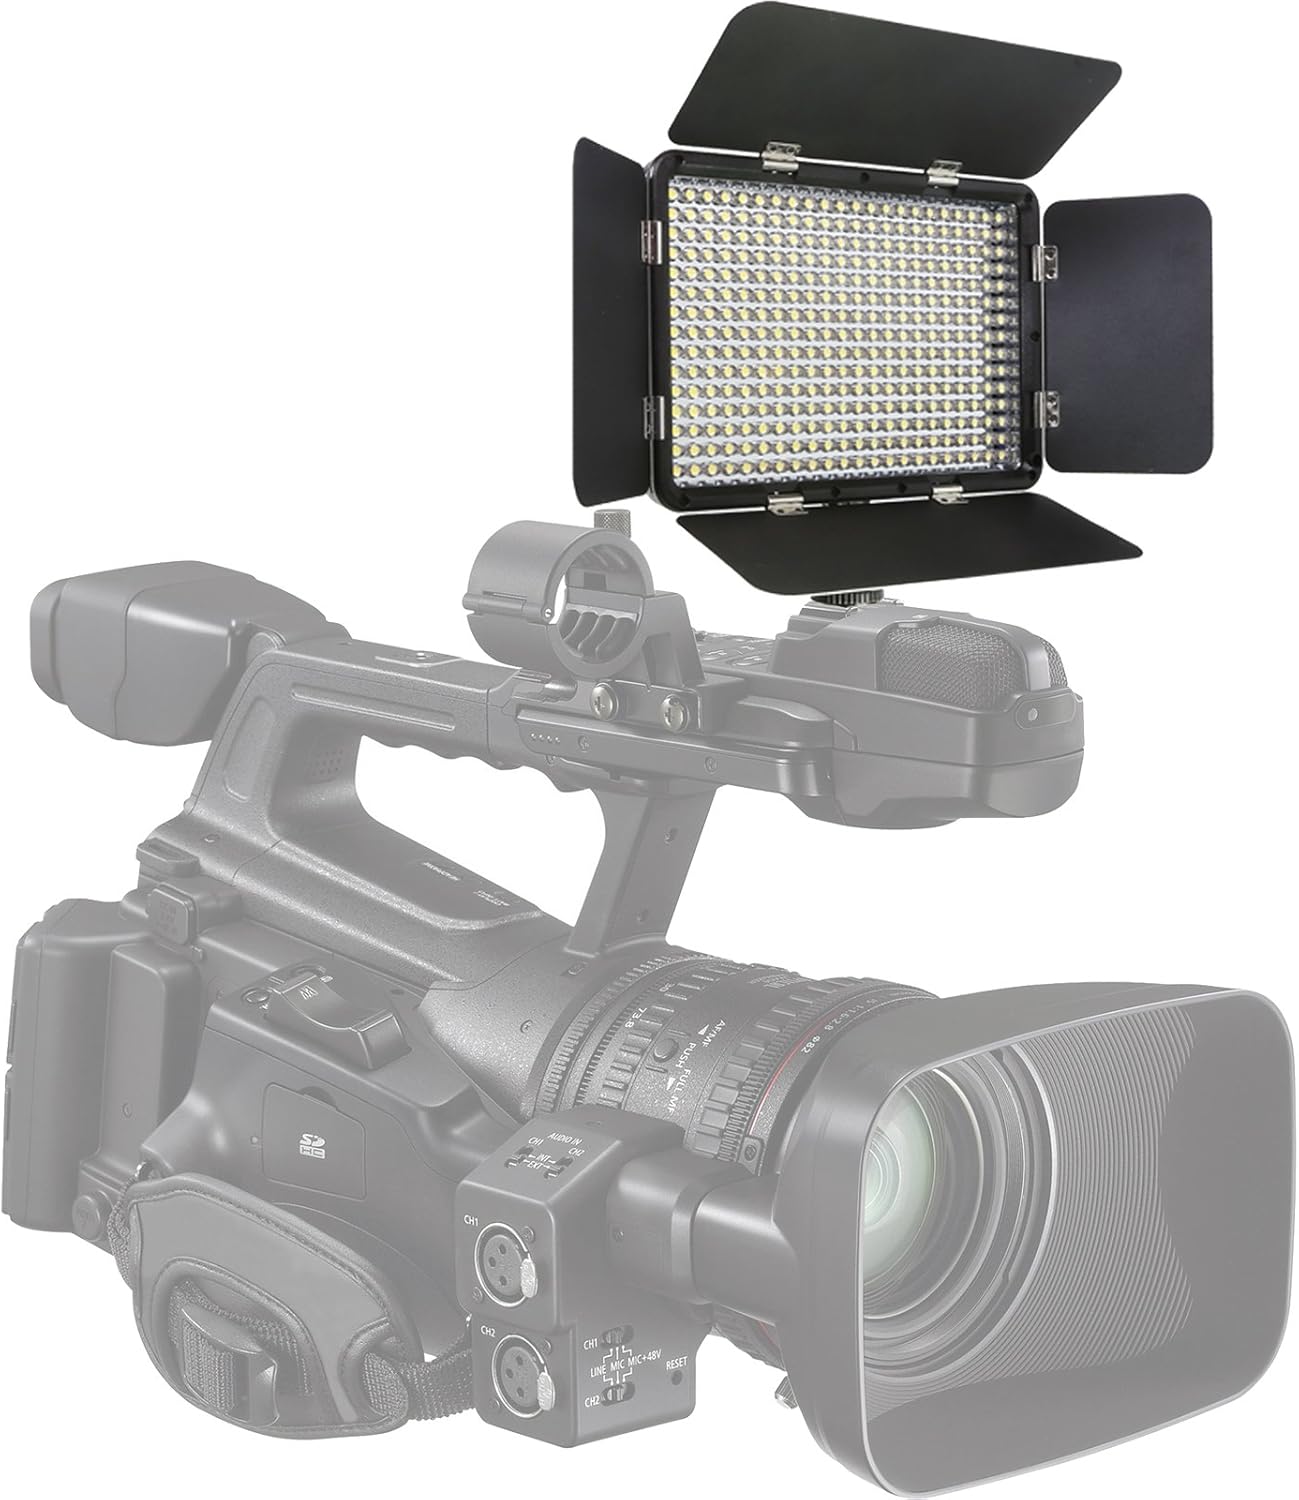
Image: Vidpro LED-330 mounted on a video camcorder.
4. Using the AC Power Adapter
If you prefer to power the unit directly from an AC outlet, connect the provided AC power adapter to the DC input port on the side of the LED-330 light. Plug the adapter into a wall outlet. Do not use the AC adapter and the battery simultaneously to avoid potential damage to the unit.
5. Attaching Filters
The LED-330 includes a soft diffuser filter and two color gel filters (3200K and 4300K). To attach a filter, slide it into the designated slot on the front of the light panel. The filters help to soften the light or adjust its color temperature.

Image: The Vidpro LED-330 kit showing the light, battery, charger, and filters.
Operating Instructions
1. Powering On/Off
Locate the 'OFF/ON' switch on the back panel of the LED-330. Flip the switch to 'ON' to power on the light and to 'OFF' to power it down.
2. Adjusting Brightness
Use the 'BRIGHTNESS' dial on the back panel to adjust the light intensity from 10% to 100%. Turn clockwise to increase brightness and counter-clockwise to decrease it.
3. Adjusting Color Temperature
Use the 'COLOR TEMP' dial on the back panel to adjust the color temperature. Turning the dial will smoothly transition the light output between 5600K (daylight) and 3200K (warm light). This allows for precise matching with ambient light or creative lighting effects.

Image: Rear view of the LED-330 with controls for power, brightness, and color temperature.
4. Using Barn Doors
The integrated barn doors can be opened or closed to control the spread and direction of the light beam, helping to prevent light spill and shape your lighting.
5. Battery Check
Press the 'BATT CHECK' button on the back panel to view the current battery level via the LED indicator lights.

Image: Detail of the adjustable stepless dimmer on the LED-330.
Video: This video demonstrates the unboxing, setup, and operation of a similar Vidpro LED-330X light, including battery installation, charging, mounting, and adjusting brightness and color temperature. Note that the video features the 'X' variant, but the core functionalities are identical to the LED-330 model.
Maintenance
- Keep the light clean by wiping it with a soft, dry cloth. Avoid using abrasive cleaners or solvents.
- Store the unit in a cool, dry place when not in use.
- Ensure the battery is fully charged before long-term storage to maintain battery health.
- Regularly check all connections and mounts for tightness.
Troubleshooting
Light Not Turning On:
- Check if the battery is properly installed and charged.
- Ensure the power switch is in the 'ON' position.
- If using the AC adapter, verify it is securely connected to both the light and a working power outlet.
Inconsistent Brightness/Color:
- Ensure the brightness and color temperature dials are adjusted correctly.
- Check battery level; low battery can affect performance.
Light Feels Loose on Camera:
- Tighten the locking wheel on the hot shoe mount.
- Ensure the hot shoe mount is fully inserted into your camera's hot shoe.
Specifications
| Feature | Specification |
|---|---|
| Model Number | LED-330 |
| LED Quantity | 330 High-Intensity LEDs |
| Power Output | 185-watt equivalent |
| Beam Angle | 70 degrees |
| Brightness Control | 10-100% Stepless Dimmer |
| Color Temperature | 5600K (Daylight), adjustable to 3200K (Warm) with filters |
| Color Rendering Index (CRI) | >90 |
| Compatible Battery | NP-F550 (included), NP-F750, NP-F960 |
| Power Input | DC 12V/2A (AC adapter included) |
| Mounting | Adjustable Hot Shoe Mount |
| Product Dimensions | 9.1 x 9.1 x 9.1 inches |
| Item Weight | 1 pound |
Warranty and Support
For warranty information or technical support, please refer to the contact details provided on the product packaging or visit the official VidPro website. Keep your purchase receipt as proof of purchase for any warranty claims.
