1. Product Overview
The Air Hogs Axis 300X is a high-performance remote-control helicopter designed for both indoor and outdoor flight. It features advanced gyro stabilization for enhanced control and offers both beginner and advanced flight modes to suit various skill levels. This manual provides essential information for safe operation, setup, maintenance, and troubleshooting.
Key Features:
- Revolutionary remote-control ground and air action.
- High-performance vehicle suitable for various ages and skill levels.
- Engineered for thrilling experiences and superior performance.
- Allows mastery of precision racing and stunts indoors and outdoors.
- Features Gyro Stabilization for stable flight.
- Includes Beginner and Advanced flight modes.

Figure 1.1: Air Hogs Axis 300X Helicopter, its green remote control, two spare black propellers, and four AA batteries.
2. Important Safety Information
Please read all safety warnings and instructions before operating the Air Hogs Axis 300X. Failure to do so may result in injury or damage to the product.
General Safety Precautions:
- Recommended Age: This product is recommended for ages 8-10 years. Adult supervision is advised for younger users.
- Flight Environment: Operate the helicopter in open spaces, away from people, pets, and obstacles. Avoid flying near power lines, trees, or water.
- Propeller Safety: Keep fingers, hair, and loose clothing away from rotating propellers. Do not touch the helicopter while the propellers are spinning.
- Battery Safety:
- Use only the specified batteries (AA batteries for the controller, integrated battery for the helicopter).
- Do not mix old and new batteries, or different types of batteries.
- Ensure batteries are inserted with correct polarity (+/-).
- Remove batteries from the controller when not in use for extended periods.
- Do not attempt to recharge non-rechargeable batteries.
- Dispose of used batteries responsibly.
- Impacts: Avoid crashing the helicopter. Severe impacts can damage the product.
- Moisture: Do not expose the helicopter or remote control to water or moisture.
3. What's in the Box
Upon opening the package, ensure all components are present:
- 1 Air Hogs Axis 300X Helicopter
- 1 Remote Control
- Spare Propellers (quantity may vary, typically 2)
- AA Batteries (4 included for the remote control)

Figure 3.1: The Air Hogs Axis 300X product box, highlighting the helicopter, remote, and battery inclusion.
4. Setup Guide
4.1 Remote Control Battery Installation
- Locate the battery compartment on the back of the remote control.
- Using a small Phillips head screwdriver, unscrew the battery compartment cover.
- Insert 4 new AA batteries, ensuring correct polarity (+/-) as indicated inside the compartment.
- Replace the battery compartment cover and secure it with the screw.
4.2 Helicopter Charging
The Air Hogs Axis 300X helicopter has an integrated rechargeable battery. To charge the helicopter:
- Ensure the remote control has fresh batteries and is powered off.
- Locate the charging cable on the remote control (often stored in a compartment).
- Connect the charging cable from the remote control to the charging port on the helicopter.
- A charging indicator light on the remote or helicopter will illuminate during charging. Refer to the specific light behavior in your product's quick start guide for full details.
- Once charging is complete (light changes color or turns off), disconnect the cable.

Figure 4.1: The Air Hogs Axis 300X Helicopter connected to its remote control for charging.
4.3 Pairing the Helicopter and Remote
For the first flight or after changing batteries, you may need to pair the helicopter with the remote control:
- Turn on the helicopter's power switch (usually located on the underside).
- Turn on the remote control's power switch.
- Move the throttle stick (left stick) all the way up, then all the way down.
- The indicator lights on both the helicopter and remote should become solid, indicating a successful pairing.
- If pairing fails, turn off both devices and repeat the steps.
5. Operating Instructions
5.1 Remote Control Functions
Familiarize yourself with the remote control layout:
- Left Stick (Throttle): Controls altitude (up/down). Push up to ascend, pull down to descend.
- Right Stick (Directional): Controls forward/backward movement and left/right turning.
- Trim Buttons: Used to fine-tune the helicopter's stability if it drifts in a certain direction. Adjust small increments until stable.
- Mode Switch: Toggles between Beginner and Advanced flight modes. Beginner mode offers more stability and limited speed, while Advanced mode provides greater agility and speed.
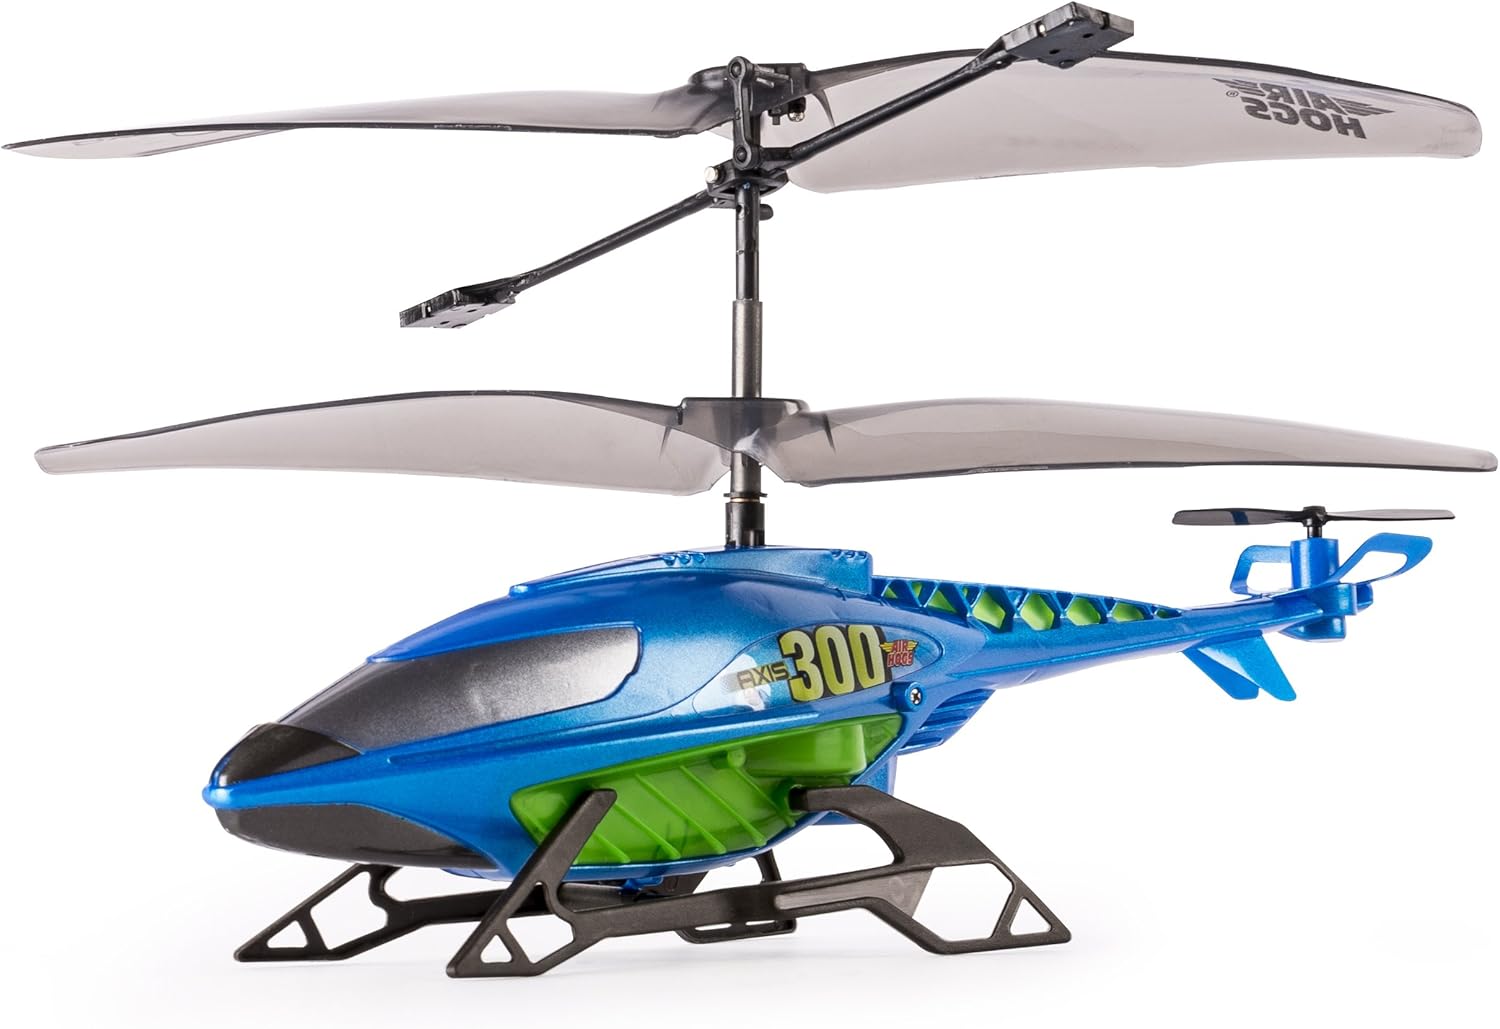
Figure 5.1: Front-side view of the Air Hogs Axis 300X Helicopter.
5.2 First Flight Tips
- Choose an Open Area: Start in a large, clear indoor space or a calm outdoor area with no wind.
- Beginner Mode: Always start in Beginner mode until you are comfortable with the controls.
- Gentle Throttle: Slowly push the throttle stick up to lift off. Avoid sudden movements.
- Hovering Practice: Focus on maintaining a stable hover at a low altitude before attempting forward or backward movements.
- Landing: Gently pull the throttle stick down to land. Reduce throttle completely once on the ground.
- Gyro Stabilization: The built-in gyro stabilization will help maintain flight stability. Use trim buttons if the helicopter drifts.

Figure 5.2: Side view of the Air Hogs Axis 300X Helicopter.
6. Maintenance
6.1 Cleaning
To keep your Air Hogs Axis 300X in optimal condition:
- Wipe the helicopter and remote control with a clean, dry cloth after use.
- Do not use water or chemical cleaners, as they can damage electronic components.
- Remove any debris (dust, hair, etc.) from the propellers and gears.
6.2 Propeller Replacement
If a propeller becomes damaged, replace it with a spare:
- Ensure the helicopter is powered off.
- Gently pull the damaged propeller straight up from its shaft.
- Align the new propeller with the shaft and push it down firmly until it clicks into place. Ensure it rotates freely.
6.3 Storage
When not in use, store the helicopter and remote control in a cool, dry place, away from direct sunlight and extreme temperatures. Remove batteries from the remote control for long-term storage.
7. Troubleshooting
| Problem | Possible Cause | Solution |
|---|---|---|
| Helicopter does not respond to remote. | Low batteries in remote or helicopter; Not paired; Power switches off. | Replace remote batteries; Charge helicopter; Ensure both are powered on and paired correctly. |
| Helicopter drifts during flight. | Needs trim adjustment; Uneven surface for takeoff. | Use the trim buttons on the remote to correct drift; Take off from a flat, level surface. |
| Helicopter does not lift off or has weak lift. | Low helicopter battery; Damaged propellers; Obstruction in rotors. | Fully charge helicopter; Check for damaged propellers and replace if necessary; Clear any obstructions. |
| Short flight time. | Battery not fully charged; Old battery. | Ensure helicopter is fully charged before each flight. Battery life naturally degrades over time. |
8. Product Specifications
| Feature | Detail |
|---|---|
| Model Number | 20075147 |
| Product Dimensions | 8.66 x 2.24 x 4.53 inches |
| Item Weight | 10.4 ounces |
| Manufacturer Recommended Age | 8 - 10 years |
| Batteries Required | AA batteries (included for remote) |
| Release Date | August 1, 2016 |
| Manufacturer | Spinmaster |
9. Warranty and Customer Support
For warranty information, technical assistance, or to purchase replacement parts, please contact Air Hogs customer support. Specific warranty terms may vary by region and retailer.
You can find more information and support resources on the official Air Hogs website or through their authorized retailers.
Visit the Air Hogs Store on Amazon for product details and brand information.