1. Important Safety Instructions
Please read and understand all safety instructions before operating this airbrush compressor. Failure to follow these instructions may result in electric shock, fire, or serious injury.
- Always ensure the compressor is connected to a grounded electrical outlet with the correct voltage (230 Volts).
- Do not operate the compressor in wet or damp conditions. Keep it away from water.
- Ensure adequate ventilation around the compressor during operation to prevent overheating.
- Never point the airbrush nozzle at yourself or others.
- Always wear appropriate personal protective equipment, including eye protection and a respirator, when airbrushing.
- Disconnect the power cable from the outlet before performing any maintenance or when the compressor is not in use.
- Keep children and pets away from the compressor during operation.
2. Package Contents
Verify that all items are present in the package:
- Fengda AS-06-1 Mini Airbrush Compressor Unit
- Air Hose
- Power Cable
- Air Filter
3. Product Overview
The Fengda AS-06-1 is a compact and efficient mini airbrush compressor designed for various airbrushing applications. It provides a consistent air supply for detailed work.
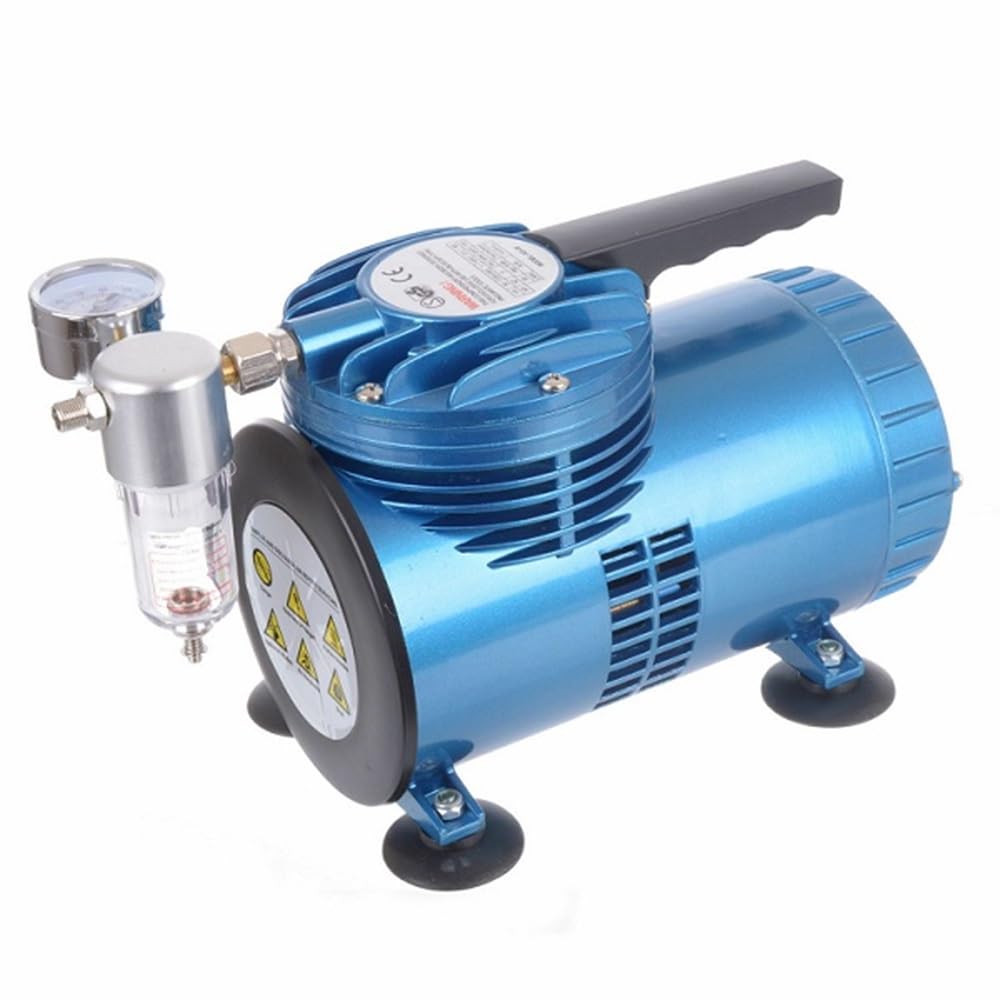
Image of the Fengda AS-06-1 Mini Airbrush Compressor, showing its compact design and main components.
4. Setup
- Placement: Place the compressor on a stable, level surface in a well-ventilated area. Ensure there is enough space around the unit for proper airflow.
- Connect Air Hose: Connect one end of the air hose to the air outlet on the compressor. Connect the other end of the air hose to your airbrush. Ensure connections are secure to prevent air leaks.
- Install Air Filter: If not already installed, attach the air filter to the compressor's air outlet before connecting the air hose. This helps to remove moisture and particles from the air supply.
- Connect Power: Plug the power cable into the compressor's power inlet, then plug the other end into a standard 230 Volt grounded electrical outlet.
5. Operating Instructions
- Power On: Locate the power switch on the compressor and turn it to the 'ON' position. The compressor will begin to build pressure.
- Prepare Airbrush: Fill your airbrush cup with the desired paint or medium, ensuring it is properly thinned for airbrushing.
- Begin Airbrushing: Hold the airbrush and begin your work. The compressor will automatically maintain pressure as you spray.
- Power Off: When finished, turn the power switch to the 'OFF' position. Disconnect the airbrush and clean it thoroughly.
- Disconnect Power: Unplug the power cable from the electrical outlet when the compressor is not in use.
6. Maintenance
Regular maintenance ensures optimal performance and extends the lifespan of your compressor.
- Clean Air Filter: Periodically check the air filter for dust and debris. Clean or replace it as necessary to ensure clean air delivery and prevent strain on the compressor.
- Exterior Cleaning: Wipe the exterior of the compressor with a soft, damp cloth. Do not use harsh chemicals or abrasive cleaners.
- Storage: Store the compressor in a clean, dry place when not in use.
7. Troubleshooting
| Problem | Possible Cause | Solution |
|---|---|---|
| Compressor does not turn on | No power supply; Power switch off; Faulty power cable | Check power outlet; Ensure power switch is ON; Inspect power cable for damage. |
| No air from airbrush | Air hose disconnected; Airbrush clogged; Compressor not running | Check air hose connections; Clean airbrush; Ensure compressor is ON. |
| Low air pressure | Air leaks; Clogged air filter; Compressor malfunction | Check all connections for leaks; Clean or replace air filter; Contact support if issue persists. |
8. Specifications
- Model: AS-06-1
- Brand: Fengda
- Voltage: 230 Volts
- Power Source: Electric Cable
- Recommended Use: Airbrushing
- Item Weight: Approximately 11.02 Pounds (5 kg)
- Package Dimensions: 31 x 22 x 15.6 cm
- Included Components: Air hose, power cable, air filter
9. Warranty and Support
For warranty information or technical support, please refer to the documentation provided at the time of purchase or contact your retailer. Keep your purchase receipt as proof of purchase.