1. Introduction
The Wiltec Automatic 24-Egg Incubator is designed for efficient and reliable hatching of various poultry eggs. It features a fully automatic egg turning system, precise temperature and humidity control, and a clear LED display for monitoring key incubation parameters. This user-friendly device is suitable for both beginners and experienced users, providing a consistent environment crucial for healthy chick development.
2. Safety Instructions
- Always place the incubator on a stable, level surface away from direct sunlight, drafts, or extreme temperature fluctuations.
- Ensure the power supply matches the specifications of the incubator.
- Do not immerse the incubator or its electrical components in water.
- Keep the incubator out of reach of children and pets.
- Unplug the device before cleaning or performing any maintenance.
- Do not operate the incubator if the power cord or plug is damaged.
3. Package Contents
Verify that all components are present upon unpacking:
- Wiltec Automatic 24-Egg Incubator Unit
- Power Cable
- Instruction Manual
4. Setup
- Unpacking and Placement: Carefully remove the incubator from its packaging. Place it on a flat, stable surface in a room with a consistent ambient temperature, away from direct sunlight or drafts.
- Water Filling for Humidity: Locate the water grooves at the bottom of the incubator. Fill these grooves with distilled or demineralized water to the recommended level. This water is essential for maintaining proper humidity during incubation.
- Connecting Power: Connect the power cable to the incubator and then plug it into a suitable electrical outlet.
- Initial Power-On: Turn on the incubator using the power switch. The LED display will illuminate, showing the current temperature and humidity readings. Allow the incubator to run for at least 30 minutes to stabilize the internal temperature before placing eggs.

Figure 1: Main view of the Wiltec Automatic 24-Egg Incubator.

Figure 2: The incubator in a typical setup environment.

Figure 3: Incubator dimensions: 47 cm (length) x 33 cm (width) x 23 cm (height).
5. Operating Instructions
5.1 Temperature and Humidity Control
The incubator features a clear LED display that shows important information such as temperature and humidity levels. This allows for easy monitoring and timely adjustments to maintain optimal incubation conditions.
- Temperature Setting: Use the control buttons (usually '+' and '-') on the panel to set the desired incubation temperature. Refer to specific egg type requirements for optimal settings.
- Humidity Monitoring: The integrated water grooves and fan work together to ensure stable air humidity. Monitor the humidity percentage on the LED display and refill the water grooves as needed to maintain the recommended levels for your specific eggs.

Figure 4: The LED display provides real-time temperature and humidity readings for precise control.
5.2 Egg Placement
The incubator has a maximum capacity of 24 eggs. It is suitable for various types of poultry eggs.
- Carefully place the fertilized eggs into the designated slots on the egg rack.
- Ensure eggs are clean and free from cracks.
- Do not overcrowd the incubator; adhere to the 24-egg capacity for optimal air circulation and turning.
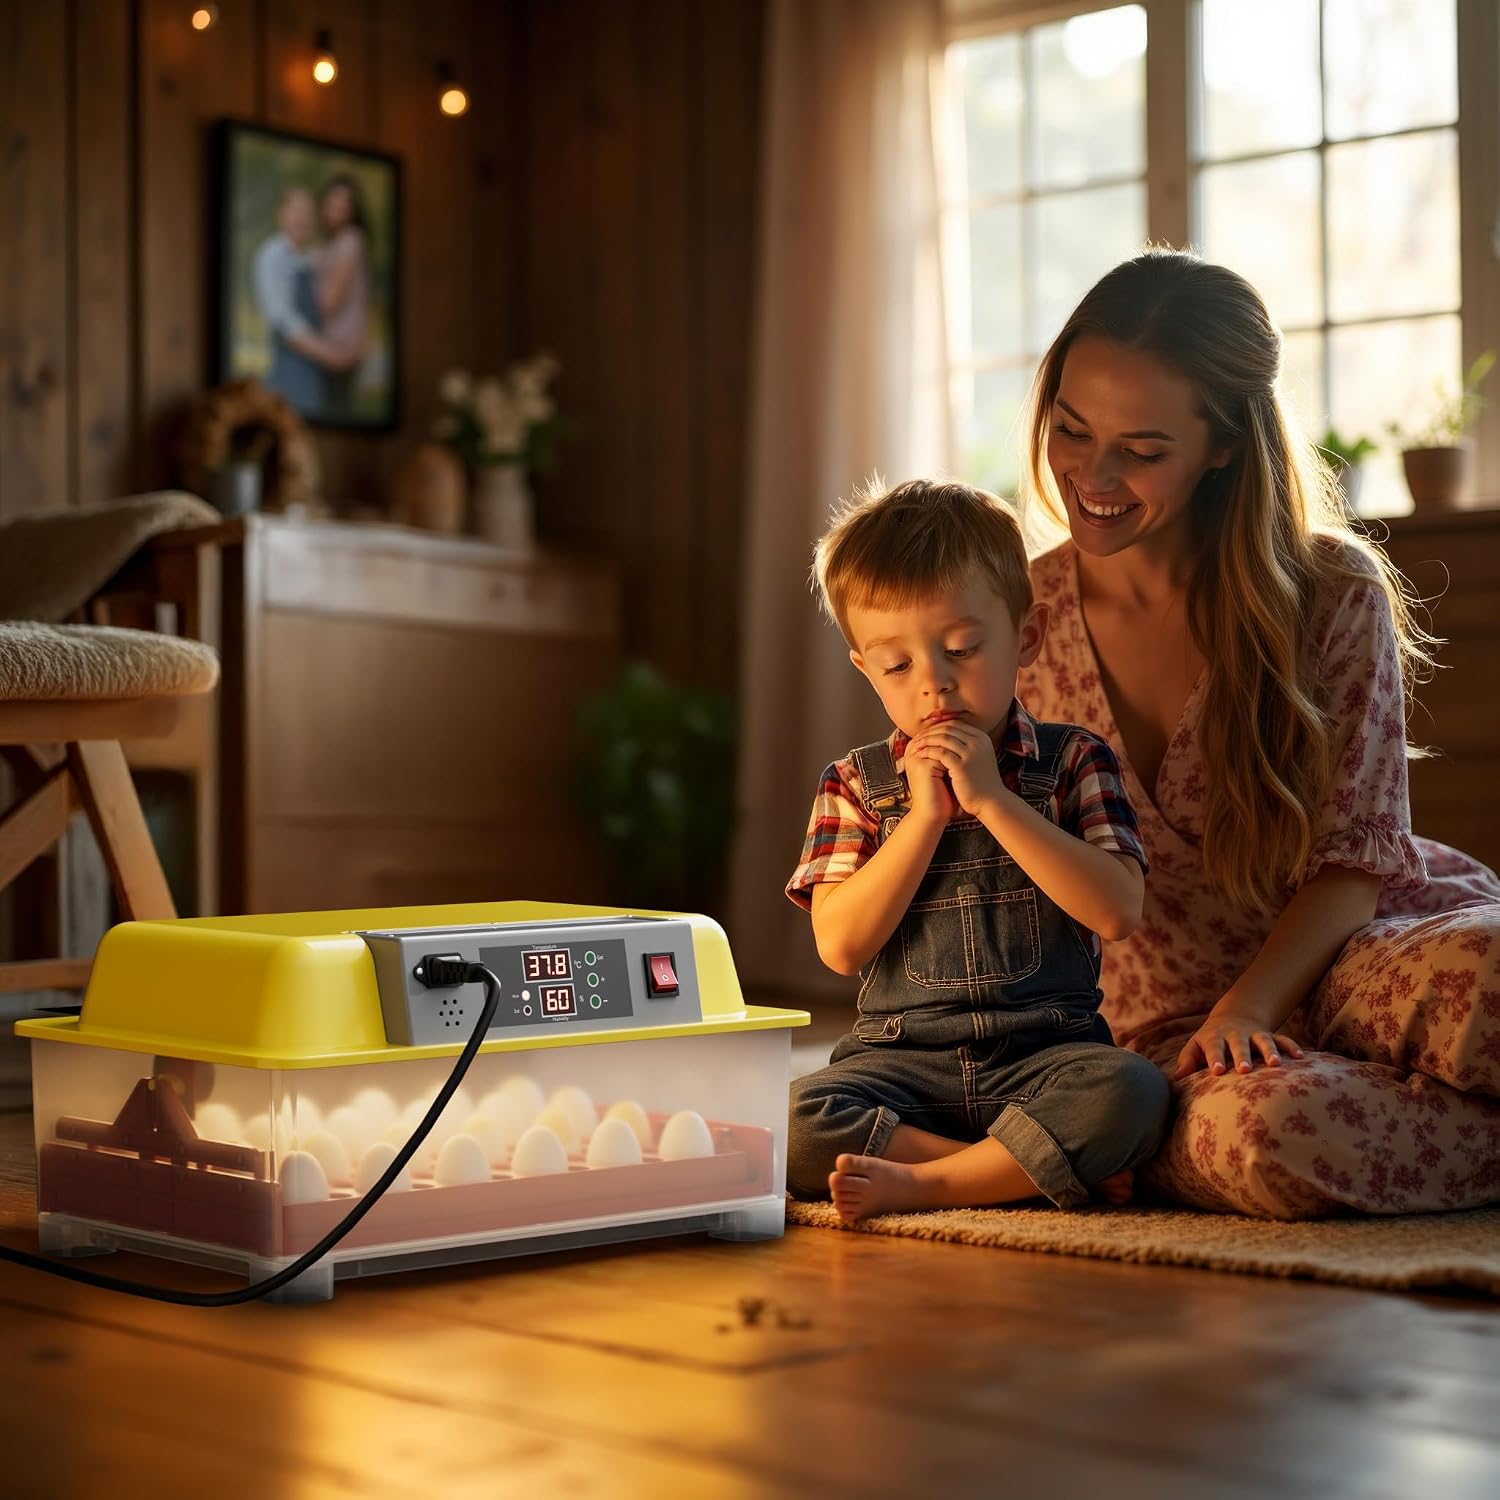
Figure 5: The incubator is suitable for various poultry eggs, including quail, duck, goose, and chicken eggs.
5.3 Automatic Egg Turning
The fully automatic turning system regularly tilts the eggs. This process mimics natural parental behavior and is essential for successful hatching as it prevents embryos from sticking to the shell and promotes even development.
- The turning mechanism operates automatically at set intervals. No manual intervention is required for turning.
- Ensure the egg rack is properly installed for the turning function to work correctly.

Figure 6: The automated egg turning mechanism ensures consistent egg rotation.
5.4 Ventilation
An internal fan ensures optimal air circulation throughout the incubator. This minimizes temperature fluctuations and provides fresh air for the developing embryos, which is vital for their health.

Figure 7: The integrated fan ensures optimal air circulation and minimizes temperature fluctuations.
5.5 Incubation Process Overview
The incubation period and ideal conditions vary by egg type. It is recommended to research the specific requirements for the eggs you are incubating. Generally, maintain stable temperature and humidity, and ensure the automatic turning system is active until the final days before hatching (lockdown period).
6. Maintenance
Regular cleaning and maintenance are crucial for hygienic and efficient use over multiple incubation sessions.
- Cleaning: After each incubation cycle, unplug the incubator and allow it to cool. Remove the egg rack and any removable spacers. Clean all internal surfaces with a mild disinfectant solution and a soft cloth. Ensure all parts are completely dry before reassembly or storage.
- Water Grooves: Regularly clean the water grooves to prevent algae or bacterial growth.
- Storage: Store the incubator in a clean, dry place when not in use.

Figure 8: The maintenance-friendly design with removable egg rack facilitates easy cleaning.
7. Troubleshooting
This section addresses common issues you might encounter:
| Problem | Possible Cause | Solution |
|---|---|---|
| Temperature fluctuations | Incubator placed in a drafty area; lid not sealed properly; room temperature unstable. | Relocate incubator; ensure lid is securely closed; stabilize room temperature. |
| Humidity too low | Insufficient water in grooves; dry ambient air. | Refill water grooves; consider adding a small sponge in the water area if needed (ensure it doesn't block air flow). |
| Eggs not turning | Egg rack not installed correctly; motor malfunction. | Check egg rack installation; if issue persists, contact customer support. |
| Poor hatch rate | Incorrect temperature/humidity; infertile eggs; poor egg quality. | Verify settings against egg type requirements; ensure eggs are fresh and fertile. |
8. Specifications
| Feature | Specification |
|---|---|
| Brand | WilTec |
| Model Number | 51076 |
| Product Dimensions | 47 x 33 x 23 cm |
| Item Weight | 3.02 kg |
| Egg Capacity | 24 eggs |
| Automatic Turning | Yes |
| Temperature Control | Yes (LED display) |
| Humidity Control | Yes (Integrated water grooves and fan) |
| First Available Date | January 15, 2020 |
| Discontinued by Manufacturer | No |
9. Warranty and Support
Wiltec products are manufactured to high-quality standards. For warranty information, please refer to the terms and conditions provided at the time of purchase or visit the official Wiltec website. If you encounter any issues or require technical assistance, please contact your retailer or Wiltec customer support directly.
For further assistance, please visit the Wiltec Store on Amazon.


