Introduction
This manual provides detailed instructions for the installation, operation, and maintenance of your Rockville RTB65A 6.5-inch Powered Subwoofer Bass Tube and RWK10 10-Gauge Amplifier Installation Kit. This bundle is designed to enhance your vehicle's audio system with powerful bass output and includes all necessary components for a complete setup.

Image: Rockville RTB65A 6.5-inch Powered Subwoofer Bass Tube, showing the black tubular enclosure with the Rockville logo and a protective grille over the speaker.
Safety Information
- Always disconnect the vehicle's battery before beginning any electrical installation.
- Ensure all wiring is properly insulated and secured to prevent short circuits and damage.
- Mount the subwoofer securely to prevent movement during vehicle operation, which could cause injury or damage.
- Avoid installing components in locations that obstruct airbags, driver visibility, or vehicle controls.
- Consult a professional car audio installer if you are unsure about any part of the installation process.
- Do not expose the unit to excessive moisture or extreme temperatures.
Package Contents
Verify that all items are present in your package:
- (1) Rockville RTB65A 6.5-inch Powered Subwoofer Bass Tube with MP3 Input
- (1) Rockville RWK10 10-Gauge Amp Installation Kit
- Mounting Legs
- Velcro Straps
- Molded Steel Grill (pre-installed on subwoofer)
- 100% Copper RCA Cable
- ATC Inline Fuse Holder with 40A Fuse
- Wiring Accessories (wire ties, ring terminals, butt connectors, spades, grommets)
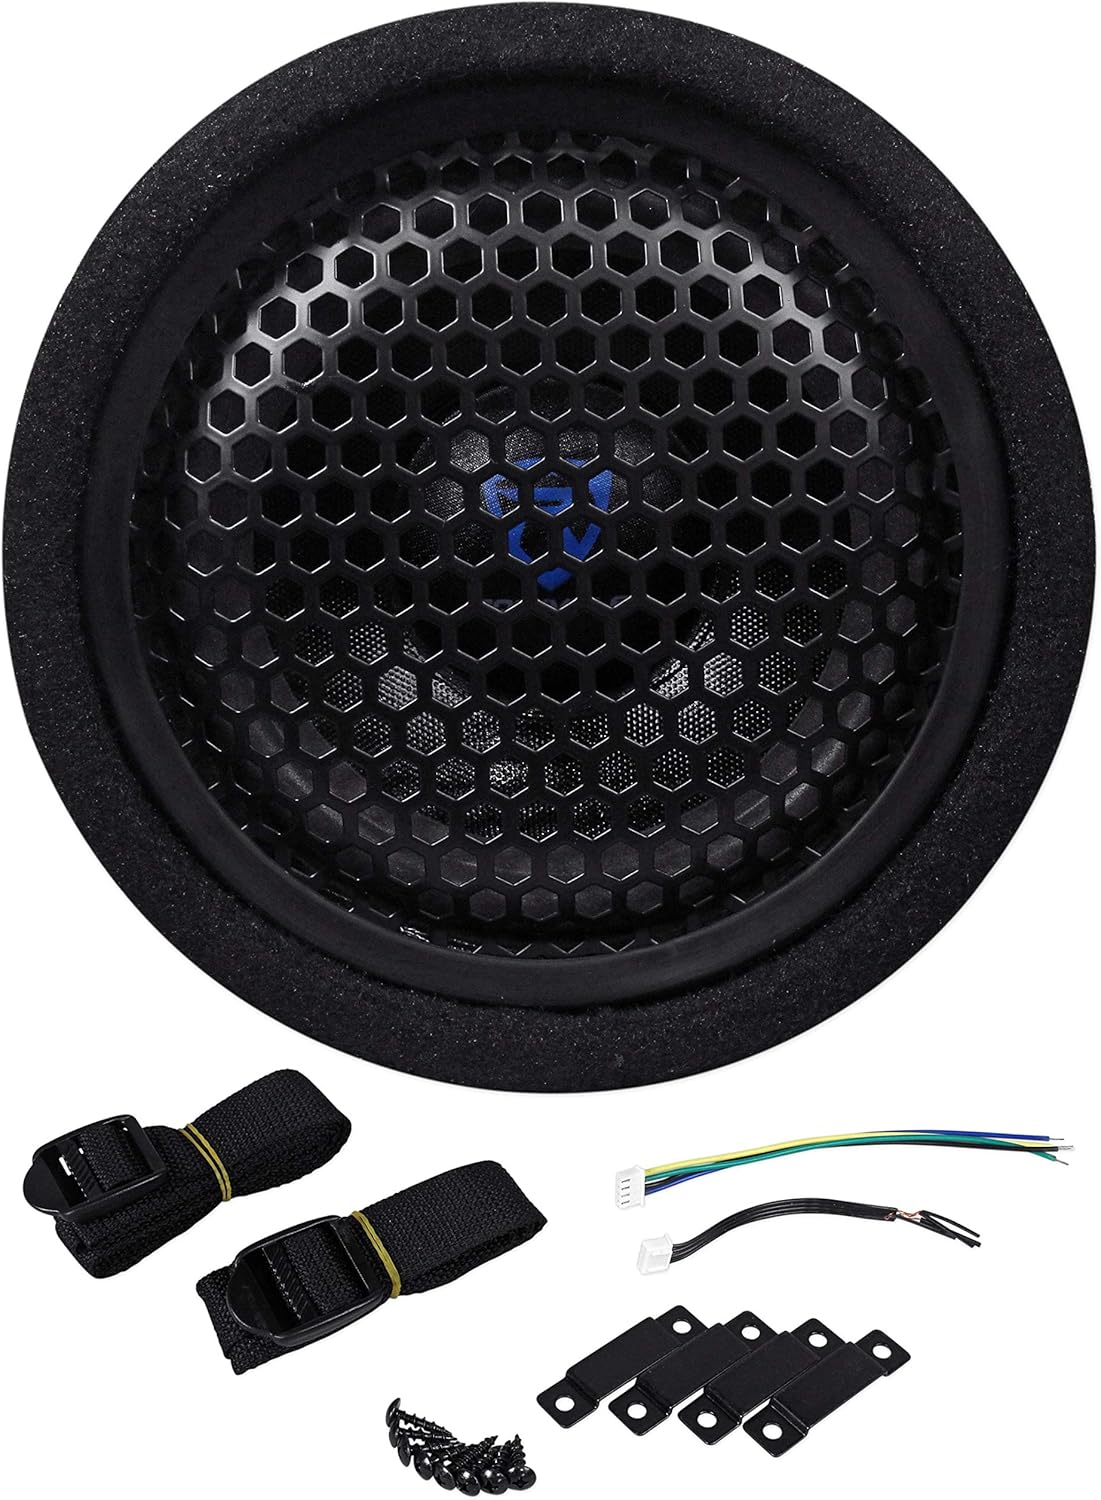
Image: Front view of the Rockville RTB65A subwoofer with its protective grille, alongside various installation accessories including straps, mounting brackets, and wiring harnesses.

Image: Components of the Rockville RWK10 10-Gauge Amp Installation Kit, including power cables, RCA cables, fuse holder, and various terminals and connectors.
Setup and Installation
Mounting the Subwoofer
The RTB65A is designed for flexible placement in your vehicle, such as under seats, in trunks, or against panels.
- Choose a secure location that does not obstruct vehicle operation or safety features.
- Use the provided four steel mounting brackets and screws to secure the subwoofer to a stable surface.
- Alternatively, use the two canvas Velcro straps to firmly hold the bass tube in place, especially for temporary or less permanent installations.
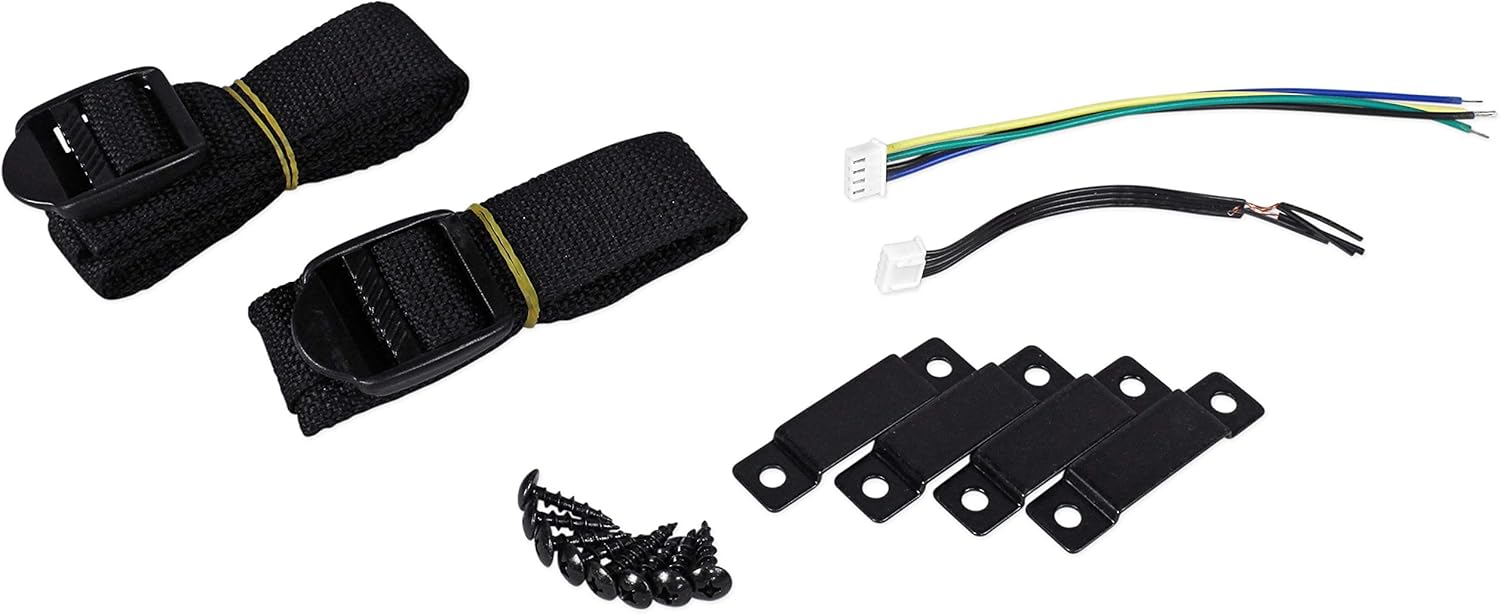
Image: Close-up of the mounting accessories for the Rockville RTB65A, including black canvas straps with buckles and small black metal L-brackets with screws.
Wiring Connections
The RTB65A features an integrated amplifier, simplifying the wiring process. The RWK10 kit provides all necessary cables and connectors.

Image: Rear control panel of the Rockville RTB65A subwoofer, showing terminals for GND, +12V, REM, High-Level Input/Output, RCA Input, MP3 Input, and control knobs for LPF and Bass.
- Power Connection (+12V): Connect the 10 AWG SuperFlex power cable from the RWK10 kit to the +12V terminal on the subwoofer's control panel. Route this cable directly to the vehicle's positive battery terminal, ensuring the ATC inline fuse holder is installed close to the battery (within 18 inches) for protection.
- Ground Connection (GND): Connect a short length of 10 AWG cable from the GND terminal on the subwoofer to a clean, unpainted metal surface on the vehicle's chassis. Ensure a solid, secure connection for optimal performance and safety.
- Remote Turn-On (REM): Connect a remote turn-on wire from your head unit (typically a blue/white wire) to the REM terminal on the subwoofer. This wire signals the subwoofer to turn on and off with your vehicle's audio system.
- Signal Input:
- RCA Line-Level Input: If your head unit has RCA pre-outs, connect the supplied 100% copper twisted-pair RCA cable from the head unit's subwoofer or rear pre-outs to the RCA INPUT on the RTB65A.
- Speaker-Level Input: If your head unit does not have RCA pre-outs, use the high-level input. Connect the speaker wires from your head unit's rear speakers to the HIGH LEVEL INPUT terminals on the RTB65A.
- MP3 Input: For standalone playback, connect an MP3 player or other audio source directly to the MP3 Input jack on the control panel.
Operation
Adjusting Audio Settings
The RTB65A features controls on its panel to fine-tune the bass output to your preference and match your vehicle's audio system.
- Low Pass Filter (LPF): Use the LPF control knob to adjust the upper frequency limit of the subwoofer. This ensures that only low-frequency sounds are reproduced by the subwoofer, preventing it from playing mid-range or high-frequency audio. Adjust between 40Hz and 250Hz.
- Bass Boost: The Bass control allows you to increase the intensity of the bass frequencies. Adjust this to achieve your desired level of bass impact.
- MP3 Input Volume: When using the MP3 input for standalone playback, adjust the dedicated volume control to set the output level.
Start with the LPF set to a lower frequency (e.g., 80Hz-100Hz) and the Bass Boost at a minimal level. Gradually increase these settings while listening to your audio to find the optimal balance.
Maintenance
- Keep the subwoofer clean by wiping it with a soft, dry cloth. Avoid using harsh chemicals or abrasive cleaners.
- Regularly check all wiring connections to ensure they remain secure and free from corrosion.
- Ensure adequate ventilation around the subwoofer to prevent overheating, especially during extended use.
- Inspect the fuse in the ATC inline fuse holder periodically and replace it only with a fuse of the same rating (40A).
Troubleshooting
| Problem | Possible Cause | Solution |
|---|---|---|
| No sound from subwoofer |
|
|
| Distorted sound |
|
|
| Subwoofer turns off intermittently or overheats |
|
|
Specifications
| Feature | Detail |
|---|---|
| Model | RTB65A+RWK10 |
| Brand | Rockville |
| Speaker Type | Powered Subwoofer |
| Subwoofer Diameter | 6.5 Inches |
| Peak Power Output | 300 Watts |
| RMS Power Output | 150 Watts |
| Frequency Response | 30Hz - 200Hz |
| Sensitivity | 102 dB |
| Enclosure Type | Vented Tubular |
| Inputs | Speaker-Level, RCA Line-Level, MP3 |
| Crossover | Adjustable Bass Crossover (LPF 40Hz-250Hz) |
| Mounting Type | Strap Mount |
| Product Dimensions (D x W x H) | 7.25" x 15.75" x 7.25" |
| Item Weight | 12 Pounds |
| Wiring Kit Gauge | 10 AWG |
| Fuse Type | ATC Inline (40A) |
Warranty Information
The Rockville RTB65A Powered Subwoofer Bass Tube and RWK10 Amp Installation Kit come with a limited warranty. Please refer to the warranty card included with your product or visit the official Rockville website for detailed terms and conditions regarding warranty coverage, duration, and claims procedures. Keep your proof of purchase for warranty service.
Customer Support
For technical assistance, troubleshooting, or product inquiries, please contact Rockville customer support.
- Website: www.rockvilleaudio.com
- Email: Refer to the website for contact forms or email addresses.
- Phone: Refer to the website for customer service phone numbers.
When contacting support, please have your product model number (RTB65A+RWK10) and purchase information ready.