1. Product Overview
The HD-line HD-310 is a digital HD satellite receiver designed for receiving DVB-S/S2 signals in Full HD 1080p quality. It features multiple connectivity options including HDMI, SCART, and two USB 2.0 ports, allowing for versatile integration with your television and other devices. This receiver is pre-programmed for popular satellites like ASTRA, HOTBIRD, and PORTE, ensuring a straightforward setup for accessing free-to-air channels.

Image 1.1: Front and rear view of the HD-line HD-310 receiver, highlighting its compact design and various connection ports.

Image 1.2: Contents of the HD-line HD-310 package, including the receiver, remote control, power adapter, and USB cable.
2. Setup Instructions
2.1 Unpacking and Initial Inspection
Carefully remove all components from the packaging. Ensure all items listed in the package contents (receiver, remote control, power adapter, USB cable) are present and undamaged. Before use, remove any protective films from the device, especially from the front panel display.

Image 2.1: Removing the protective film from the HD-line HD-310 receiver's front panel.
2.2 Connecting the Receiver
- Satellite Antenna Connection: Connect your satellite dish cable to the "LNB IN" port on the rear of the HD-310 receiver.
- Television Connection:
- For High Definition (HD) output, connect an HDMI cable from the "HDMI" port on the receiver to an HDMI input on your television.
- For Standard Definition (SD) output, connect a SCART cable from the "SCART" port on the receiver to a SCART input on your television.
- Power Connection: Connect the power adapter to the "DC-IN" port on the receiver and then plug the adapter into a wall outlet.
- USB Devices (Optional): You can connect USB storage devices to the USB 2.0 ports for media playback or recording.
Image 2.2: Rear panel connections of the HD-line HD-310 receiver.
2.3 First Time Power On and Channel Scan
Upon first power-on, the receiver will guide you through an initial setup wizard. Follow the on-screen prompts to select your language, region, and perform an automatic channel scan. The HD-310 is pre-programmed for ASTRA, HOTBIRD, and PORTE satellites, which simplifies the channel search process.
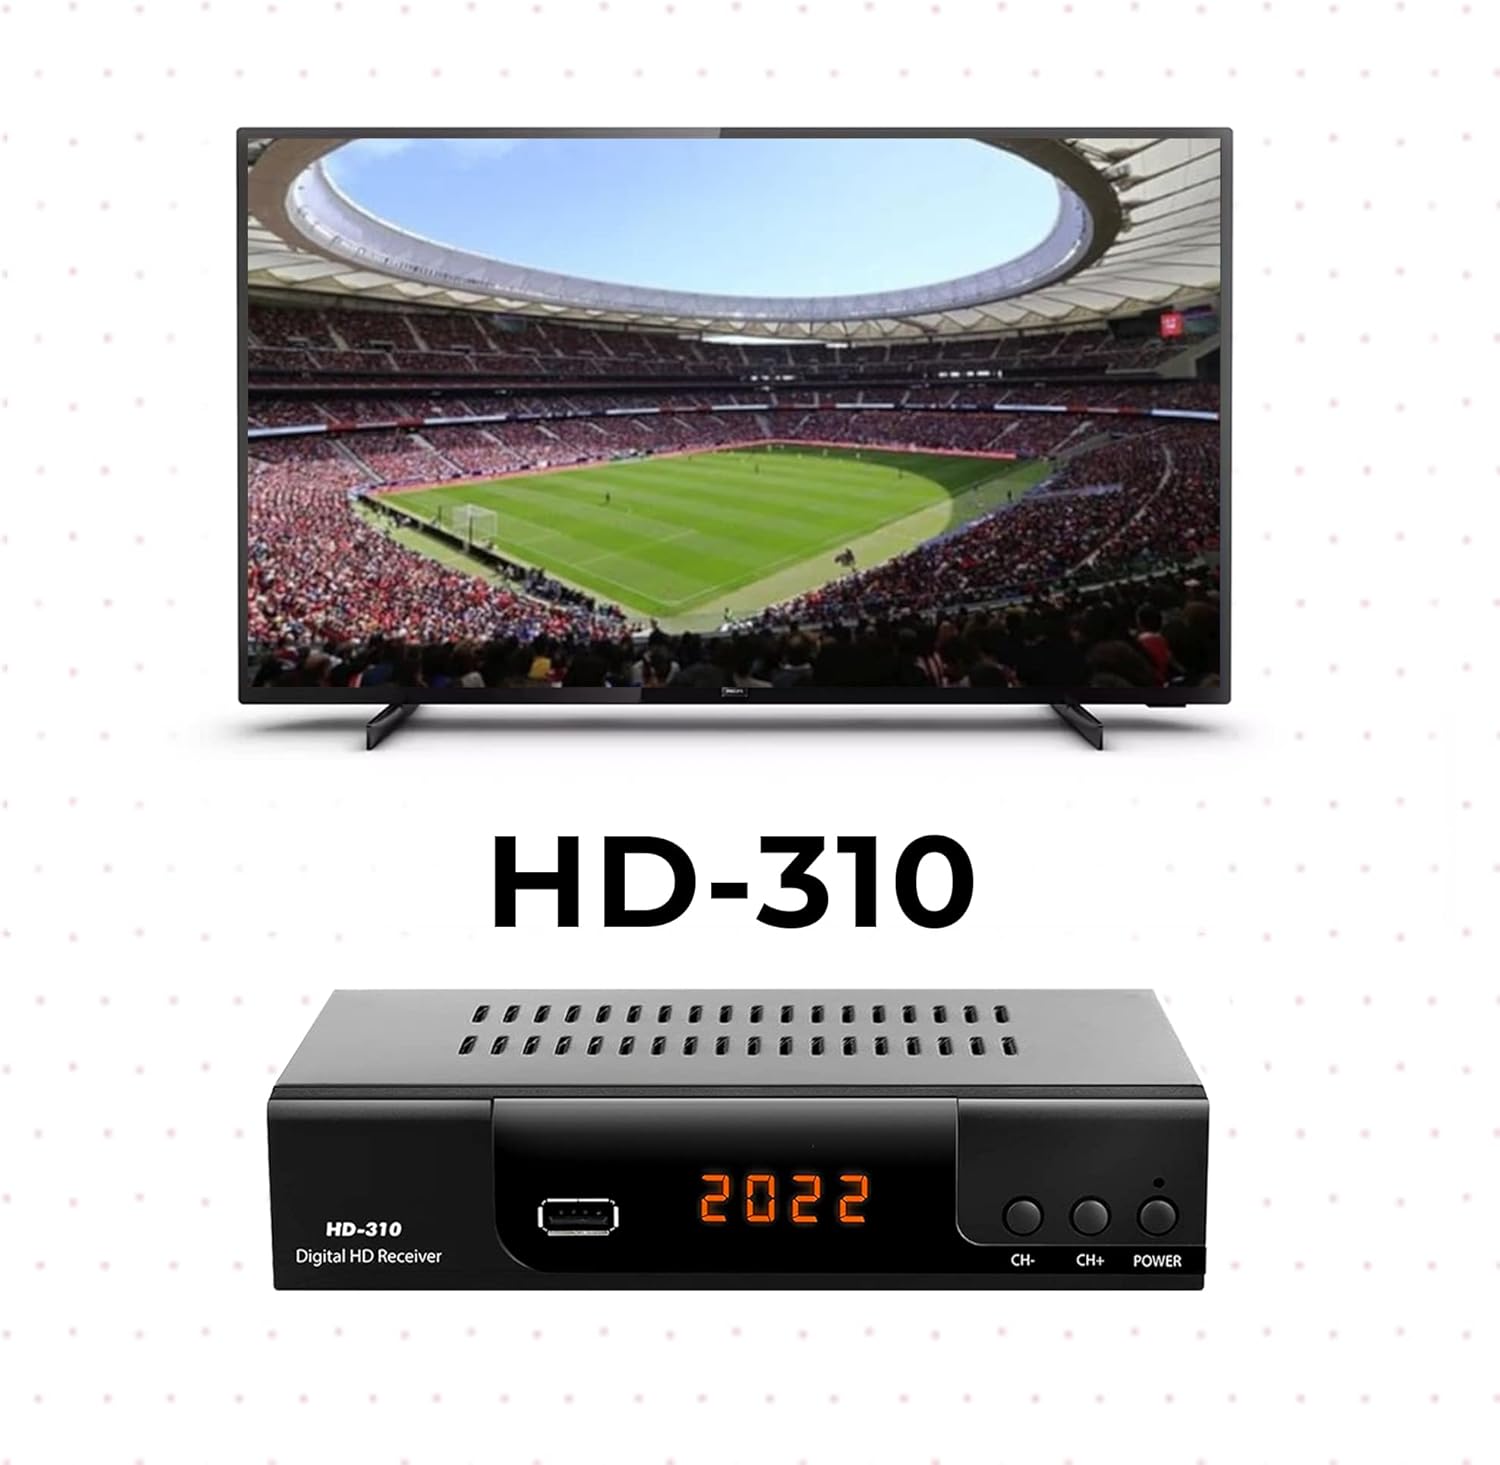
Image 2.3: The HD-line HD-310 receiver connected and displaying content on a television.
3. Operating Instructions
3.1 Remote Control Functions
The included remote control allows for easy navigation and control of the receiver's functions. Ensure the remote has batteries installed and is pointed towards the front of the receiver for optimal signal transmission.

Image 3.1: HD-line HD-310 receiver and its remote control in use.
- Power Button: Turns the receiver on or off (standby).
- CH+/CH-: Changes channels up or down.
- VOL+/VOL-: Adjusts volume up or down.
- OK Button: Confirms selections in menus or displays channel list.
- MENU Button: Accesses the main menu for settings and features.
- EXIT Button: Exits current menu or screen.
- EPG Button: Displays the Electronic Program Guide.
- REC Button: Initiates recording to a connected USB storage device.
- USB Button: Accesses media files on a connected USB device.

Image 3.2: Dimensions of the HD-line HD-310 remote control.
3.2 Channel Management
After the initial scan, you can manage your channels through the main menu. Options typically include:
- Channel List: View all available channels.
- Favorite Lists: Create custom lists of your preferred channels.
- Edit Channels: Move, delete, or lock channels.
3.3 Media Playback and Recording
The HD-310 supports media playback and recording via its USB 2.0 ports. Connect a compatible USB storage device (e.g., USB flash drive or external hard drive) to one of the USB ports.
- Media Playback: Use the "USB" button on the remote or navigate through the main menu to access the media player. You can play supported audio, video, and image files.
- Recording (PVR): Press the "REC" button on the remote to start recording the current program. You can also schedule recordings through the EPG. Ensure your USB device has sufficient free space and is formatted correctly (FAT32 or NTFS).
4. Maintenance
4.1 Cleaning
To clean the receiver, disconnect it from the power supply. Use a soft, dry cloth to wipe the exterior. Do not use liquid cleaners, aerosols, or abrasive materials, as these can damage the finish or internal components.
4.2 Software Updates
Periodically check the manufacturer's website for available software updates. Updates can improve performance, add new features, or fix bugs. Follow the instructions provided with the update file carefully to avoid damaging the device.
5. Troubleshooting
| Problem | Possible Cause | Solution |
|---|---|---|
| No power | Power cable not connected; power outlet faulty. | Ensure power cable is securely connected. Test the outlet with another device. |
| No signal / No channels | Antenna cable loose; dish misalignment; no channel scan performed. | Check LNB IN connection. Ensure satellite dish is correctly aimed. Perform a channel scan. |
| No picture / No sound | HDMI/SCART cable loose; incorrect TV input selected. | Verify HDMI/SCART cable connections. Select the correct input source on your TV. |
| Remote control not working | Batteries depleted or incorrectly inserted; obstruction between remote and receiver. | Replace batteries. Ensure clear line of sight to the receiver's IR sensor. |
| USB recording not working | USB device not connected; insufficient space; incompatible format. | Connect USB device. Check available space. Ensure device is formatted to FAT32 or NTFS. |
6. Technical Specifications
| Feature | Detail |
|---|---|
| Model Number | HD-310 |
| Brand | hd-line |
| Receiver Type | Digital HD Satellite Receiver (DVB-S/S2) |
| Video Resolution | Full HD 1080p |
| Connectivity | 1x HDMI, 1x SCART, 2x USB 2.0, Coaxial, LNB IN/OUT |
| Compatible Devices | Television |
| Audio Output Mode | Stereo |
| Supported Audio Formats | Dolby Digital, DTS, AAC, MP3, PCM |
| Weight | 650 Grams |
| Dimensions (Receiver) | 16.8 cm x 10 cm x 3.8 cm (approximate, based on image) |

Image 6.1: Physical dimensions of the HD-line HD-310 receiver.
7. Warranty and Support
7.1 Warranty Information
Specific warranty details for the HD-line HD-310 receiver are typically provided with the product packaging or can be found on the manufacturer's official website. Please retain your proof of purchase for warranty claims. The warranty generally covers manufacturing defects under normal use conditions.
7.2 Customer Support
For technical assistance, troubleshooting beyond this manual, or warranty inquiries, please contact HD-line customer support. Refer to the contact information provided in your product documentation or visit the official HD-line website for support resources.