1. Introduction
This manual provides essential instructions for the safe and efficient operation of your Mighty Max Battery 12V 2 Amp Charger and Maintainer. This device is designed to charge and maintain 12-volt Sealed Lead Acid (SLA) batteries, ensuring optimal performance and extended battery life. Please read this manual thoroughly before use and retain it for future reference.
2. Safety Instructions
Always observe the following safety precautions to prevent injury or damage to the charger and battery:
- Indoor Use Only: This charger is designed for indoor use in dry locations. Do not expose to rain, moisture, or extreme temperatures.
- Electrical Shock Hazard: Do not open the charger casing. There are no user-serviceable parts inside. Refer all servicing to qualified personnel.
- Battery Compatibility: Use this charger only with 12-volt Sealed Lead Acid (SLA) batteries. Attempting to charge other battery types may cause injury or damage.
- Ventilation: Ensure adequate ventilation when charging batteries. Batteries can produce explosive gases.
- Connection Order: Connect the charger to the battery terminals before plugging the charger into an AC power outlet. Disconnect in reverse order.
- Avoid Short Circuits: Ensure the alligator clips do not touch each other or any uninsulated metal surfaces when connected to power.
- Supervision: Do not leave the charger unattended for extended periods, especially during the initial charging phase.
- Children and Pets: Keep the charger and battery out of reach of children and pets.
3. Package Contents
Verify that all items are present in your package:
- Mighty Max Battery 12V 2A Charger and Maintainer with attached AC plug and DC output cables with alligator clips.

4. Product Features
The Mighty Max Battery 12V 2A Charger and Maintainer offers the following key features:
- 12 Volts 2 Amp Output: Provides efficient charging for 12V SLA batteries.
- High-Quality Construction: Built with durable materials for a compact, light, and powerful charging solution.
- Three-Stage Charging Method: Ensures a full charge while preventing over-charging, optimizing battery health.
- Temperature Protection: Integrated safety feature to prevent overheating.
- Short Circuit Protection: Safeguards against damage from incorrect connections.
- Dual Color LED Indication: Clearly displays the charging status (Charging / Charged OK).

5. Setup
Follow these steps to set up your charger:
- Prepare the Battery: Ensure the battery is clean and free of corrosion on its terminals. If necessary, clean the terminals with a wire brush.
- Connect Alligator Clips:
- Connect the RED positive (+) alligator clip to the positive (+) terminal of the battery.
- Connect the BLACK negative (-) alligator clip to the negative (-) terminal of the battery.
Important: Ensure a secure connection. Incorrect polarity can damage the battery or charger.
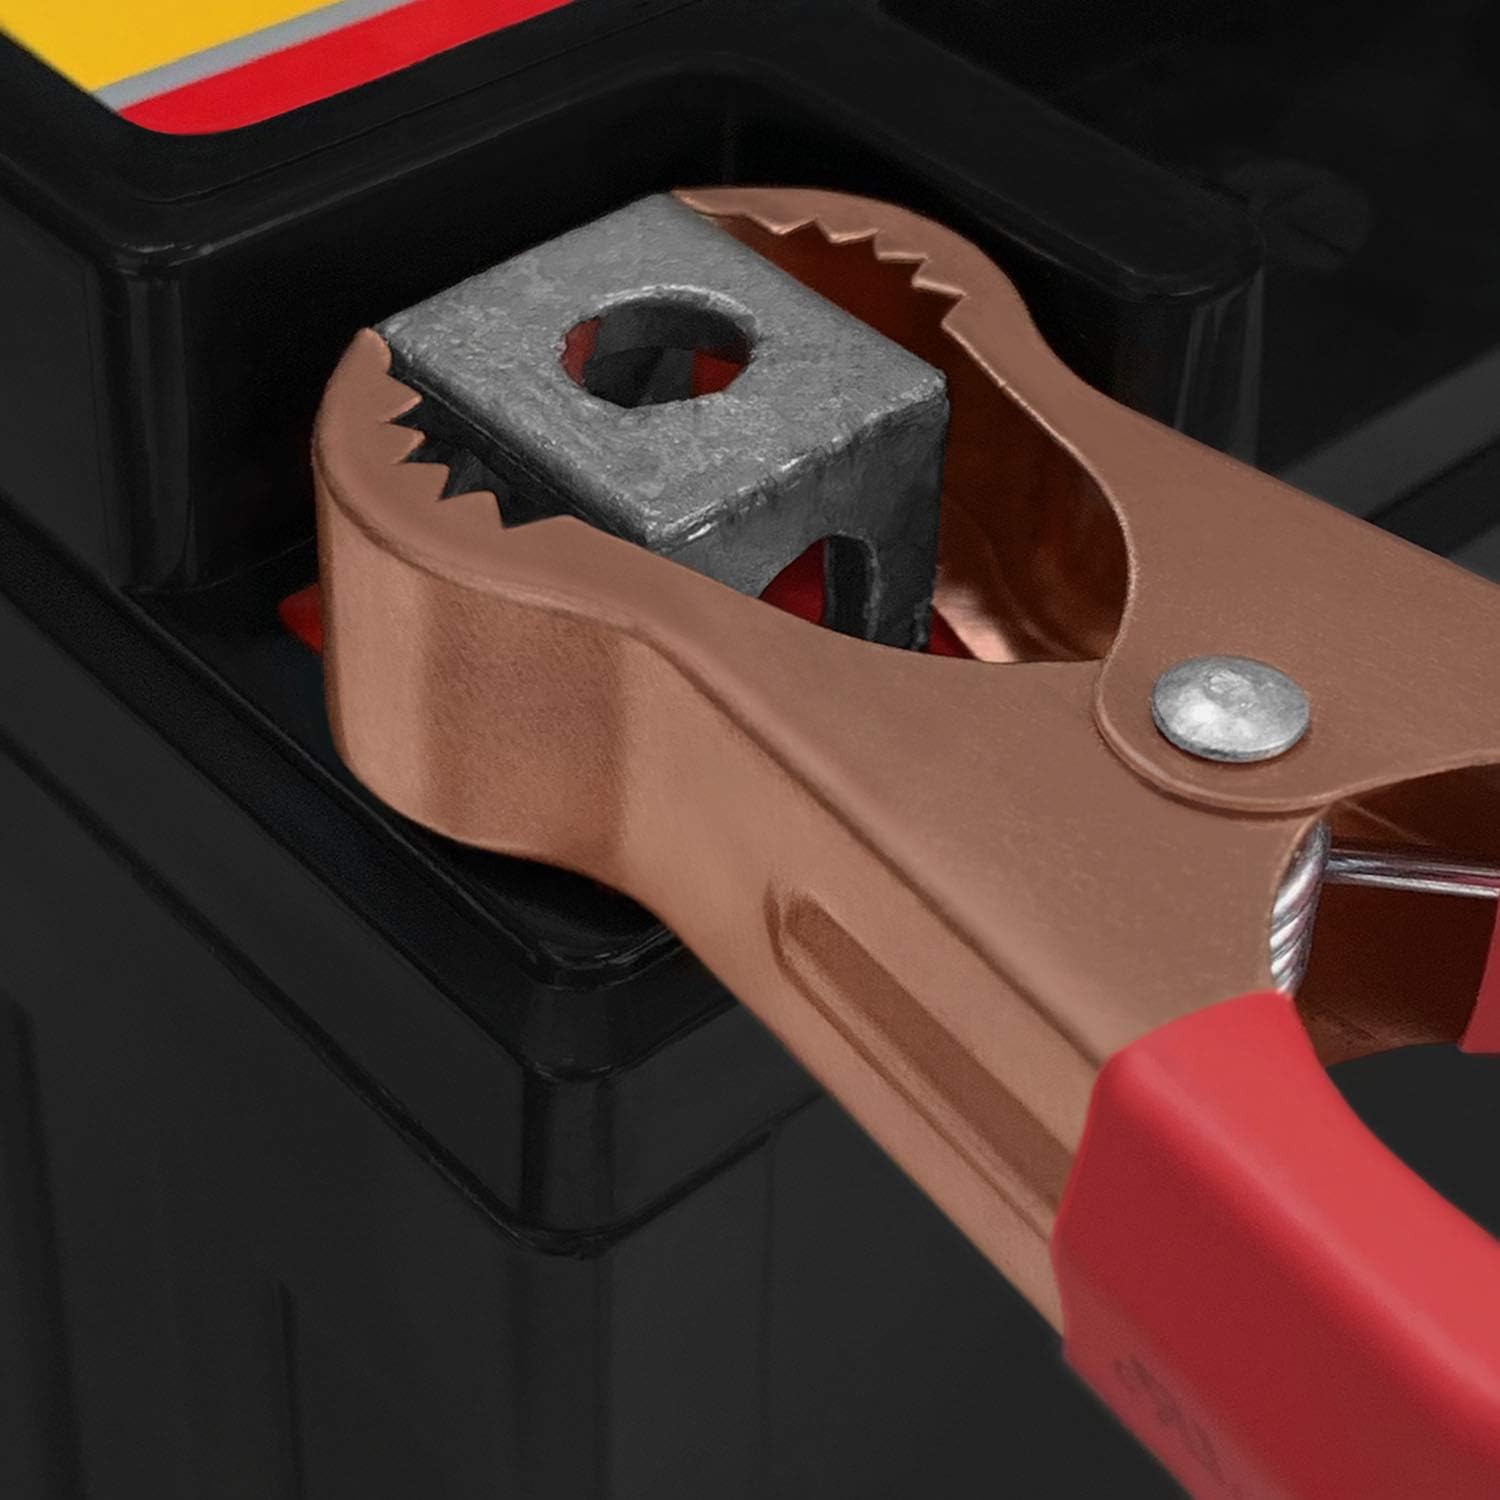
Image 5.1: Alligator Clip Connection. This close-up image shows a red alligator clip securely attached to a battery terminal, demonstrating the proper connection method. - Connect to Power: Plug the charger's AC power cord into a standard 100-240VAC wall outlet.
6. Operating Instructions
Once connected, the charger will automatically begin the charging process.
6.1 LED Indicator Status
The charger features a dual-color LED indicator to show its operational status:
- Red LED: Indicates the battery is currently charging.
- Green LED: Indicates the battery is fully charged and the charger has switched to maintenance mode.
6.2 Charging Process
The charger utilizes a three-stage charging process:
- Bulk Charge: The charger delivers maximum current to bring the battery to approximately 80% of its capacity. The LED will be Red.
- Absorption Charge: The voltage remains constant while the current gradually decreases, bringing the battery to 100% charge. The LED will remain Red.
- Float/Maintenance Charge: Once fully charged, the charger automatically switches to a lower voltage maintenance mode to keep the battery at full capacity without overcharging. The LED will turn Green.
6.3 Disconnecting the Charger
To disconnect the charger:
- Unplug the charger's AC power cord from the wall outlet.
- Disconnect the BLACK negative (-) alligator clip from the battery terminal.
- Disconnect the RED positive (+) alligator clip from the battery terminal.
7. Maintenance
Proper maintenance ensures the longevity of your charger:
- Cleaning: Wipe the charger casing with a dry, soft cloth. Do not use abrasive cleaners or solvents.
- Storage: Store the charger in a cool, dry place when not in use. Keep cables neatly coiled to prevent damage.
- Cable Inspection: Periodically inspect the AC cord and DC cables for any signs of damage, fraying, or exposed wires. Do not use the charger if cables are damaged.

8. Troubleshooting
If you encounter issues, refer to the following troubleshooting guide:
| Problem | Possible Cause | Solution |
|---|---|---|
| Charger LED does not light up. | No AC power. Incorrect battery connection. Battery voltage too low. | Check AC outlet and power cord. Ensure alligator clips are correctly and securely connected to battery terminals. The battery may be deeply discharged. Try connecting to a different 12V battery to confirm charger functionality. |
| LED remains Red for an extended period. | Battery is large or deeply discharged. Faulty battery. | Charging time varies with battery size and discharge level. Allow sufficient time. If charging time is excessively long or the LED never turns green, the battery may be faulty and unable to hold a charge. |
| Charger feels hot. | Normal operation during bulk charge. Poor ventilation. | Some warmth is normal. Ensure the charger is in a well-ventilated area. If it becomes excessively hot, disconnect immediately and contact support. |
9. Specifications
Technical specifications for the Mighty Max Battery 12V 2A Charger and Maintainer:
- Model: ML-12V2A163
- Input Voltage: 100-240VAC, 50/60Hz, 0.8A
- Output Voltage: DC+12V, 2A
- Product Dimensions: 5 x 2 x 2 inches (approximate)
- Item Weight: 12.8 ounces (approximate)
- Compatibility: 12V Sealed Lead Acid (SLA) batteries

10. Warranty and Support
For warranty information or technical support, please contact Mighty Max Battery directly. Refer to the product packaging or the official Mighty Max Battery website for the most current contact details and warranty terms.
Manufacturer: Mighty Max Battery
Website: www.mightymaxbattery.com (Example link, actual link may vary)


