RYOBI R18IW3-0
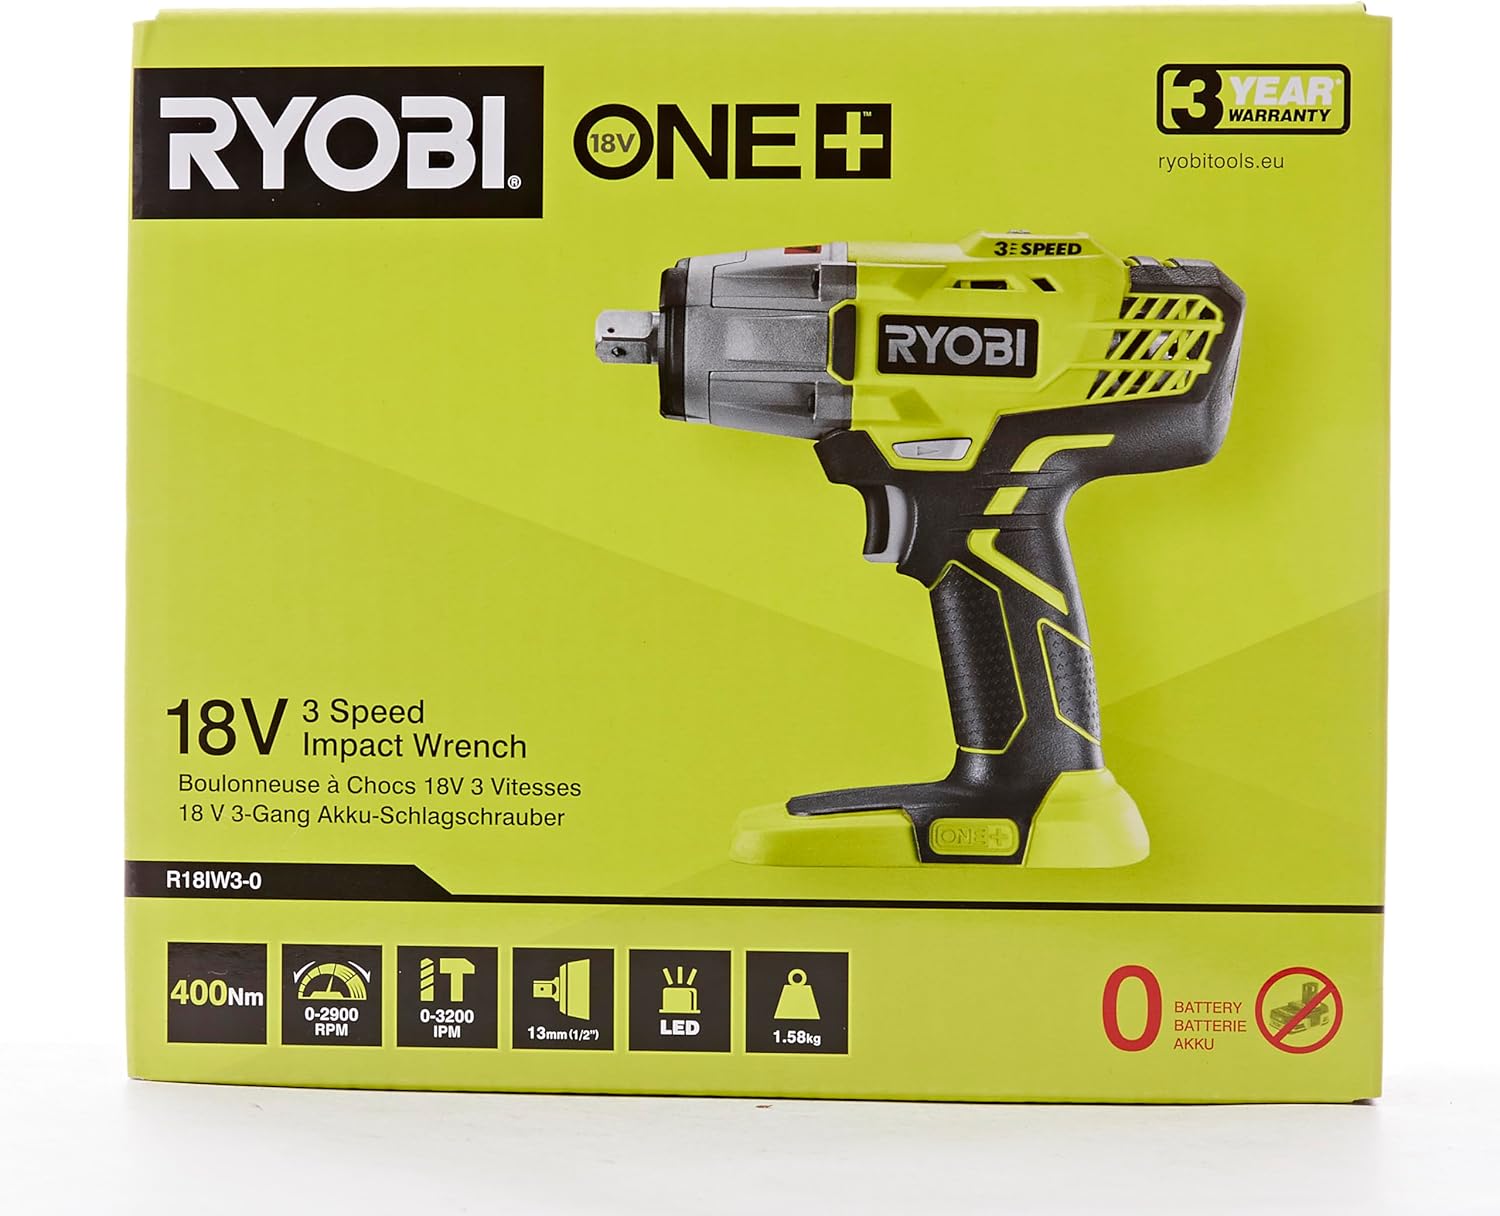
RYOBI R18IW3-0 18V ONE+ Cordless 3-Speed Impact Wrench
User Manual
Introduction
This manual provides essential information for the safe and effective operation, maintenance, and troubleshooting of your RYOBI R18IW3-0 18V ONE+ Cordless 3-Speed Impact Wrench. Please read this manual thoroughly before using the tool and keep it for future reference.
Safety Information
Always observe basic safety precautions when using power tools to reduce the risk of fire, electric shock, and personal injury. Familiarize yourself with all warnings and instructions.
- Wear Eye Protection: Always wear appropriate eye protection that complies with current standards.
- Wear Hearing Protection: Prolonged exposure to noise from power tools can cause hearing damage.
- Secure Workpiece: Always secure the workpiece to prevent movement during operation.
- Keep Work Area Clean: Cluttered areas and benches invite injuries.
- Avoid Dangerous Environment: Do not use power tools in damp or wet locations, or expose them to rain.
- Stay Alert: Watch what you are doing, use common sense. Do not operate tool when you are tired.
- Use Correct Tool: Do not force small tool or attachment to do the job of a heavy duty tool.
- Disconnect Tool: Disconnect the battery pack from the tool before making any adjustments, changing accessories, or storing the tool.
Product Features
- High power motor delivering 400Nm of torque, ideal for removing stubborn nuts and bolts.
- Three distinct speed settings for precise control and adaptability across a wide range of applications.
- Equipped with a 1/2-inch square drive socket featuring a secure locking pin.
- Includes a 1/4-inch hex adapter for compatibility with various screwdriver bits.
- Capable of fitting up to 100 wheels per charge when paired with a RYOBI RB18L40 4.0Ah battery.
Setup
The RYOBI R18IW3-0 is sold as a 'Body Only' unit, meaning the battery and charger are sold separately. Ensure you have a compatible RYOBI ONE+ 18V battery and charger before use.
Battery Installation
- Ensure the battery is fully charged.
- Align the ribs on the battery with the grooves in the tool's battery port.
- Slide the battery into the tool until it clicks securely into place.
- To remove, press the battery release latch and pull the battery out.

Attaching Sockets and Adapters
- Ensure the tool is off and the battery is removed.
- For 1/2-inch square drive sockets: Push the socket firmly onto the square drive anvil until the locking pin engages the hole in the socket.
- For 1/4-inch hex bits: Insert the included 1/4-inch hex adapter onto the 1/2-inch square drive anvil, then insert the hex bit into the adapter.
- To remove, pull the socket or adapter firmly off the anvil while depressing the locking pin if necessary.
Operating Instructions
Powering On/Off and Speed Selection
- To Power On: Squeeze the trigger switch. The tool will begin to rotate.
- To Power Off: Release the trigger switch.
- Direction of Rotation: Use the forward/reverse selector switch located above the trigger to choose between forward (tightening) and reverse (loosening) rotation. Ensure the switch is fully engaged in the desired direction.
- Speed Selection: The tool features a 3-speed selector switch, typically located on the top of the tool. Adjust this switch to select the appropriate speed (and corresponding torque) for your application. Lower speeds provide more control, while higher speeds deliver maximum torque.
Using the Impact Wrench
The impact wrench is designed for fastening and loosening nuts, bolts, and other fasteners. Its impact mechanism delivers high torque with minimal reactive torque to the user.
- Select the appropriate socket or adapter for the fastener.
- Attach the socket/adapter to the tool's anvil.
- Select the desired direction of rotation (forward for tightening, reverse for loosening).
- Choose the appropriate speed setting based on the fastener's tightness and material.
- Place the socket firmly onto the fastener.
- Squeeze the trigger to operate the tool. Apply steady pressure to keep the socket engaged with the fastener.
- For tightening, stop when the fastener is snug. For critical applications, always use a torque wrench for final tightening to specified torque values.


Maintenance
Regular maintenance ensures the longevity and optimal performance of your impact wrench.
- Cleaning: Keep the tool's air vents clear and free of debris. Use a clean, dry cloth to wipe down the housing. Do not use harsh chemicals or abrasive cleaners.
- Storage: Store the tool in a dry, secure location out of reach of children. Remove the battery pack when storing for extended periods.
- Inspection: Periodically inspect the tool for any signs of damage, loose screws, or worn parts. Do not use a damaged tool.
Troubleshooting
| Problem | Possible Cause | Solution |
|---|---|---|
| Tool does not start. | Battery not inserted correctly or discharged. | Ensure battery is fully seated. Charge battery if necessary. |
| Tool lacks power/torque. | Battery low or incorrect speed setting. | Recharge battery. Select a higher speed setting. |
| Socket does not stay on anvil. | Locking pin not engaged or damaged anvil. | Ensure socket is pushed on firmly until pin clicks. Inspect anvil for damage; replace if necessary. |
| Excessive vibration or noise. | Loose components or internal damage. | Stop use immediately. Inspect for loose parts. If problem persists, seek professional service. |
Specifications
| Attribute | Detail |
|---|---|
| Model Number | R18IW3-0 |
| Brand | RYOBI |
| Voltage | 18 Volts |
| Wattage | 18 watts |
| Max Torque | 400 Newton Meters |
| No-Load Speed | Up to 2900 RPM |
| Drive Size | 1/2 inch Square Drive |
| Weight | 3.48 Pounds (tool only) |
| Dimensions (L x W x H) | 9.13 x 31.5 x 78.74 inches |
| Material | Plastic, Metal, Rubber |
| Power Source | Battery-powered (RYOBI ONE+ 18V Lithium) |
| Included Components | 1 x R18IW3-0 (Body Only) |
| GTIN (UPC) | 04892210132352 |
Warranty and Support
RYOBI offers a 3-year warranty on this product. For warranty registration and detailed terms and conditions, please visit the official RYOBI website. Registration is often required to extend the standard warranty period.
For technical support, spare parts, or service inquiries, please contact RYOBI customer service or visit their official website for local service centers. You can find more information at ryobitools.eu.
Related Documents - R18IW3-0
 |
RYOBI R18IW3 ONE+ 18V Cordless 3-Speed Impact Wrench User Manual Comprehensive user manual for the RYOBI R18IW3 ONE+ 18V Cordless 3-Speed Impact Wrench, providing essential instructions for safe assembly, operation, maintenance, and troubleshooting. |
 |
RYOBI R18IW3 18V ONE+ Cordless Impact Wrench User Manual Comprehensive user manual for the RYOBI R18IW3 18V ONE+ Cordless Impact Wrench, covering safety warnings, operation, maintenance, specifications, and warranty information. Learn how to safely use and care for your impact wrench. |
 |
RYOBI RIW18C 18V ONE+ HP Impact Wrench User Manual and Safety Guide Comprehensive user manual for the RYOBI RIW18C 18V ONE+ HP Impact Wrench, covering safety instructions, intended use, operation, maintenance, and product specifications. Learn how to safely and effectively use your RYOBI impact wrench. |
 |
RYOBI R18IW 18V Impact Wrench User Manual and Safety Instructions Official user manual and safety guide for the RYOBI R18IW 18V Impact Wrench. Includes operating instructions, safety warnings, maintenance, and product specifications for this cordless power tool. |
 |
Ryobi 18V Brushless 4-Mode Impact Wrench Operator's Manual Learn to safely operate and maintain your Ryobi 18V Brushless 4-Mode 1/2 in. High Torque Impact Wrench (Model PBLIW01) with this comprehensive operator's manual. Includes safety, operation, features, and troubleshooting. |
 |
RYOBI RIW18X Cordless Impact Wrench User Manual Official user manual for the RYOBI RIW18X Cordless Impact Wrench, providing comprehensive safety instructions, operating procedures, maintenance guidelines, and detailed product specifications for safe and effective use. |