1. Introduction
This manual provides detailed instructions for assembling and operating your Easy DIY Murphy Bed Hardware Kit. This kit allows you to construct a space-saving Queen Vertical Murphy Bed, transforming any room into a versatile living area. Please read all instructions carefully before beginning assembly.
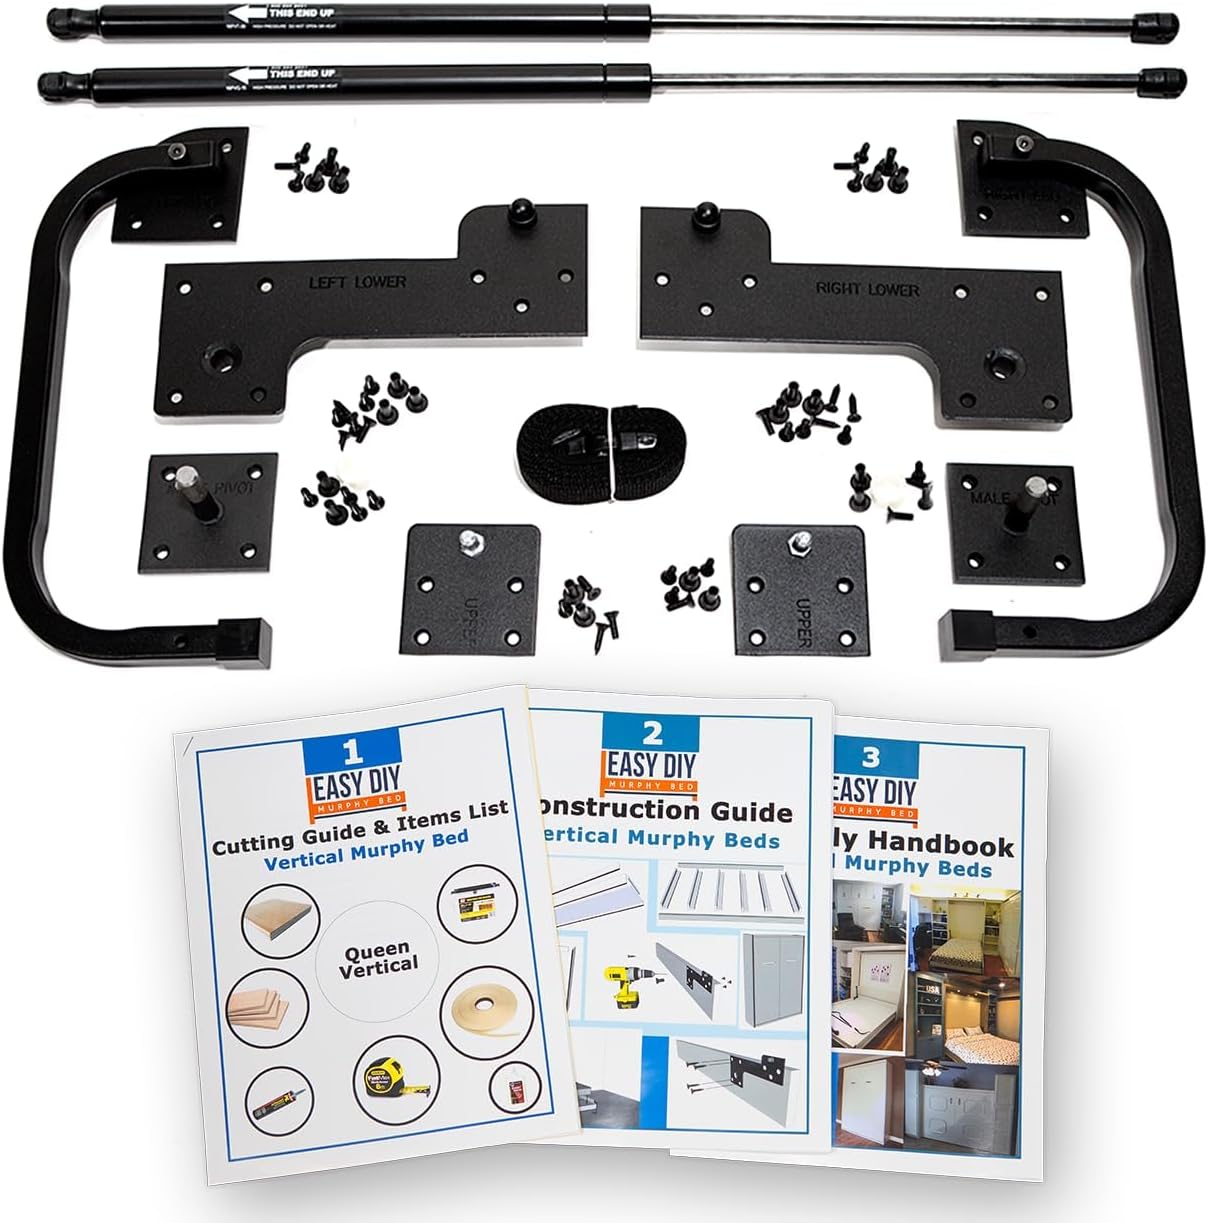
Image: The complete Easy DIY Murphy Bed Hardware Kit, including pistons, plates, folding legs, and three detailed instruction manuals.
2. What's Included in the Kit
- 2 Easy Lift Pistons
- All necessary Hardware (screws, bolts, etc.)
- Mattress Strap
- Set of 3 Illustrated Installation Guide Books (Cutting Guide & Items List, Construction Guide, Assembly Handbook)
- Set of Folding Legs
- Set of Lower Plates
- Set of Upper Plates
Video: An unboxing and overview of the Hideaway DIY Murphy Bed Hardware Kit, demonstrating the components included.
3. Materials Not Included
The following items are required for assembly but are not included in the hardware kit:
- Basic woodworking tools (e.g., saws, drills, sanders)
- Lumber (plywood or solid wood, 3/4" thick recommended)
- Queen size innerspring mattress (up to 60"W x 80"L x up to 12"H, up to 85 lbs)
4. Product Dimensions and Specifications
- Size: Queen Vertical
- Product Dimensions (Closed): 87"H x 65"W x 16"D
- Product Dimensions (Open): 87"H x 65"W x 86"D
- Compatible Mattress Size: Queen 60" x 80" (up to 12"H, 40-85 lbs)
- Maximum Weight Capacity: 700+ lbs
- Item Weight (Hardware Kit): 11 pounds
- Finish Type: Powder Coated (hardware)
- Special Feature: Adjustable (piston tension)

Image: Detailed dimensions and specifications for the Queen Vertical Murphy Bed. Lumber and mattress are not included.
5. Key Features
5.1 Easy-Lift Piston System
The Made in USA easy-lift piston system provides effortless opening and closing of the bed. It is maintenance-free, requires no adjustments, and offers a quiet, smooth motion. The tension is adjustable to suit your mattress weight.

Image: The Easy-Lift Piston System, designed for smooth and reliable operation.
5.2 Engineered Folding Legs
Heavy-duty 3/4" square steel tube legs are designed for long-lasting performance and daily use. They feature a textured black finish that is rust and scratch-proof, and protective rubber footing for floor protection. The legs fold away conveniently when the bed is closed.
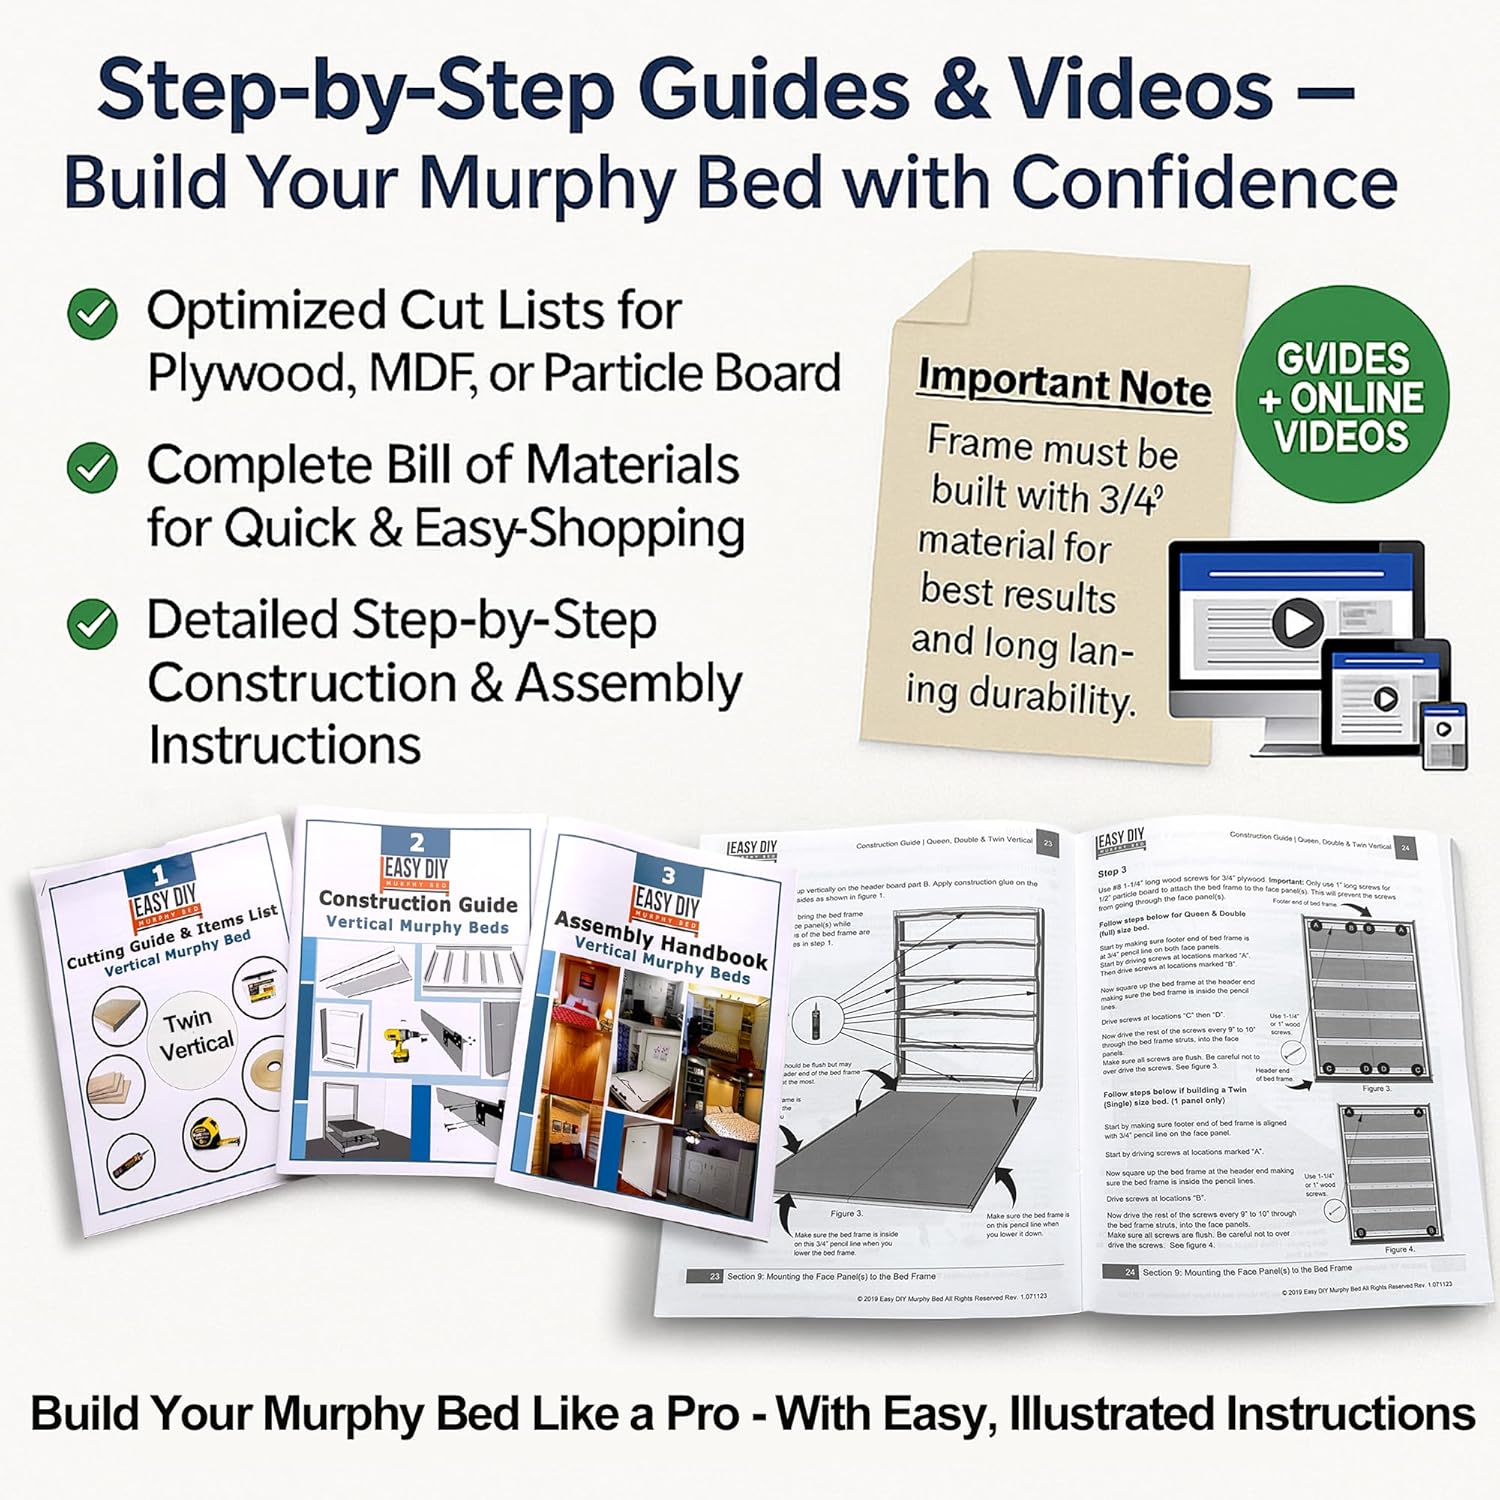
Image: Detailed view of the engineered folding legs, highlighting their robust construction and anti-slip features.
5.3 Vertical vs. Horizontal Orientation
This kit is for a Vertical Murphy Bed, ideal for rooms with high ceilings, guest rooms, condos, small homes, basements, or traditional bedroom aesthetics. Horizontal kits are available for low ceilings or sloped walls.

Image: Visual guide illustrating the differences and ideal uses for Vertical and Horizontal Murphy Bed orientations.
6. Setup and Assembly Guide
The kit includes three detailed guidebooks (Cutting Guide & Items List, Construction Guide, Assembly Handbook) and access to 24/7 online step-by-step videos for a seamless DIY experience.

Image: Overview of the comprehensive guides and online video resources provided for assembly.
6.1 Before You Begin
- Read all three instruction guide books thoroughly.
- Watch the online video tutorials for a visual understanding of each step.
- Gather all necessary lumber and tools as specified in the Cutting Guide.
- Ensure your workspace is clear and adequately sized for handling large wood panels.
Video: An S100 Mechanism Kit overview, demonstrating the unboxing of the hardware and initial review of the detailed instruction manuals.
6.2 Cutting Lumber
Use the provided cut list and diagrams in the instruction books to accurately cut your chosen lumber. For best results and long-lasting durability, the frame must be built with 3/4" thick material. You can use a table saw or circular saw, or have a lumber store make the cuts for you.
6.3 Edge Banding
Apply edge banding to all exposed edges of your cut lumber pieces. This step is crucial for a finished look and to protect the wood. Refer to the detailed instructions and online videos for proper application techniques.
6.4 Drilling Holes
Pre-drill all necessary holes as indicated in the instructions. Use appropriate drill bits and techniques to ensure clean, accurate holes, especially for larger openings. Starting with a small pilot hole and drilling halfway through from each side can prevent splintering.
6.5 Assembling the Bed Box
Follow the Construction Guide to assemble the bed box frame. This involves attaching cleats and other structural components using wood glue and screws. Ensure all connections are secure and square.
6.6 Finishing Touches
Once the bed box is assembled, sand all surfaces smooth. Apply your desired finish (paint, stain, varnish) according to the product manufacturer's instructions. If adding decorative trim, ensure it is securely glued and fastened.
6.7 Mechanism Installation
Install the Easy-Lift Piston System and folding legs according to the Assembly Handbook. This step is critical for the proper function of your Murphy Bed. The mechanism is designed for straightforward installation.
Video: A demonstration of the F200 Murphy Bed Frame, showing its robust construction and how it integrates with the bed mechanism.
6.8 Wall Mounting
Securely mount the assembled Murphy Bed cabinet to the wall using the provided hardware and following the detailed instructions. It is essential to locate wall studs for proper anchoring to ensure stability and safety. Use a quality stud finder to identify the center of the studs.
7. Operating Instructions
To open the Murphy Bed, gently pull the handles on the bed face. The easy-lift piston system will assist in lowering the bed smoothly. Once fully extended, ensure the folding legs are properly deployed for support. To close, lift the bed from the foot end, allowing the pistons to assist in raising it back into the cabinet. Ensure the legs fold away and the bed is securely stored in the vertical position.
Video: A demonstration of the Easy DIY Murphy Bed Hardware Kit in action, showing the smooth operation of opening and closing the bed.
8. Maintenance
The hardware components are designed for long-lasting performance with minimal maintenance. Wipe the hardware and wooden surfaces with a damp cloth as needed. Avoid using harsh chemicals that may damage the finish.
9. Troubleshooting
If you encounter any issues during assembly or operation, please refer to the detailed troubleshooting sections in your instruction manuals or contact customer support. Common issues may include:
- Rough Cuts: Ensure precise measurements and proper cutting tools.
- Misaligned Components: Double-check measurements and alignment before permanent fastening.
- Piston Seating: The pistons may require firm pressure to seat correctly during installation.
10. Warranty
The Easy DIY Murphy Bed Hardware Kit includes a Lifetime Warranty, ensuring superior quality and peace of mind.
11. Customer Support
Our U.S.-based team is available via toll-free phone and online to support your DIY Murphy bed kit. Access 24/7 step-by-step videos online for a seamless DIY experience. Contact information is provided in your instruction manuals.
12. Important Safety Information
- Always follow the included assembly instructions to prevent instability or injury.
- Do not exceed the maximum weight recommendation of 700 pounds.
- Be cautious of sharp edges during assembly and use.
- Ensure the bed is securely anchored to wall studs before use.