Introduction
This manual provides comprehensive instructions for the installation, maintenance, and troubleshooting of your MTC Oil Pan with Drain Plug. Designed as a direct OEM replacement, this oil pan ensures proper fit and function for compatible vehicles. Please read all instructions carefully before beginning installation.
Product Description
The MTC Oil Pan (Part Number 1010823 / OEM# 11200-RB0-900) is a high-quality replacement component for your vehicle's engine lubrication system. It is manufactured to meet or exceed OEM specifications, ensuring durability and a precise fit. This oil pan includes a pre-installed drain plug for convenient oil changes.
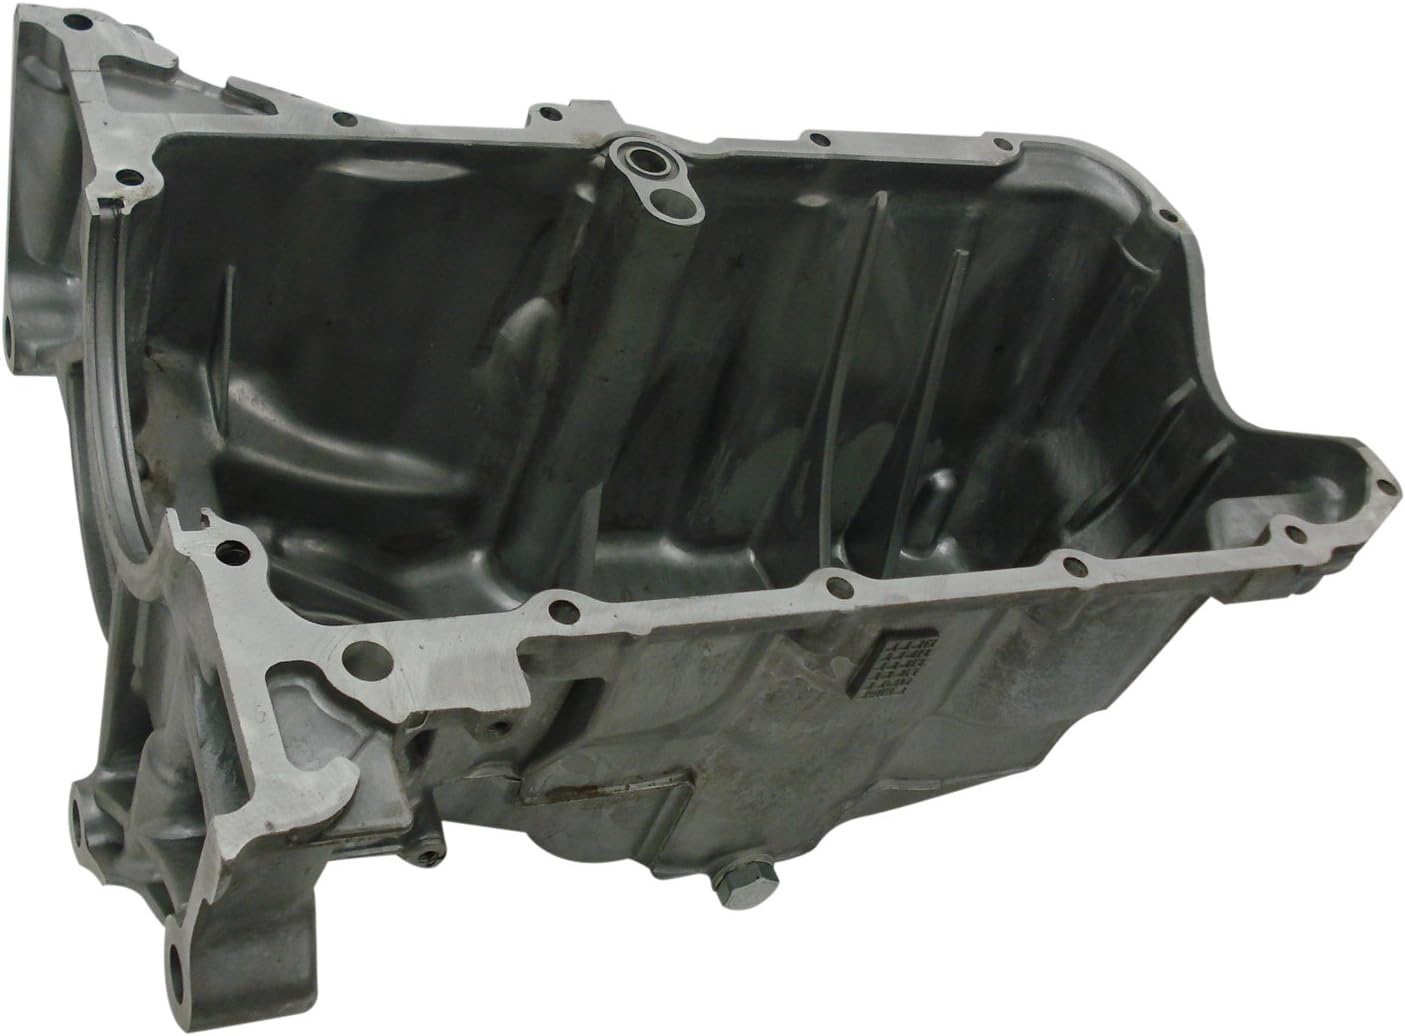
Image: Top view of the MTC Oil Pan, showing the main body and drain plug opening.
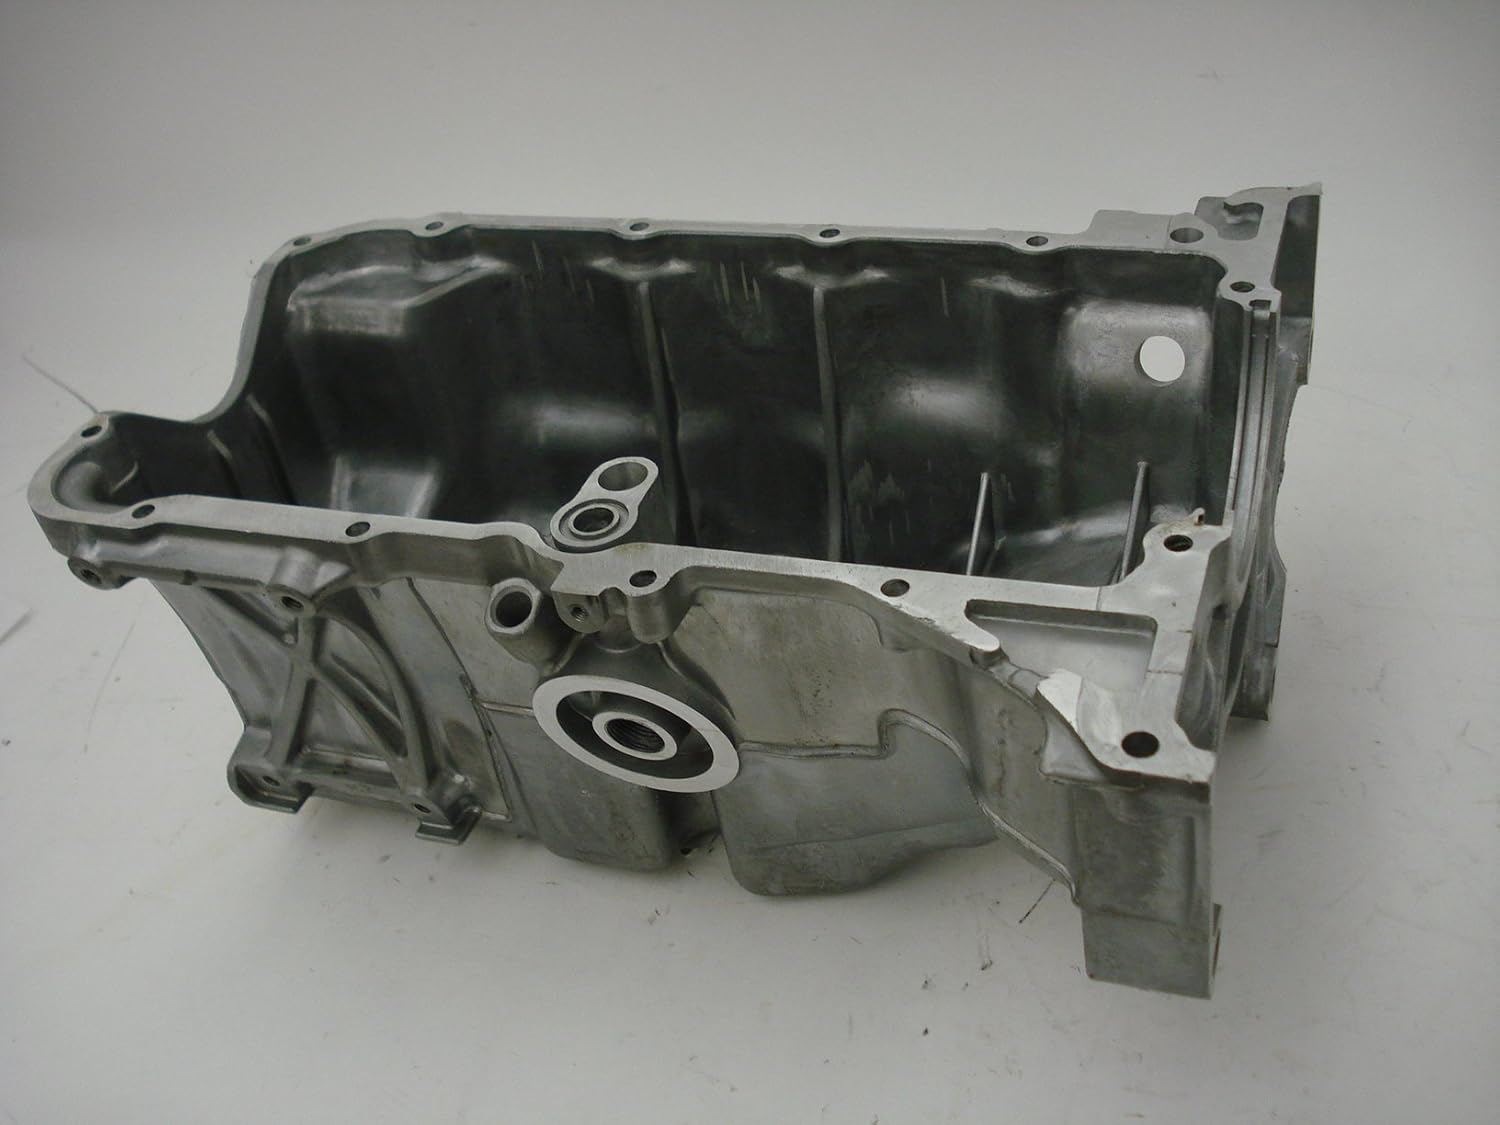
Image: Bottom view of the MTC Oil Pan, highlighting the mounting points and internal structure.
Compatibility
This MTC Oil Pan is specifically designed to fit the following vehicle models:
- Honda Fit: 2009, 2010, 2011, 2012, 2013
Please verify your vehicle's make, model, and year to ensure proper fitment before installation. Refer to your vehicle's service manual for specific part requirements.
What's in the Box
Upon opening the package, you should find the following components:
- 1 x MTC Oil Pan (with pre-installed drain plug)
Note: Gasket and mounting hardware are typically sold separately and are required for proper installation.
Specifications
| Specification | Detail |
|---|---|
| Manufacturer | MTC |
| Model Number | 1010823 / 11200-RB0-900 |
| OEM Part Number | 11200-RB0-900, 264-456, HOP23B |
| Item Weight | Approximately 5 pounds |
| Package Dimensions | Approximately 9 x 9 x 9 inches |
| Exterior Finish | OEM Fit and Finish |
Installation (Setup)
Disclaimer: Installation of automotive components can be complex and may require specialized tools and knowledge. If you are not confident in your ability to perform this installation, it is highly recommended to seek assistance from a certified automotive technician. Always refer to your vehicle's specific service manual for detailed torque specifications and procedures.
Required Tools and Materials (Not Included):
- New Oil Pan Gasket
- New Oil Filter
- Engine Oil (correct type and quantity for your vehicle)
- Torque Wrench
- Socket Set (metric)
- Drain Pan
- Jack and Jack Stands (or vehicle lift)
- Safety Glasses and Gloves
- Brake Cleaner or degreaser
- Shop Rags
Installation Steps:
- Safety First: Ensure the vehicle is on a level surface, engine is cool, and the parking brake is engaged. Use a jack and jack stands (or a lift) to safely raise the vehicle to access the oil pan.
- Drain Engine Oil: Place a drain pan beneath the existing oil pan. Remove the drain plug and allow all engine oil to drain completely.
- Remove Old Oil Pan: Carefully remove all bolts securing the old oil pan to the engine block. Note the location of any specific bolts if applicable. Gently pry the old oil pan loose, being careful not to damage the engine block's mating surface.
- Clean Mating Surfaces: Thoroughly clean both the engine block's mating surface and the new oil pan's mating surface. Remove all old gasket material, oil residue, and dirt. A plastic scraper can be useful for this. Ensure surfaces are completely dry and free of debris.
- Install New Gasket: Apply a thin, even bead of RTV sealant (if required by your gasket type or vehicle manufacturer) to the new oil pan gasket, or directly to the oil pan flange. Carefully place the new gasket onto the new oil pan.
- Install New Oil Pan: Carefully position the new MTC oil pan with the gasket onto the engine block. Start all oil pan bolts by hand to ensure they are not cross-threaded.
- Torque Bolts: Following your vehicle's service manual, tighten the oil pan bolts in the specified sequence and to the correct torque specifications. This is critical to prevent leaks. Typically, a criss-cross pattern is used, tightening in stages.
- Install Drain Plug: Ensure the new drain plug (or the existing one if reusing, with a new crush washer) is securely installed and torqued to specification.
- Refill Engine Oil: Lower the vehicle. Install a new oil filter. Refill the engine with the correct type and quantity of engine oil as specified by your vehicle manufacturer.
- Check for Leaks: Start the engine and allow it to run for a few minutes. Carefully inspect around the new oil pan for any signs of oil leaks. Turn off the engine, wait a few minutes, and recheck the oil level. Top off if necessary.
Maintenance
Proper maintenance of your oil pan is crucial for the longevity of your engine. While the oil pan itself requires minimal maintenance, regular checks are recommended:
- Regular Oil Changes: Adhere to your vehicle manufacturer's recommended oil change intervals. This ensures fresh oil circulates, preventing sludge buildup that can affect the oil pan and engine.
- Inspect for Leaks: Periodically inspect the area around the oil pan for any signs of oil leaks, especially after oil changes or long drives. Address any leaks promptly to prevent engine damage.
- Drain Plug Integrity: Ensure the drain plug is always securely tightened to the correct torque specification. Replace the drain plug crush washer with every oil change to ensure a proper seal.
- Physical Damage: If driving over rough terrain or encountering road debris, visually inspect the oil pan for dents, cracks, or other physical damage that could compromise its integrity.
Troubleshooting
Most issues related to an oil pan are associated with leaks. Here are common troubleshooting steps:
- Oil Leak from Oil Pan Gasket:
- Cause: Improperly torqued bolts, damaged or old gasket, uneven mating surfaces, or incorrect gasket installation.
- Solution: Re-check torque on all oil pan bolts using the correct sequence and specifications. If the leak persists, the oil pan may need to be removed, mating surfaces re-cleaned, and a new gasket installed.
- Oil Leak from Drain Plug:
- Cause: Worn or missing crush washer, loose drain plug, or damaged drain plug threads.
- Solution: Ensure a new crush washer is used with every oil change. Tighten the drain plug to the correct torque. If threads are damaged, the drain plug or oil pan may need replacement.
- Low Oil Pressure Warning:
- Cause: While less common for an oil pan itself, a severe leak can lead to critically low oil levels, triggering a low oil pressure warning.
- Solution: Immediately check oil level and add oil if necessary. Identify and repair any leaks. If the warning persists after ensuring proper oil level and no leaks, consult a professional mechanic as it may indicate a more serious engine issue.
Warranty and Support
MTC products are manufactured to high standards. For specific warranty information regarding your MTC Oil Pan, please refer to the warranty documentation included with your purchase or visit the official MTC website. For technical support or inquiries, please contact MTC customer service through their official channels.
MTC Brand Information:

Image: MTC Brand Logo, representing the manufacturer.
MTC specializes in a wide range of automotive parts and accessories, including rubber, engine, suspension, electrical, and heavy-duty components. They aim to provide affordable, high-quality replacement parts.

Image: A display of various MTC automotive parts, showcasing the brand's product range.