1. Introduction
Thank you for choosing the Ukicra UFR-609 Multi-Functional Sewing Machine. This manual provides detailed instructions for the safe and efficient operation, setup, and maintenance of your new sewing machine. Please read this manual thoroughly before using the machine to ensure proper function and to prevent damage or injury. Keep this manual in a safe place for future reference.
The Ukicra UFR-609 is designed for ease of use, offering 14 built-in stitch patterns, including straight, zigzag, blind hem, and buttonhole stitches. Its lightweight and portable design, along with features like automatic bobbin winding, double-needle sewing capability, and a free arm, make it suitable for various sewing projects.
2. Safety Instructions
To ensure safe operation, please observe the following precautions:
- Always disconnect the sewing machine from the power outlet when cleaning, making adjustments, or when the machine is not in use.
- Keep fingers away from the needle, presser foot, handwheel, and all other moving parts while the machine is operating.
- Never operate the machine with damaged cords or plugs. If the machine is not working properly, has been dropped, or damaged, contact qualified service personnel.
- Do not allow children to operate the sewing machine unsupervised. Store the machine out of reach of children.
- Use only the power adapter supplied with the machine (DC 6V 1500mA).
- Ensure the machine is placed on a stable, flat surface during operation.
- Do not pull on the power cord to disconnect from the outlet. Grasp the plug, not the cord.
3. Product Components
Familiarize yourself with the various parts of your Ukicra UFR-609 sewing machine.

Figure 3.1: Left Side View
This image displays the left side of the sewing machine, highlighting the main body, the stitch selector dial on the front, and the thread tension dial located above the needle area.

Figure 3.2: Right Side View
This image shows the right side of the sewing machine, featuring the main power switch and the DC power input port for the adapter.

Figure 3.3: Needle and Presser Foot Area
A detailed view of the needle, presser foot, and feed dogs, which are crucial for guiding fabric during sewing.

Figure 3.4: Free Arm
This image illustrates the free arm design, which allows for easy sewing of cylindrical items like sleeves and pant legs.

Figure 3.5: Reverse Stitch Lever
A close-up of the lever used to engage the reverse sewing function, which helps to secure stitches at the beginning and end of a seam.

Figure 3.6: Bobbin Winding Mechanism
This image shows the bobbin winder spindle and related components used for automatically winding thread onto the bobbin.
4. Setup
4.1 Power Connection
- Ensure the machine's power switch (Figure 3.2) is in the 'OFF' position.
- Connect the foot pedal cable to the foot pedal port on the right side of the machine.
- Plug the DC 6V 1500mA power adapter into the DC input port (Figure 3.2).
- Plug the power adapter into a suitable electrical outlet.
4.2 Bobbin Winding
Before you begin sewing, the bobbin needs to be wound with thread.
Figure 4.1: Bobbin Winding
The bobbin is placed on the winder spindle, and thread is guided from the spool to the bobbin for automatic winding.
- Place a spool of thread on the spool pin.
- Guide the thread through the bobbin winding tension disc.
- Place an empty bobbin onto the bobbin winder spindle (Figure 4.1).
- Wrap the thread clockwise around the bobbin a few times.
- Push the bobbin winder spindle to the right.
- Turn on the machine and gently press the foot pedal. The bobbin will wind automatically.
- Once the bobbin is full, push the spindle back to the left and cut the thread.
4.3 Upper Threading
Correct upper threading is essential for proper stitch formation.
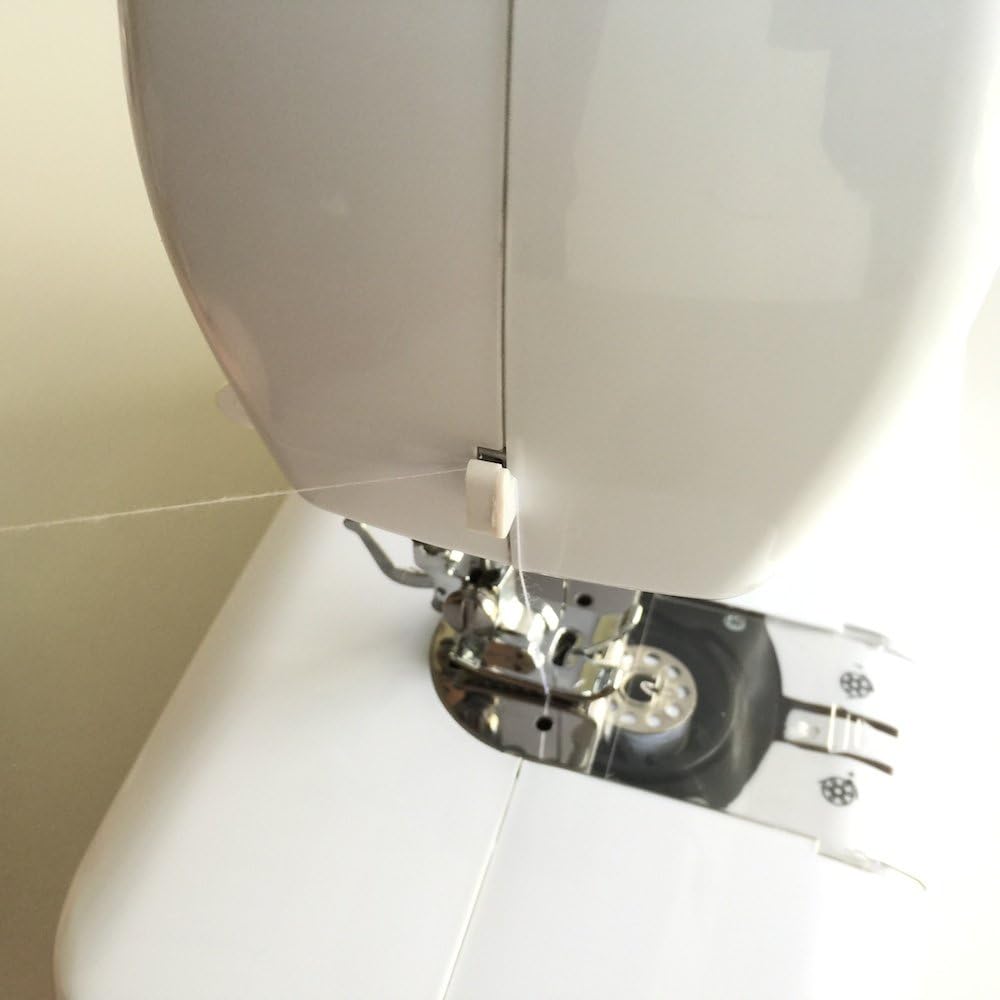
Figure 4.2: Upper Threading Path
This image illustrates the correct path for the upper thread, guiding it through the tension discs and take-up lever.
- Raise the presser foot lever.
- Place a spool of thread on the spool pin.
- Guide the thread through the upper thread guide.
- Pass the thread down through the tension discs (Figure 4.2).
- Bring the thread up and through the take-up lever from right to left.
- Guide the thread down through the needle bar thread guide.
- Thread the needle from front to back. Pull about 6 inches of thread through the needle eye.
4.4 Lower Threading (Bobbin Insertion)
The bobbin provides the lower thread for stitching.
- Open the bobbin cover plate located on the needle plate.
- Insert the wound bobbin into the bobbin case, ensuring the thread unwinds in the correct direction (usually counter-clockwise).
- Guide the bobbin thread through the tension spring of the bobbin case.
- Hold the upper thread lightly and turn the handwheel towards you to lower and raise the needle. This will catch the bobbin thread and bring it up through the needle plate.
- Pull both upper and lower threads under the presser foot and towards the back of the machine.
- Close the bobbin cover plate.
5. Operating Instructions
5.1 Stitch Selection
The Ukicra UFR-609 offers 14 built-in stitch patterns. To select a stitch, turn the stitch selector dial (Figure 3.1) until the desired stitch pattern aligns with the indicator mark. Refer to the stitch chart on the machine for available patterns:
- Straight Stitches: 3 variations for basic sewing.
- Zigzag Stitches: 4 variations for finishing edges and decorative work.
- Multiple Zigzag Stitch: 1 pattern for elastic fabrics.
- Blind Hem Stitches: 1 standard and 1 stretch variation for invisible hems.
- Buttonhole Stitches: 4 steps to create a buttonhole.
5.2 Adjustable Thread Tension
The thread tension knob (Figure 3.1) allows you to adjust the balance between the upper and lower threads. For most fabrics, a medium setting is appropriate. Adjust as needed to achieve balanced stitches (where upper and lower threads meet evenly within the fabric layers). Turn the dial to a higher number for tighter upper thread tension, and to a lower number for looser tension.
5.3 Starting to Sew
- Place your fabric under the presser foot.
- Lower the presser foot lever.
- Turn on the machine using the power switch (Figure 3.2).
- Gently press the foot pedal to start sewing. The sewing speed is controlled by the pressure applied to the pedal.
- To secure the beginning and end of a seam, press and hold the reverse stitch lever (Figure 3.5) to sew backward for a few stitches, then release to continue sewing forward.
- When finished, raise the needle to its highest position, lift the presser foot, and pull the fabric away from the machine. Use the built-in thread cutter or scissors to cut the threads.
5.4 Free Arm Sewing
To use the free arm (Figure 3.4), simply slide off the accessory storage compartment. This exposes the narrow free arm, ideal for sewing cuffs, sleeves, pant legs, and other small, cylindrical items.
5.5 LED Light
The built-in LED light illuminates the sewing area, providing clear visibility, especially when working with dark fabrics or in low-light conditions.
6. Maintenance
Regular maintenance ensures the longevity and optimal performance of your sewing machine.
- Cleaning: Regularly clean lint and dust from the bobbin area and feed dogs using a small brush. Always disconnect power before cleaning.
- Needle Replacement: Replace the needle frequently, especially if it becomes bent, dull, or if you notice skipped stitches. Use the correct type and size of needle for your fabric.
- Storage: When not in use, cover the machine to protect it from dust. Store in a dry place.
7. Troubleshooting
If you encounter issues, refer to the following common problems and solutions:
| Problem | Possible Cause | Solution |
|---|---|---|
| Skipped Stitches | Incorrect needle, bent needle, improper threading. | Replace needle, re-thread machine correctly. |
| Thread Breaking | Incorrect tension, poor quality thread, improperly wound bobbin, burr on needle plate. | Adjust tension, use quality thread, re-wind bobbin, check for burrs. |
| Machine Jamming | Thread tangled in bobbin area, fabric pulled too hard. | Remove bobbin case and clear tangled thread, ensure fabric is fed gently. |
| Uneven Stitches | Incorrect thread tension, wrong needle for fabric. | Adjust tension, change needle to appropriate type. |
8. Specifications
- Model Number: UFR-609
- Product Dimensions: 13.11 x 5.71 x 9.57 inches
- Item Weight: 5.94 pounds
- Stitch Patterns: 14 built-in stitches (3 straight, 4 zigzag, 1 multiple zigzag, 1 blind hem, 1 stretch blind hem, 4 buttonhole)
- Power Source: Corded Electric (DC 6V 1500mA adapter)
- Features: Double needle sewing, built-in thread cutter, free arm design, forward & reverse sewing, easy bobbin winding, adjustable thread tension, LED light, dual speed, horizontal rotary hook.
- Manufacturer: FOSHAN UKICRA ELECTRIC CO.,LTD
9. Warranty and Support
For information regarding warranty coverage, technical support, or service, please refer to the warranty card included with your product or visit the official Ukicra website. You may also contact the retailer where you purchased the machine for assistance.