1. Introduction
Thank you for choosing the SONY HDRCX240/L Video Camera. This manual provides essential information for the safe and efficient operation, maintenance, and troubleshooting of your camcorder. Please read this manual thoroughly before using the device and retain it for future reference.
The SONY HDRCX240/L is a compact and versatile camcorder designed to capture high-quality video and still images. Featuring a 9.2MP Exmor R CMOS Sensor, 27x optical zoom Carl Zeiss lens, and a 2.7-inch LCD, it is ideal for capturing family events, vacations, sports, and content creation.
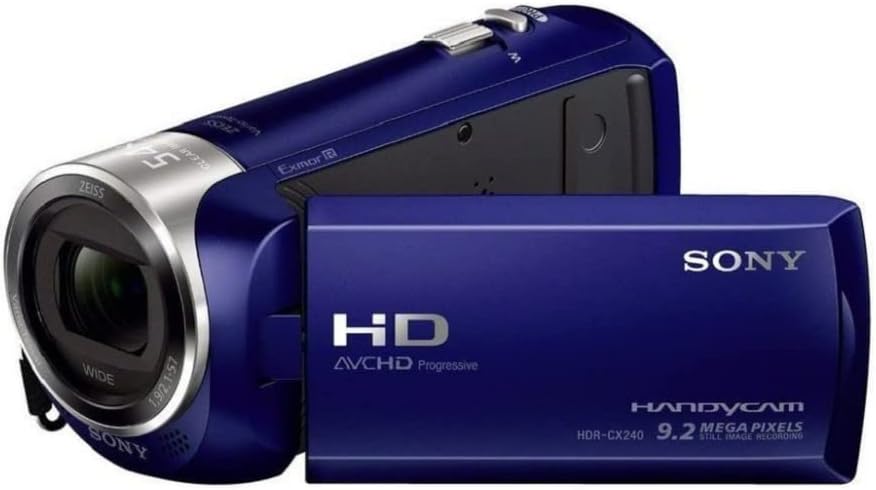
Figure 1: SONY HDRCX240/L Video Camera (Front View)
This image displays the SONY HDRCX240/L Video Camera from the front, showcasing its compact design, the Carl Zeiss lens, and the SONY branding. The camcorder is blue.
2. Setup
2.1. Battery Installation and Charging
- Open the Battery Compartment: Locate the battery compartment cover on the rear of the camcorder and slide it open.
- Insert the Battery: Insert the supplied Lithium-Ion battery into the compartment, ensuring the terminals align correctly. Push until it clicks into place.
- Close the Compartment: Close the battery compartment cover securely.
- Charge the Battery: Connect the camcorder to a power outlet using the supplied USB cable and AC adapter (if included). The charging indicator will illuminate. Charge the battery fully before first use. A full charge typically takes several hours.
2.2. Memory Card Insertion
The HDRCX240/L uses a Micro SD card for storage.
- Locate the Memory Card Slot: Open the LCD panel to reveal the memory card slot, typically located near the battery compartment or on the side.
- Insert the Micro SD Card: Gently insert the Micro SD card with the metal contacts facing down (or as indicated by the diagram near the slot) until it clicks into place. Ensure it is a Class 10 or higher speed card for optimal performance.
- Format the Memory Card: For optimal performance and to prevent data corruption, it is recommended to format a new memory card using the camcorder's menu system. Refer to the 'Operating the Camera' section for menu navigation.
3. Operating the Camera
3.1. Powering On/Off
To power on the camcorder, open the LCD panel. To power off, close the LCD panel or press and hold the power button (if available).

Figure 2: SONY HDRCX240/L Video Camera with LCD Screen Open
This image shows the SONY HDRCX240/L Video Camera with its 2.7-inch LCD screen articulated and open, displaying a vibrant scene. This view highlights the operational readiness of the camcorder.
3.2. Recording Video
- Select Video Mode: Ensure the camcorder is in video recording mode. This is usually indicated by an icon on the LCD screen.
- Start Recording: Press the REC START/STOP button, typically located on the back or side of the camcorder. A red indicator light or on-screen icon will confirm recording is in progress.
- Stop Recording: Press the REC START/STOP button again to stop recording.
3.3. Taking Still Photos
- Select Still Photo Mode: Switch the camcorder to still photo mode using the mode button or menu option.
- Capture Photo: Press the PHOTO button (or the shutter button) to capture a 9.2-megapixel still image.
3.4. Zoom Function
Use the zoom lever, usually located near the top of the camcorder, to control the zoom. Push the lever towards 'T' (Telephoto) to zoom in and towards 'W' (Wide) to zoom out. The camcorder features 27x optical zoom and 54x Clear Image Zoom.
3.5. Playback
- Enter Playback Mode: Press the PLAYBACK button or select playback mode from the menu.
- Select Content: Use the directional buttons or touch screen (if applicable) to navigate through your recorded videos and photos.
- Start Playback: Press the PLAY button to view selected content.
3.6. Transferring Files to a Computer
To transfer videos and photos to a computer:
- Connect the Camcorder: Use the supplied USB cable to connect the camcorder to your computer.
- Access Files: The camcorder should appear as a removable drive on your computer. Open the drive to access your recorded MP4 video files and image files.
- Copy Files: Drag and drop or copy the desired files to your computer.
4. Maintenance
4.1. Cleaning the Camcorder
- Lens: Use a soft, dry lens cleaning cloth to gently wipe the lens. Avoid using harsh chemicals or abrasive materials.
- LCD Screen: Wipe the LCD screen with a soft, lint-free cloth. For stubborn smudges, slightly dampen the cloth with water.
- Body: Use a soft, dry cloth to clean the camcorder body.
4.2. Battery Care
- Avoid fully discharging the battery frequently.
- Store the battery in a cool, dry place when not in use.
- If storing for extended periods, charge the battery to about 50% capacity.
4.3. Storage
When not in use, store the camcorder in a dry, dust-free environment, away from extreme temperatures and direct sunlight. Consider using a protective case.
5. Troubleshooting
| Problem | Possible Cause | Solution |
|---|---|---|
| Camcorder does not power on | Battery is discharged or incorrectly inserted. | Charge the battery fully. Reinsert the battery correctly. |
| Recording stops unexpectedly or shows errors | Memory card is full, slow, or corrupted. | Delete unnecessary files. Use a high-speed (Class 10 or higher) Micro SD card. Format the card in the camcorder. |
| Poor image or video quality | Insufficient lighting, dirty lens, incorrect settings. | Ensure adequate lighting. Clean the lens. Adjust shooting modes (e.g., Night Vision for low light). |
| Software glitches or freezing | Temporary software issue. | Remove and reinsert the battery to reset the device. |
| No sound during playback | Volume is muted or too low. | Adjust the volume settings on the camcorder. |
6. Specifications
- Brand: Sony
- Model: HDRCX240/L
- Video Capture Resolution: 1080p Full HD
- Effective Still Resolution: 9.2 MP
- Photo Sensor Technology: Exmor R CMOS
- Lens: Carl Zeiss, 29.8mm wide angle
- Optical Zoom: 27x
- Clear Image Zoom: 54x
- Screen Size: 2.7 Inches
- Flash Memory Type: Micro SD (C10 recommended)
- Video Capture Format: MP4
- Supported Audio Format: AAC, MP3
- Image Stabilization: Yes (Optical)
- Connectivity Technology: USB
- Features: Night Vision
- Power: 1 Lithium Ion battery (included)
- Item Dimensions (D x W x H): 6.3" x 4.8" x 3.5"
7. Warranty and Support
For warranty information and technical support, please refer to the documentation provided with your purchase or visit the official Sony support website. Keep your proof of purchase for warranty claims.