1. Introduction
This manual provides detailed instructions for the HP LaserJet Pro M477fnw Multifunction Wireless Color Laser Printer. It covers initial setup, daily operation, routine maintenance, and troubleshooting common issues. Please read this manual thoroughly to ensure optimal performance and longevity of your device.
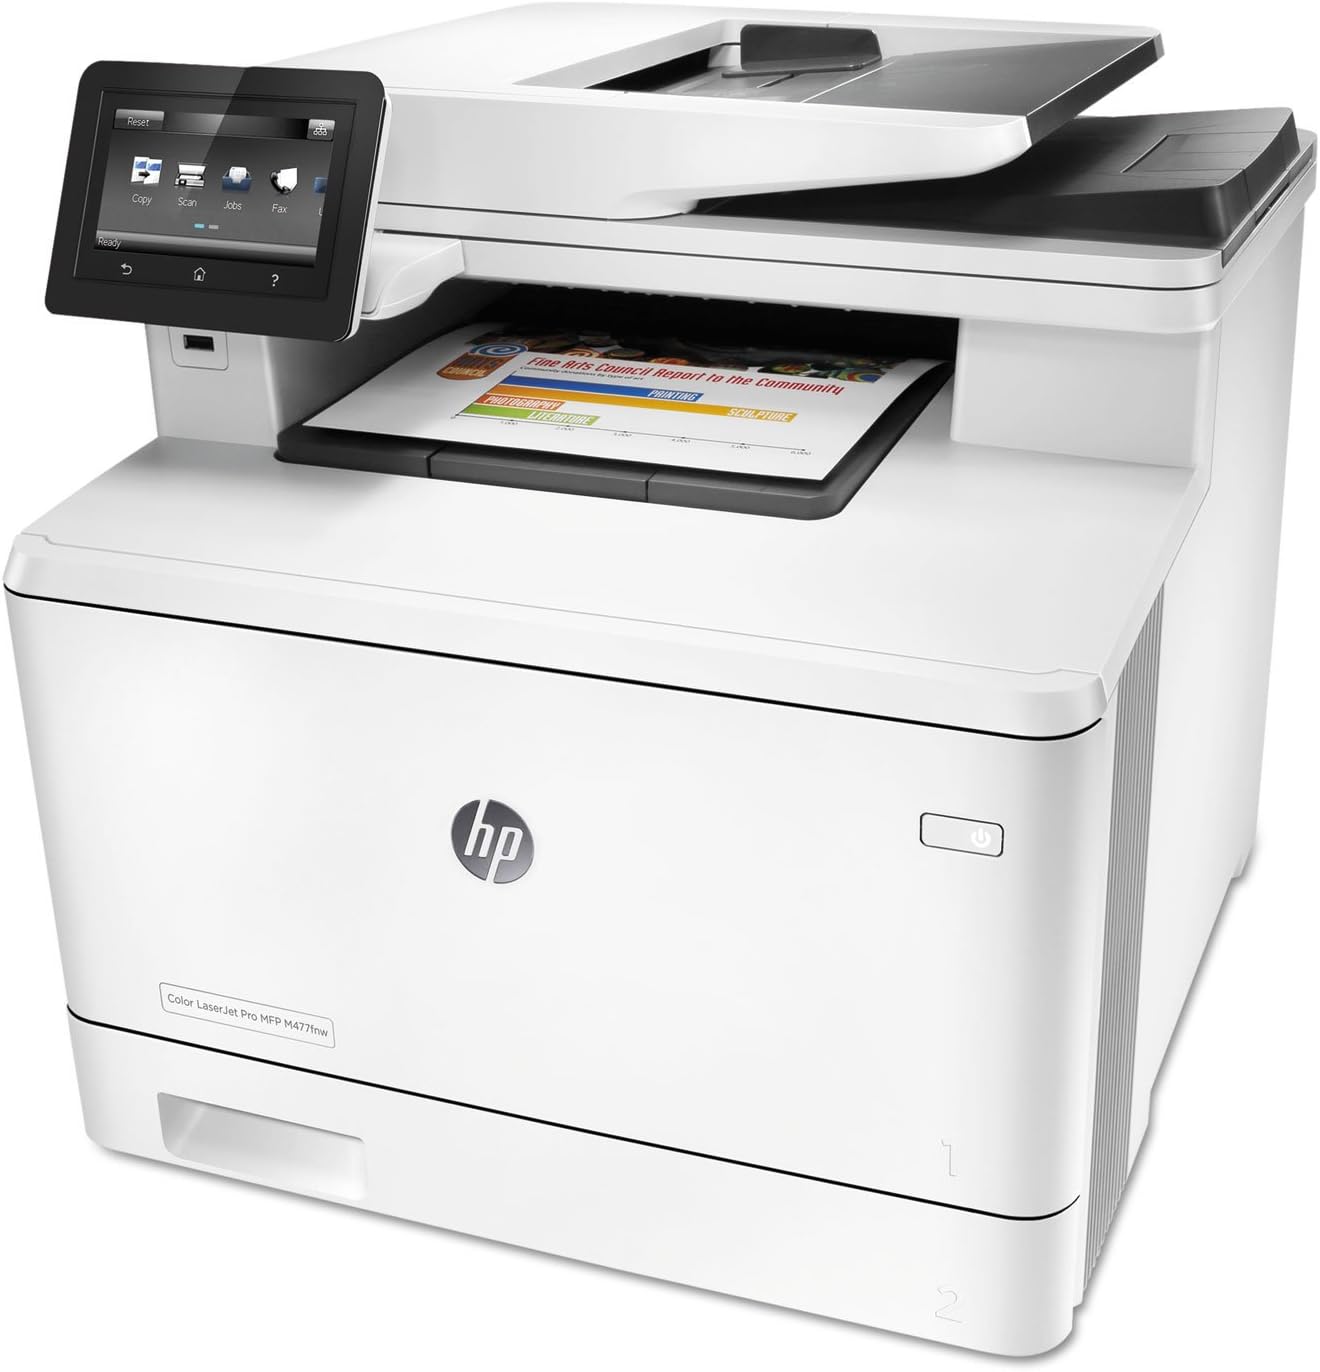
Figure 1.1: HP LaserJet Pro M477fnw Multifunction Printer. This image displays the full printer unit, highlighting its compact design and the integrated control panel.
2. Setup
2.1 Unboxing and Placement
- Carefully remove the printer from its packaging.
- Remove all packing materials, tapes, and protective films from the printer.
- Place the printer on a stable, level surface with adequate ventilation.
2.2 Power Connection
- Connect the power cord to the printer and then to a grounded electrical outlet.
- Press the power button to turn on the printer.
Figure 2.1: Location of the power button on the HP LaserJet Pro M477fnw. The power button is typically located on the front or side panel of the printer, indicated by a universal power symbol.
2.3 Initial Configuration
Follow the on-screen instructions on the control panel to select language, country/region, and date/time settings.
Figure 2.2: Close-up of the HP LaserJet Pro M477fnw control panel. This image shows the touch screen display with various function icons like Copy, Scan, Jobs, and Fax, along with navigation buttons.
2.4 Network Connection
The M477fnw supports Ethernet and Wireless connectivity.
2.4.1 Ethernet Connection
- Connect an Ethernet cable from your network router or switch to the Ethernet port on the back of the printer.
- The printer will automatically obtain an IP address.
2.4.2 Wireless Connection
- From the control panel, navigate to the Network settings.
- Select "Wireless Setup Wizard" and follow the prompts to connect to your Wi-Fi network.
2.5 Software Installation
- Insert the software CD (if included) into your computer, or download the latest drivers from the official HP support website.
- Follow the on-screen instructions to install the printer software and drivers.
3. Operating the Printer
3.1 Loading Paper
- Open the paper tray (Tray 2, typically the main tray).
- Adjust the paper guides to fit the paper size.
- Load paper into the tray, ensuring it is flat and below the maximum fill line.
- Close the paper tray.
The printer also features a multipurpose tray (Tray 1) for special media like envelopes or thicker paper.
3.2 Printing Documents
- From your computer, open the document you wish to print.
- Select "Print" from the application's menu.
- Choose the HP LaserJet Pro M477fnw from the list of available printers.
- Adjust print settings (e.g., number of copies, color/monochrome, duplex printing) as needed.
- Click "Print".
3.3 Scanning Documents
The M477fnw supports scanning via the flatbed scanner or the Automatic Document Feeder (ADF).
3.3.1 Scanning from the Control Panel
- Place the document on the scanner glass or in the ADF.
- On the control panel, select "Scan".
- Choose your scan destination (e.g., Email, Network Folder, USB Drive, Computer).
- Adjust scan settings (e.g., resolution, color mode) and press "Start Scan".
Figure 3.1: View of the Automatic Document Feeder (ADF) and the output tray on the HP LaserJet Pro M477fnw. This shows where documents are fed for scanning and where printed pages exit.
3.3.2 Scanning from a Computer
- Load the document.
- Open the HP Scan software on your computer.
- Select the desired scan shortcut or customize settings.
- Click "Scan".
3.4 Copying Documents
- Place the document on the scanner glass or in the ADF.
- On the control panel, select "Copy".
- Enter the number of copies and adjust settings (e.g., color/monochrome, reduce/enlarge, duplex).
- Press "Start Copy".
3.5 Faxing Documents
- Connect a phone line to the printer's FAX LINE port.
- Place the document on the scanner glass or in the ADF.
- On the control panel, select "Fax".
- Enter the recipient's fax number.
- Adjust settings as needed and press "Start Fax".
4. Maintenance
4.1 Replacing Toner Cartridges
- Open the front access door of the printer.
- Pull out the toner cartridge drawer.
- Grasp the handle of the used toner cartridge and pull it straight out.
- Unpack the new HP toner cartridge, shake it gently, and remove the orange protective tab.
- Insert the new cartridge into its corresponding slot until it clicks into place.
- Close the toner cartridge drawer and the front access door.
4.2 Cleaning the Printer
4.2.1 Exterior Cleaning
Wipe the exterior surfaces with a soft, lint-free cloth dampened with water. Avoid abrasive cleaners.
4.2.2 Scanner Glass Cleaning
Use a soft, lint-free cloth lightly dampened with glass cleaner to clean the scanner glass. Ensure no residue remains.
5. Troubleshooting
5.1 Common Issues and Solutions
- Printer Not Responding:
- Check power connections.
- Verify network connectivity (Ethernet cable or Wi-Fi signal).
- Restart the printer and computer.
- Ensure printer drivers are correctly installed and updated.
- Paper Jams:
- Follow on-screen instructions to clear paper jams.
- Open all access doors and carefully remove any jammed paper.
- Ensure paper is loaded correctly and not overfilled.
- Poor Print Quality:
- Check toner cartridge levels and replace if low.
- Perform a print quality diagnostic from the printer's control panel.
- Ensure you are using genuine HP toner cartridges.
- Scanning Issues:
- Clean the scanner glass and ADF rollers.
- Verify network connection if scanning to network destinations.
- Ensure the HP Scan software is up-to-date.
6. Specifications
| Feature | Specification |
|---|---|
| Model | M477fnw |
| Functions | Print, Copy, Scan, Fax |
| Print Technology | Color Laser |
| Print Speed (Black/Color) | Up to 28 ppm |
| Print Resolution (Black/Color) | Up to 600 x 600 dpi (Black), Up to 1200 x 1200 dpi (Color) |
| Duplex Printing | Automatic |
| Connectivity | Ethernet, USB, Wi-Fi |
| Scanner Type | Flatbed, ADF |
| Max Input Sheet Capacity | 850 (with optional tray) |
| Memory | 512 MB |
| Dimensions (W x D x H) | 18.1 x 16.4 x 15.7 inches |
| Weight | 48.1 pounds |
7. Warranty and Support
7.1 Warranty Information
The HP LaserJet Pro M477fnw comes with a One-Year Limited Warranty. For detailed terms and conditions, please refer to the warranty documentation included with your product or visit the official HP support website.
7.2 Customer Support
For technical assistance, driver downloads, or further information, please visit the official HP support website or contact HP customer service. You can find contact details on the HP website or in the documentation provided with your printer.
Online resources are available at: support.hp.com