1. Product Overview

Image: F2C 5-in-1 Heat Press Machine showcasing its versatility with hat, plate, and mug attachments.
The F2C 5-in-1 Digital Multifunctional Heat Press Machine is designed for transferring images onto various items such as T-shirts, mugs, hats, and plates. This machine features a swing-away design for safety and a 360-degree rotation for ease of use. It includes a digital control box for precise temperature and time settings, ensuring optimal transfer results.
- Large Heat Platen: 12 x 15 inches (38 x 30 cm) Teflon-coated platen to prevent scorching.
- 360-Degree Rotation: Swing-away design allows the heating element to move safely aside.
- Full Range Pressure Adjustment: Knob for adjusting pressure based on material thickness.
- Digital Control Box: Sets desired time (0-999 seconds) and temperature (200-450 °F / 95-232 °C).
- Overload Protector: Button to protect the control box and heat platen from voltage instability.
2. Safety Instructions
- Always read the user manual thoroughly before operation.
- Ensure the machine is placed on a stable, heat-resistant surface.
- Keep hands clear of the heating element during operation as surfaces become extremely hot.
- Do not operate the machine with wet hands or in damp conditions.
- Unplug the machine from the power outlet when not in use or during maintenance.
- Use appropriate heat-resistant gloves when handling hot items or attachments.
- Ensure proper ventilation in the work area.
3. Package Contents
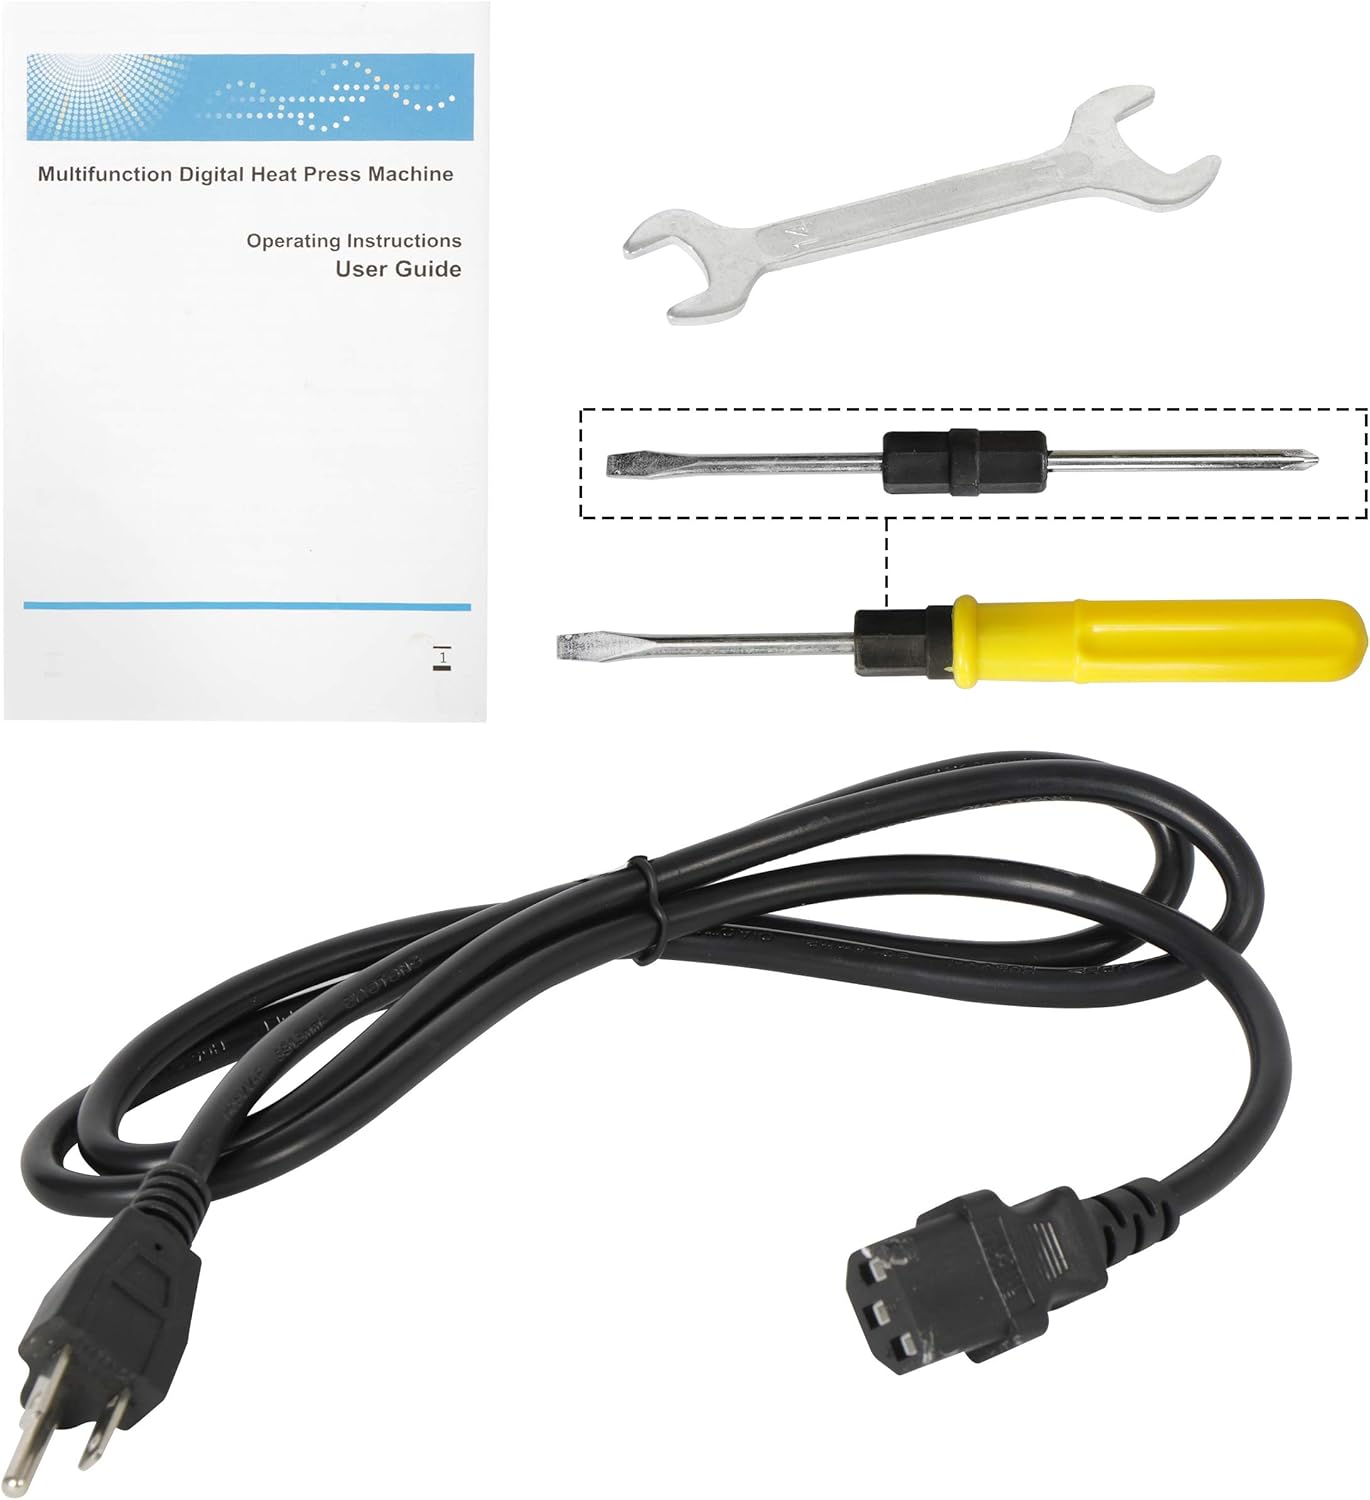
Image: All components included in the F2C 5-in-1 Heat Press Machine package.
Your F2C 5-in-1 Heat Press Machine package includes the following items:
- Fully-assembled main platen press (12"x15")
- Mug Press attachment: 3"-3.5" (11 oz)
- Hat/Cap Press attachment: 6"x3" (curved)
- Plate Press #1 attachment: 5" max diameter
- Plate Press #2 attachment: 6" max diameter
- 1 x User Manual
- Power Cord
- Tools (wrench, screwdriver)
4. Setup
The F2C 5-in-1 Heat Press Machine comes largely pre-assembled. Follow these steps for initial setup and attaching different press types:
4.1. Initial Placement and Main Platen
Place the main unit on a sturdy, flat surface. Ensure there is enough space around the machine for the 360-degree swing-away function.

Image: The main heat press unit demonstrating its 360-degree rotation and slide-out lower platen.
4.2. Attaching Specialized Presses (Mug, Hat, Plate)
To use the mug, hat, or plate press attachments, you will need to remove the main platen and attach the desired accessory. Each accessory connects to the main unit via specific ports and mounting points.
- For Mug Press: Unplug the main platen's connector and plug in the mug press connector. Secure the mug press attachment to the designated mounting area.
- For Hat Press: Remove the main platen. Attach the curved hat platen to the base and the corresponding curved heating element to the upper arm using the provided tools.
- For Plate Press: Remove the main platen. Attach the circular plate platen to the base and the corresponding circular heating element to the upper arm using the provided tools.
5. Operating Instructions
This section details how to operate your F2C Heat Press Machine for various applications.
5.1. Digital Control Box Operation
The digital control box allows you to set the temperature and time for your heat transfers.

Image: Digital control box displaying temperature and time settings.
- Power On/Off: Use the main power switch on the side of the control box.
- Setting Temperature: Press the 'SET' button once. The 'TEMP' display will flash. Use the up/down arrows to adjust the temperature (200-450 °F or 95-232 °C). Press 'SET' again to confirm.
- Setting Time: After setting temperature, press 'SET' again. The 'TIME' display will flash. Use the up/down arrows to adjust the time (0-999 seconds). Press 'SET' a third time to confirm and exit setting mode.
- The machine will heat up to the set temperature. An alarm will sound when the set time is complete.
- An overload protector button will pop up if voltage is unstable or too high, protecting the unit.
5.2. Adjusting Pressure
The pressure knob located at the top of the machine allows you to adjust the clamping force. Turn clockwise for more pressure, counter-clockwise for less pressure. Adjust according to the thickness of your material.

Image: The pressure adjustment knob for fine-tuning the clamping force.
5.3. General Operation Steps (T-Shirts, Mugs, Hats, Plates)
The general process for heat transfer involves preheating, placing the item, applying the transfer, pressing, and removing. Specific steps vary slightly per attachment.
T-Shirt Press

Image: A user applying a design to a t-shirt using the main platen press.
- Preheat the main platen to the desired temperature.
- Place the T-shirt on the lower platen, ensuring it is flat and wrinkle-free.
- Place your transfer design onto the T-shirt.
- Swing the upper platen over the T-shirt and press down the handle to lock it.
- Wait for the set time to elapse, then release the handle and swing the platen away.
- Carefully remove the transfer paper and the T-shirt.
Mug Press

Image: The mug press attachment ready for use.
- Attach the mug press and connect its cable to the control box.
- Preheat the mug press to the desired temperature.
- Wrap your transfer design around the mug and secure it with heat-resistant tape.
- Place the mug into the mug press and close the clamp.
- Wait for the set time to elapse, then open the clamp and carefully remove the hot mug.
- Allow the mug to cool before removing the transfer paper.
Hat Press

Image: The hat press attachment for curved surfaces.
- Attach the hat press heating element and platen.
- Preheat the hat press to the desired temperature.
- Place the hat onto the curved platen, ensuring the area for transfer is flat.
- Position your transfer design on the hat.
- Press down the upper heating element onto the hat.
- Wait for the set time to elapse, then release and remove the hat.
Plate Press

Image: The plate press attachment for circular items.
- Attach the plate press heating element and platen.
- Preheat the plate press to the desired temperature.
- Place the plate onto the circular platen.
- Position your transfer design on the plate.
- Press down the upper heating element onto the plate.
- Wait for the set time to elapse, then release and carefully remove the hot plate.
5.4. Instructional Video
Video: Official F2C demonstration of the Swing-Away Multifunction Heat Press, showing the operation for T-shirts, mugs, and hats.
6. Maintenance
- Regularly clean the heating platens with a soft, dry cloth after the machine has cooled down completely.
- Do not use abrasive cleaners or solvents that could damage the Teflon coating.
- Inspect all cables and connections periodically for any signs of wear or damage.
- Ensure all screws and bolts, especially those securing the upper platen and attachments, remain tight. Tighten as needed with the provided tools.
- Store the machine in a dry, dust-free environment when not in use.
7. Troubleshooting
- Machine Not Powering On: Check the power cord connection and ensure the main power switch is in the 'ON' position. Verify the outlet is functional.
- Temperature Not Reaching Set Point: Allow sufficient time for preheating (approximately 15 minutes for the entire element to heat evenly). If the issue persists, check for any tripped overload protector.
- Uneven Pressure: Adjust the pressure knob to achieve firm, even pressure across the platen. Ensure the item being pressed is flat.
- Attachments Not Functioning: Verify that the correct attachment is securely mounted and its corresponding cable is properly plugged into the control box.
- Loose Components: Periodically check and tighten any loose bolts or screws, particularly the central bolt on the upper platen, to ensure stable operation.
8. Specifications
| Feature | Detail |
|---|---|
| Recommended Uses | Hat, T-Shirt, Mug, Plate |
| Upper Temperature Rating | 450 °F (232 °C) |
| Voltage | 110 Volts |
| Wattage | 1100 watts |
| Product Dimensions | 20.6"L x 19.3"W x 20.2"H |
| Item Weight | 45.8 pounds |
| Material | Vinyl, Silicone |
| Color | Black |
| Item Model Number | F2C-D1 |
| UPC | 713179405995 |
9. Warranty and Support
The F2C 5-in-1 Digital Multifunctional Heat Press Machine comes with a 2-year warranty.
For any problems, questions, or support needs regarding your product, please feel free to contact F2C customer service. Refer to your purchase documentation for specific contact details or visit the official F2C website for assistance.