Introduction
This manual provides comprehensive instructions for the safe and effective use of your Remington ColourCut Hair Clipper Kit, Model HC5035. Please read this manual thoroughly before first use and keep it for future reference. This hair clipper is designed for personal hair cutting and trimming.
Important Safety Information
WARNINGS:
- Do not use the appliance near the face or eyes.
- Keep small parts away from mouth and nose.
- Clean the appliance carefully after each use.
- Children may only use the appliance under supervision.
What's in the Box
Your Remington ColourCut Hair Clipper Kit includes the following components:
- Hair Clipper
- Blades (self-sharpening stainless steel)
- 9 Colour Coded Guide Combs (1.5-25 mm)
- 2 Side Taper Combs
- Scissors
- Comb
- Cleaning Brush
- Neck Brush

Figure 1: Complete Remington ColourCut Hair Clipper Kit with all included accessories.
Setup
Unpacking:
Carefully remove all components from the packaging. Retain the packaging for storage or future transport.
Initial Inspection:
Inspect the hair clipper and all accessories for any signs of damage. Do not use if any part is damaged.
Power Connection:
The HC5035 is mains-powered. Ensure the power cord is fully extended and not tangled. Plug the clipper into a suitable electrical outlet (220-240V AC).
Attaching Guide Combs:
Select the desired coloured guide comb based on the hair length you wish to achieve. Align the comb with the clipper blades and push firmly until it clicks into place. The colour-coded combs make length selection easy.

Figure 2: The hair clipper surrounded by its array of colour-coded guide combs.
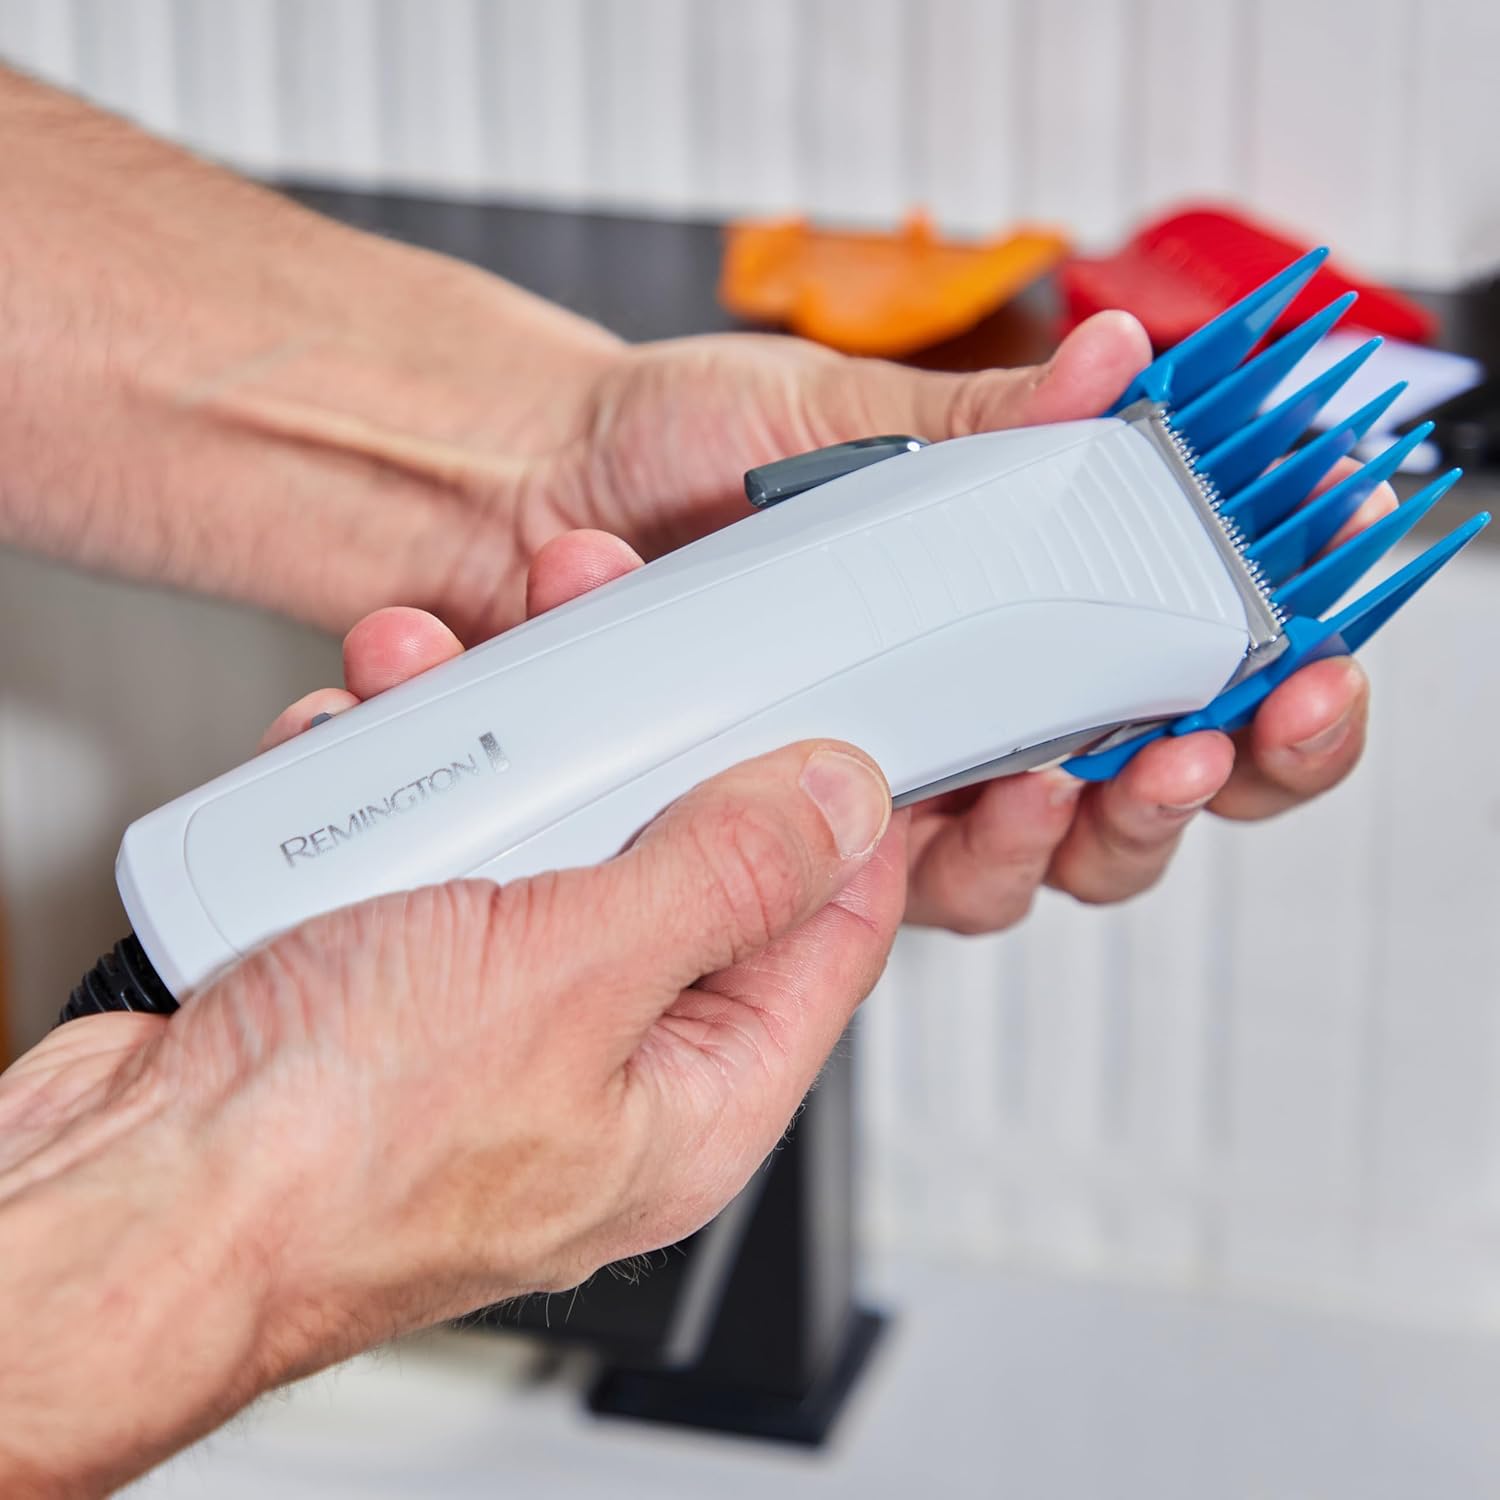
Figure 3: Demonstrating the attachment of a guide comb to the clipper.
Operating Instructions
General Hair Cutting Tips:
- Ensure hair is clean, dry, and tangle-free before cutting.
- For best results, comb the hair in the direction of growth.
- Always start with a longer guide comb than you think you need to avoid cutting too much hair. You can always go shorter.
- Move the clipper against the direction of hair growth for an even cut.
Using the Clipper:
Power On:
Switch the clipper on using the power switch located on the side of the unit.
Adjusting Blade Length (Taper Lever):
The clipper features a taper lever for precise adjustment of the cutting blade. This allows for fine-tuning of cutting length between comb sizes or for blending and fading. Move the lever up or down to adjust the blade position.

Figure 4: Adjusting the taper lever for precise cutting length.
Cutting Hair:
Hold the clipper firmly and guide it through the hair. Use smooth, overlapping strokes. For the top of the head, use the longer guide combs. For the sides and back, use shorter combs or the taper lever for blending.
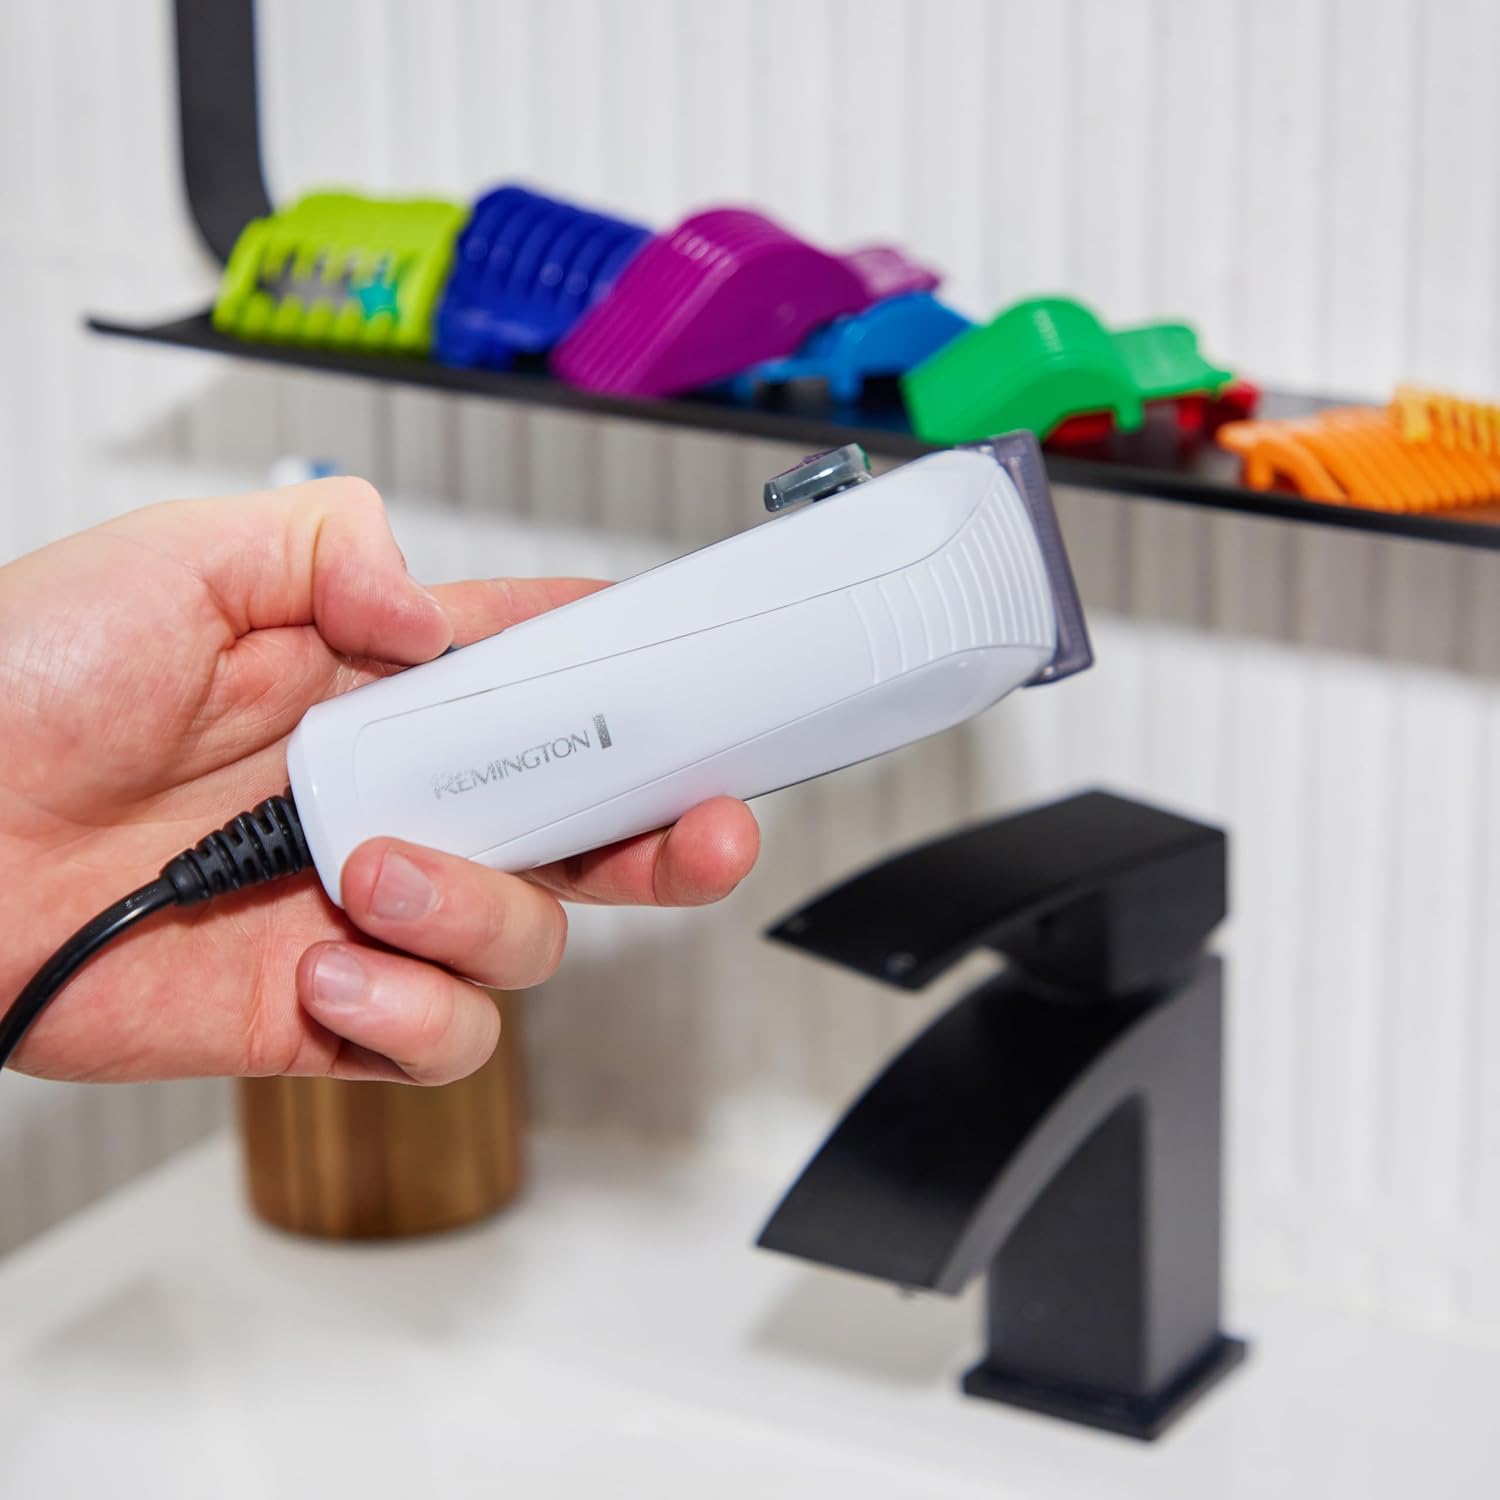
Figure 5: Trimming hair on the side of the head with a guide comb.

Figure 6: Using the clipper for precise trimming around the sideburn area.

Figure 7: Cutting hair on the top of the head for an even length.

Figure 8: Trimming hair at the nape of the neck.
Using Side Taper Combs:
The two specialized side taper combs are designed for easy and precise cutting around the ears and sideburns, creating a clean, tapered look.
Using Scissors and Comb:
For detailing, blending, or cutting longer sections of hair, use the included scissors and comb. The comb helps to lift and guide the hair for precise cuts.
Maintenance
Cleaning:
After Each Use:
Switch off and unplug the clipper. Remove the guide comb. Use the cleaning brush to brush away any loose hairs from the blades and the clipper body. For thorough cleaning, the top blade can be unscrewed (2 screws) and cleaned underneath, but this is typically recommended only every 6 months.

Figure 9: Cleaning the clipper with the provided brush.
Blade Lubrication:
Apply a small drop of clipper oil (not included, but commonly available) to the blades after each cleaning to ensure smooth operation and longevity. The self-sharpening stainless steel blades require minimal maintenance, but lubrication is key.
Storage:
Store the clipper and all accessories in a dry place, away from direct sunlight and out of reach of children.
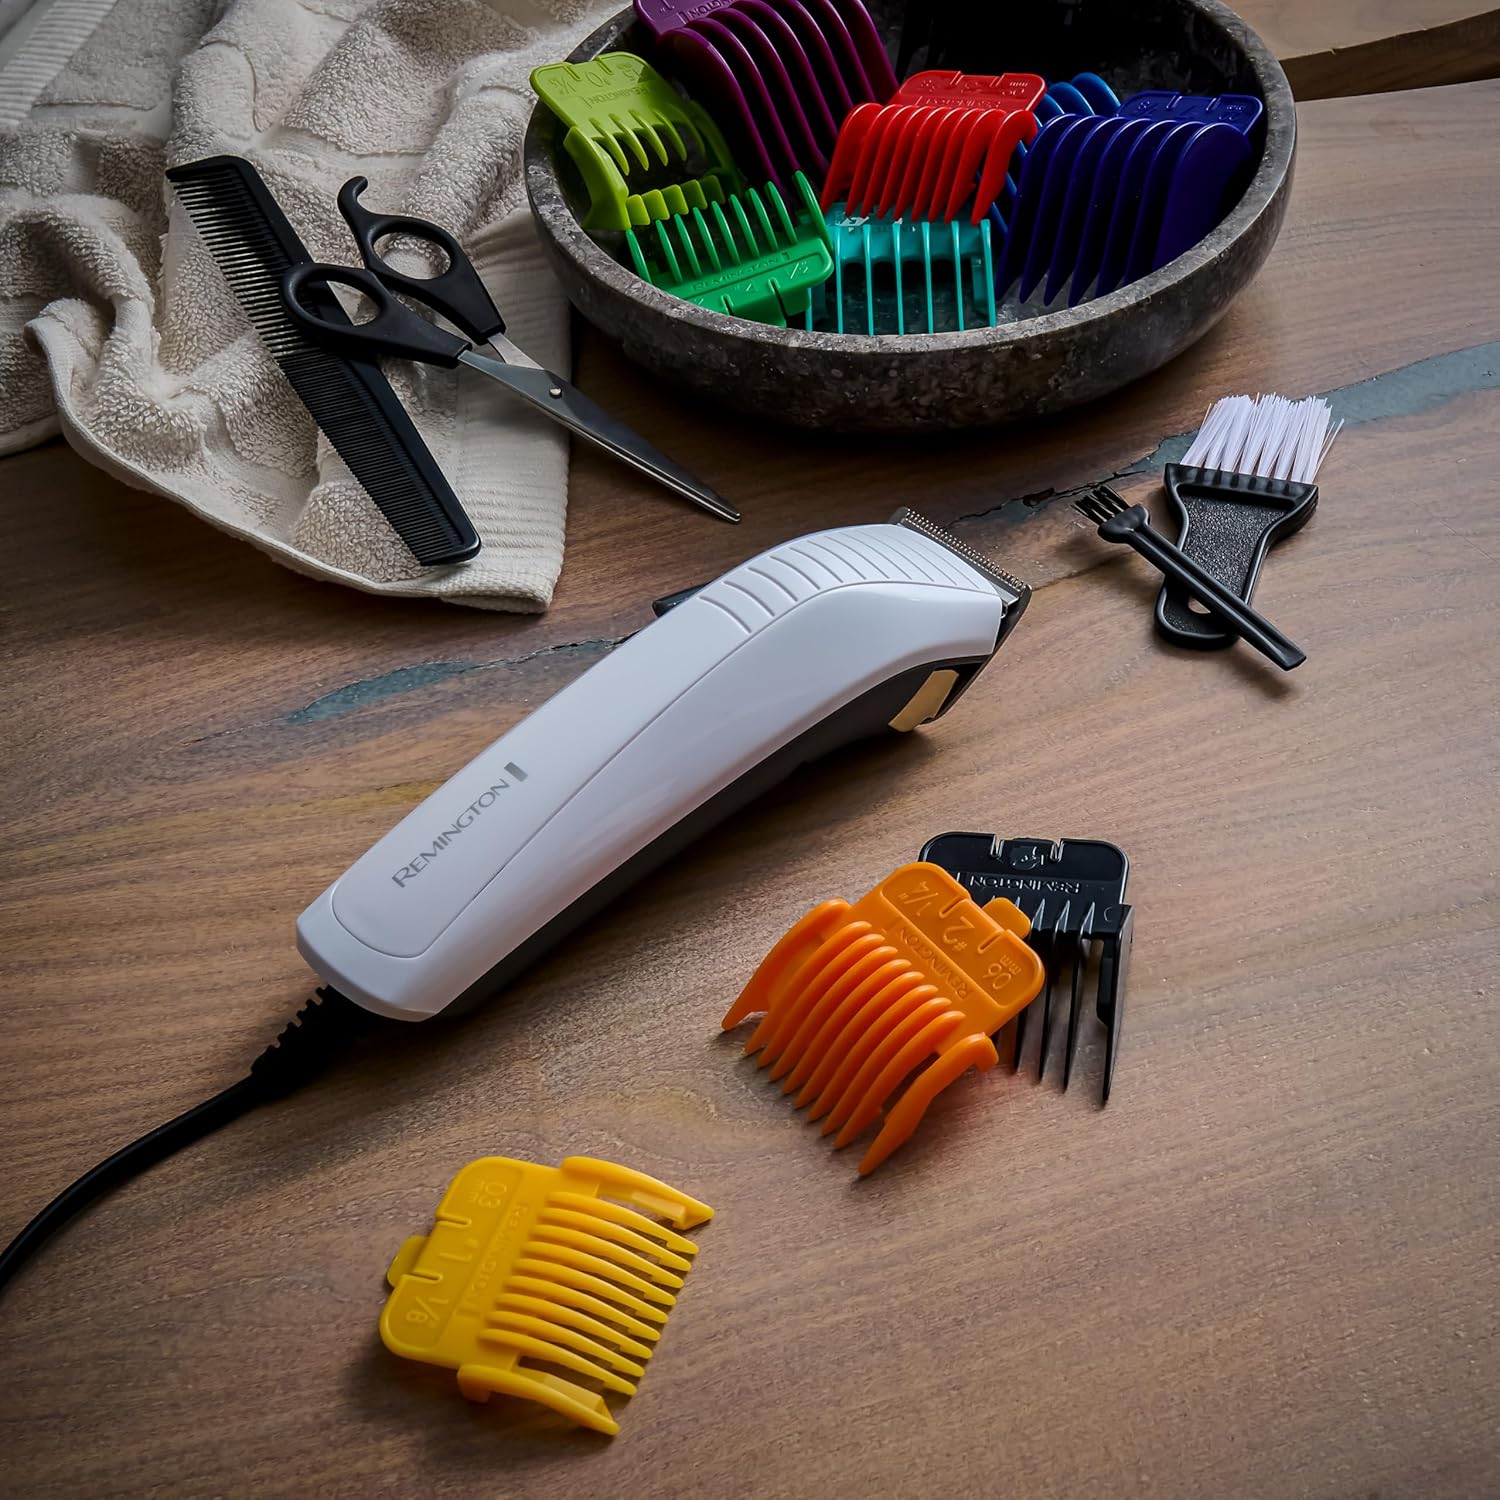
Figure 10: All components of the kit laid out for storage or inspection.
Troubleshooting
| Problem | Possible Cause | Solution |
|---|---|---|
| Clipper does not turn on. | Not plugged in correctly; Power outlet issue. | Ensure the power cord is securely plugged into both the clipper and the wall outlet. Test the outlet with another appliance. |
| Clipper pulls hair or cuts unevenly. | Blades are dirty or not lubricated; Hair is not clean/dry; Guide comb not properly attached. | Clean and lubricate the blades. Ensure hair is clean and dry. Re-attach the guide comb securely. |
| Excessive noise or vibration. | Blades require lubrication; Foreign object caught in blades. | Lubricate the blades. Inspect blades for any trapped hair or debris and remove carefully. |
Specifications
- Model: HC5035
- Power Source: Corded (Mains operated)
- Blades: Self-sharpening Stainless Steel
- Minimum Cutting Length: 0.5 mm (without comb)
- Guide Combs: 9 colour-coded combs (1.5 - 25 mm)
- Additional Combs: 2 Side Taper Combs
- Dimensions (L x W x H): 14.7 x 7.9 x 22.6 cm
- Weight: 600 grams
- Colour: White
- Material: Stainless Steel (blades)
- Country of Origin: China
Warranty and Support
Remington products are designed to meet the highest quality standards. This product comes with a manufacturer's warranty. Please refer to the warranty card included in your packaging for specific terms and conditions, including the warranty period and how to register your product for extended warranty where applicable (e.g., 3 years standard, 4 years upon registration within 4 weeks).
For technical support, spare parts, or further information, please visit the official Remington website or contact their customer service department in your region. Keep your proof of purchase for any warranty claims.


