1. Introduction
This manual provides essential information for the installation, setup, operation, and maintenance of your RockShox Monarch Plus RC3 DebonAir High Volume Eyelet rear shock. Please read this manual thoroughly before attempting any procedures to ensure proper function and safety. This product is designed for mountain bicycles.
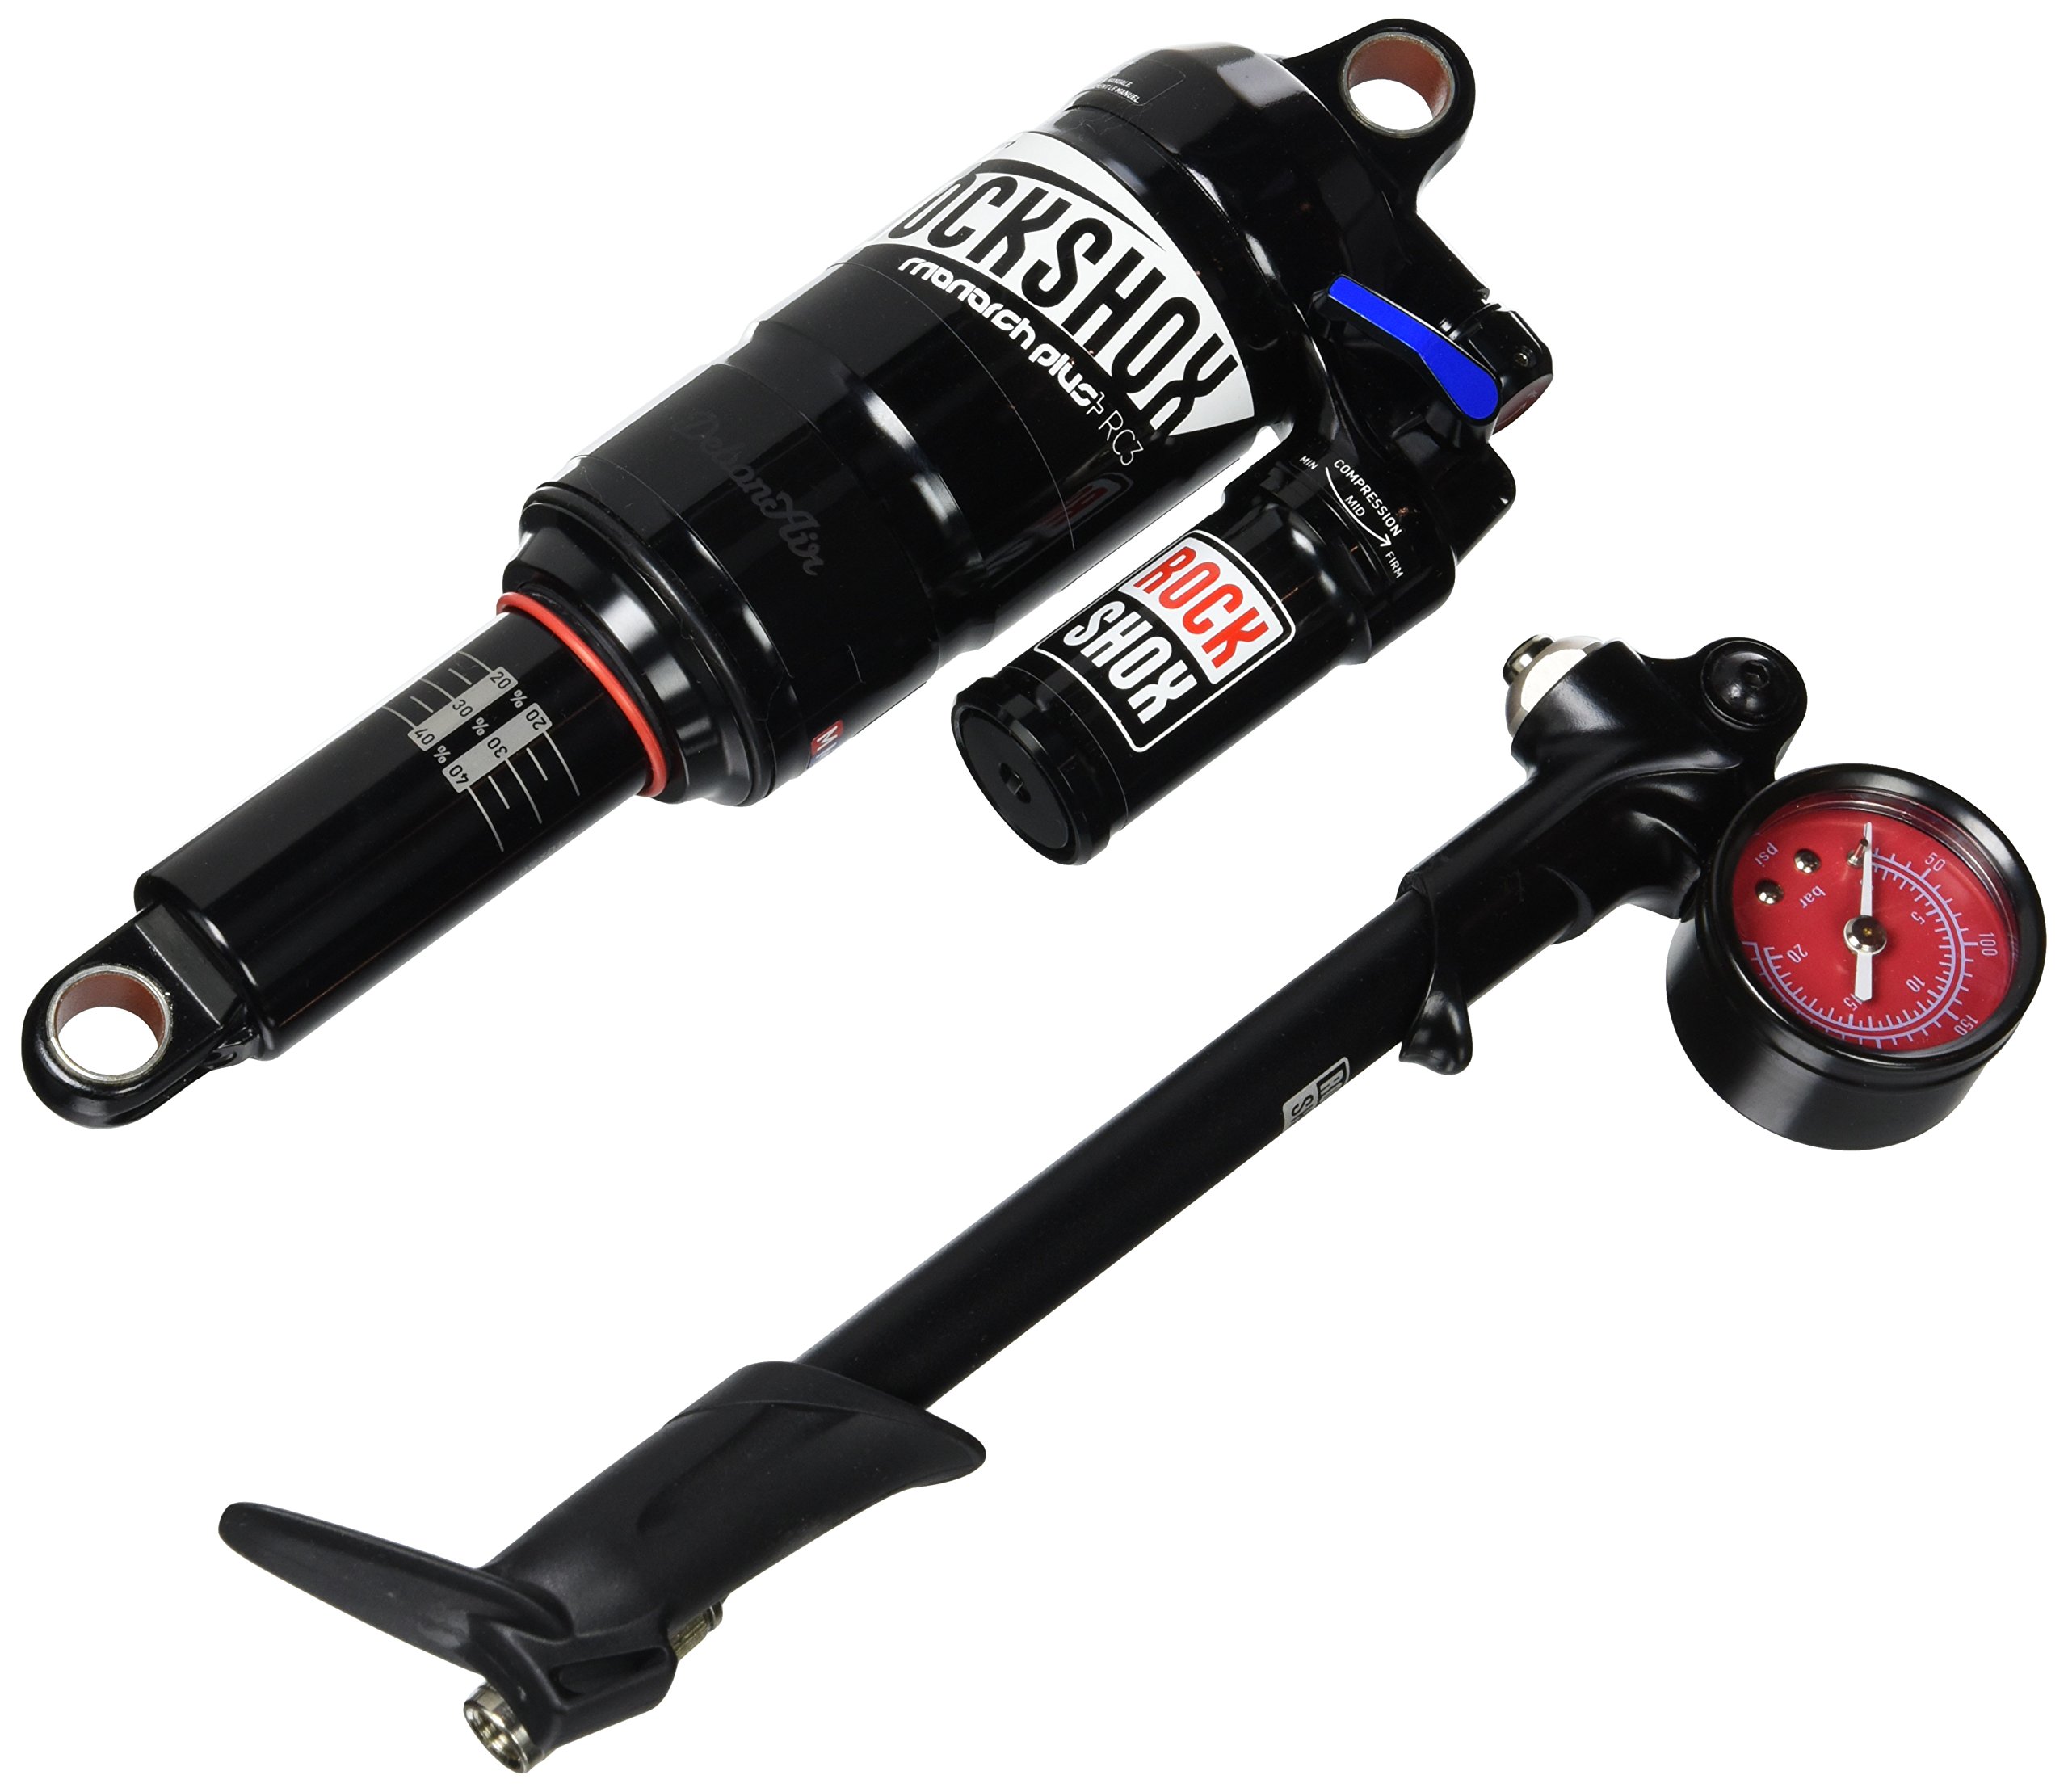
Figure 1: RockShox Monarch Plus RC3 rear shock.
2. Safety Information
Always wear appropriate safety gear when working on your bicycle. If you are unsure about any installation or maintenance procedure, consult a qualified bicycle mechanic. Improper installation or maintenance can lead to serious injury or product damage.
- Ensure all bolts are torqued to manufacturer specifications.
- Do not attempt to disassemble the air spring or damper without proper tools and knowledge. High air pressure can cause injury.
- Regularly inspect your shock for any signs of damage or wear.
3. Key Features
The RockShox Monarch Plus RC3 is engineered for high-performance mountain biking, offering advanced adjustability and durability.
- DebonAir™ Spring Option: Provides a highly tunable air spring with a linear feel, offering coil-like performance.
- RC3 Damper: Features a 3-position compression adjustment (Open, Pedal, Lock) for versatile riding conditions.
- Fast Black Shock Bodies: Durable, low-friction anodized finish for improved performance and longevity.
- Volume Reducers: Includes 2 volume reducers for fine-tuning air spring progression.
- Perfect Match for Pike: Designed to complement the performance characteristics of RockShox Pike forks.

Figure 2: Close-up of the Monarch Plus RC3 showing adjustment dials.
4. Installation
The Monarch Plus RC3 comes with mounting hardware. Ensure you have the correct hardware for your bicycle frame.
- Remove Old Shock: Carefully remove your existing rear shock, noting the orientation and hardware.
- Install New Shock: Align the Monarch Plus RC3 with the mounting points on your frame. Insert the appropriate mounting hardware and bolts.
- Torque Bolts: Tighten all mounting bolts to your bicycle manufacturer's specified torque settings. Refer to your bike's manual for these values.
- Check Clearance: Cycle the suspension through its full travel to ensure there is no interference with the frame or other components.

Figure 3: Monarch Plus RC3 installed on a bicycle.
5. Setup
Proper setup is crucial for optimal performance and rider comfort. Perform these steps with your riding gear on.
5.1. Setting Sag (Air Pressure)
Sag is the amount your suspension compresses under your body weight. The Monarch Plus RC3 uses a DebonAir spring, which typically requires 25-35% sag for trail riding.
- Attach Pump: Connect a high-pressure shock pump to the air valve.
- Inflate: Add air until the pressure is slightly above your estimated riding pressure.
- Cycle Shock: Compress the shock fully 5-10 times to equalize positive and negative air chambers.
- Set O-Ring: Slide the rubber O-ring on the shock body against the wiper seal.
- Mount Bike: Carefully sit on your bike in your normal riding position without bouncing.
- Measure Sag: Dismount carefully. Measure the distance the O-ring moved from the wiper seal. This is your sag.
- Adjust: Add air to reduce sag or release air to increase sag. Repeat steps 3-6 until desired sag is achieved.
5.2. Rebound Adjustment
Rebound controls how quickly the shock extends after compression. The red dial adjusts rebound damping.
- Full Slow: Turn the red dial clockwise until it stops (slowest rebound).
- Full Fast: Turn the red dial counter-clockwise until it stops (fastest rebound).
- Recommended Starting Point: Start with the rebound fully slow, then turn it counter-clockwise 2-4 clicks. Adjust based on trail conditions and personal preference. The shock should return quickly enough to be ready for the next impact, but not so fast that it feels like it's kicking you.
5.3. Compression Adjustment (RC3)
The blue lever on the RC3 damper offers three compression settings to adapt to different riding situations.
- Open: Provides the least compression damping for maximum small bump compliance and traction, ideal for technical descents.
- Pedal: Offers increased compression damping for improved pedaling efficiency while still absorbing trail chatter. Suitable for general trail riding and climbing.
- Lock: Provides the firmest compression damping for maximum pedaling efficiency on smooth climbs or paved roads. This is not a true lockout and will still move under significant impact.
5.4. Volume Reducers
The Monarch Plus RC3 includes 2 volume reducers. These plastic tokens reduce the air volume in the air spring, making the shock more progressive (harder to bottom out). Consult a qualified mechanic for installation of volume reducers.
6. Operating Instructions
Once your shock is properly set up, you can adjust the compression lever on the fly to match terrain conditions.
- Use the Open setting for rough, technical descents where maximum suspension activity is desired.
- Switch to the Pedal setting for undulating terrain, climbs, or general trail riding to balance efficiency and comfort.
- Engage the Lock setting for smooth climbs or paved sections to minimize suspension movement and maximize power transfer.
7. Maintenance
Regular maintenance ensures the longevity and performance of your Monarch Plus RC3 shock.
- Cleaning: After each ride, wipe down the shock body and shaft with a clean, damp cloth. Avoid high-pressure washing directly on seals.
- Lubrication: Apply a small amount of suspension-specific lubricant to the exposed shock shaft periodically.
- Air Can Service: RockShox recommends an air can service every 50 hours of riding or annually, whichever comes first. This involves cleaning and replacing air can seals.
- Full Damper Service: A full damper service is recommended every 100-200 hours of riding or every 1-2 years, depending on riding conditions. This should be performed by a qualified service center.
8. Troubleshooting
Here are some common issues and their potential solutions.
| Problem | Possible Cause | Solution |
|---|---|---|
| Loss of air pressure | Leaking air valve or seals | Check valve core for tightness. Perform an air can service to replace seals. |
| Poor rebound control (too fast/slow) | Incorrect rebound setting or low damper fluid | Adjust rebound dial. If issue persists, a damper service may be required. |
| Shock feels harsh or bottoms out easily | Incorrect air pressure, too few volume reducers | Increase air pressure. Consider adding volume reducers. |
| Shock feels sticky or not smooth | Dirty seals, lack of lubrication | Clean shock shaft and seals. Perform an air can service. |
9. Specifications
- Model: Monarch Plus RC3 DebonAir High Volume Eyelet
- Part Number: RS8139004
- Dimensions: 210 x 60 mm (8.25 x 2.35 inches)
- Material: Aluminum
- Weight: Approximately 0.1 Kilograms
- Auto Part Position: Rear
- Exterior Finish: Fast Black
- Compatible Vehicle Type: Bicycle
- GTIN/UPC: 710845776557
10. Warranty and Support
For detailed warranty information, service, and technical support, please refer to the official RockShox website or contact your authorized RockShox dealer. Keep your proof of purchase for warranty claims.
RockShox Official Website: www.sram.com/en/rockshox