Introduction
This instruction manual provides essential information for the proper installation, operation, and maintenance of your 1UQ replacement carburetor. This carburetor is designed for specific McCulloch generator models to ensure reliable performance. Please read this manual thoroughly before attempting any installation or maintenance procedures.
Product Overview
The 1UQ carburetor is a high-quality replacement component designed to restore optimal fuel delivery to your compatible generator engine. It includes the main carburetor unit and necessary gaskets for installation.

Image 1: The 1UQ replacement carburetor kit, showing the main carburetor unit, three gaskets, and a fuel line with clamps.
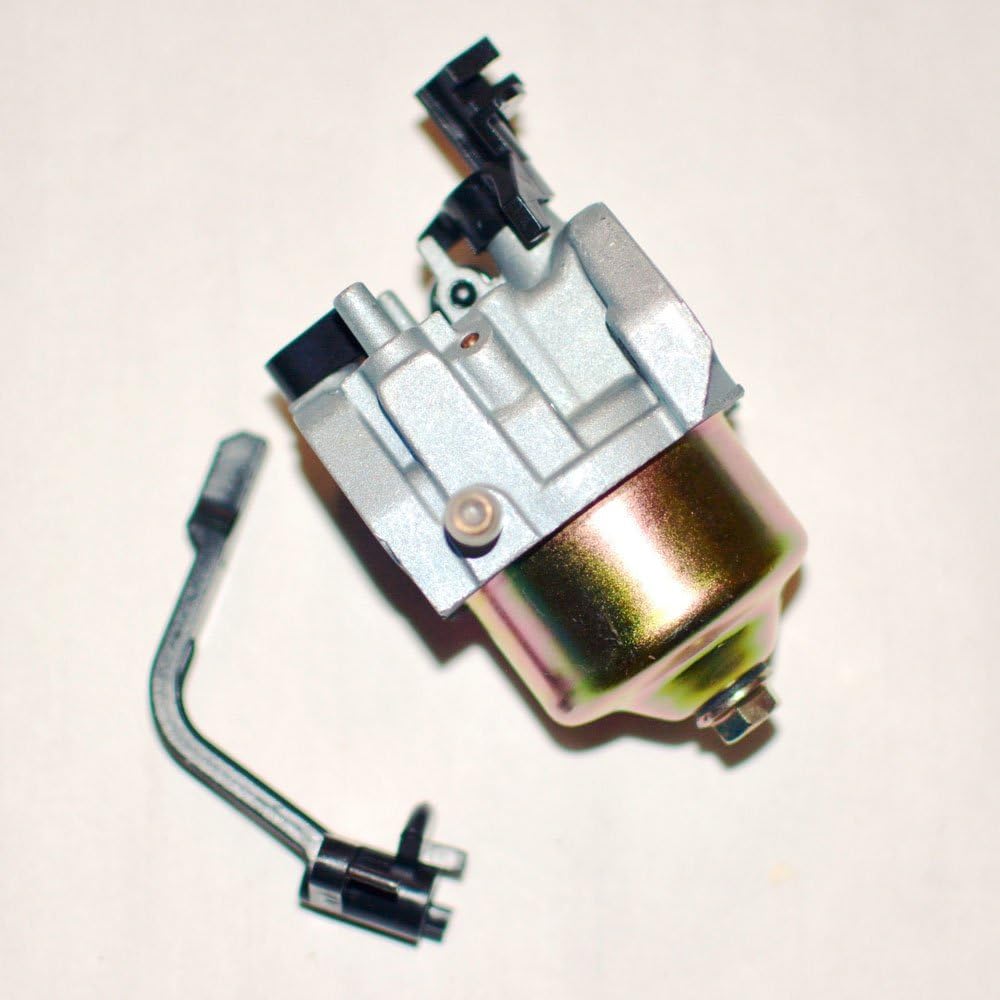
Image 2: Side view of the 1UQ carburetor, highlighting the fuel bowl and linkage connection points.
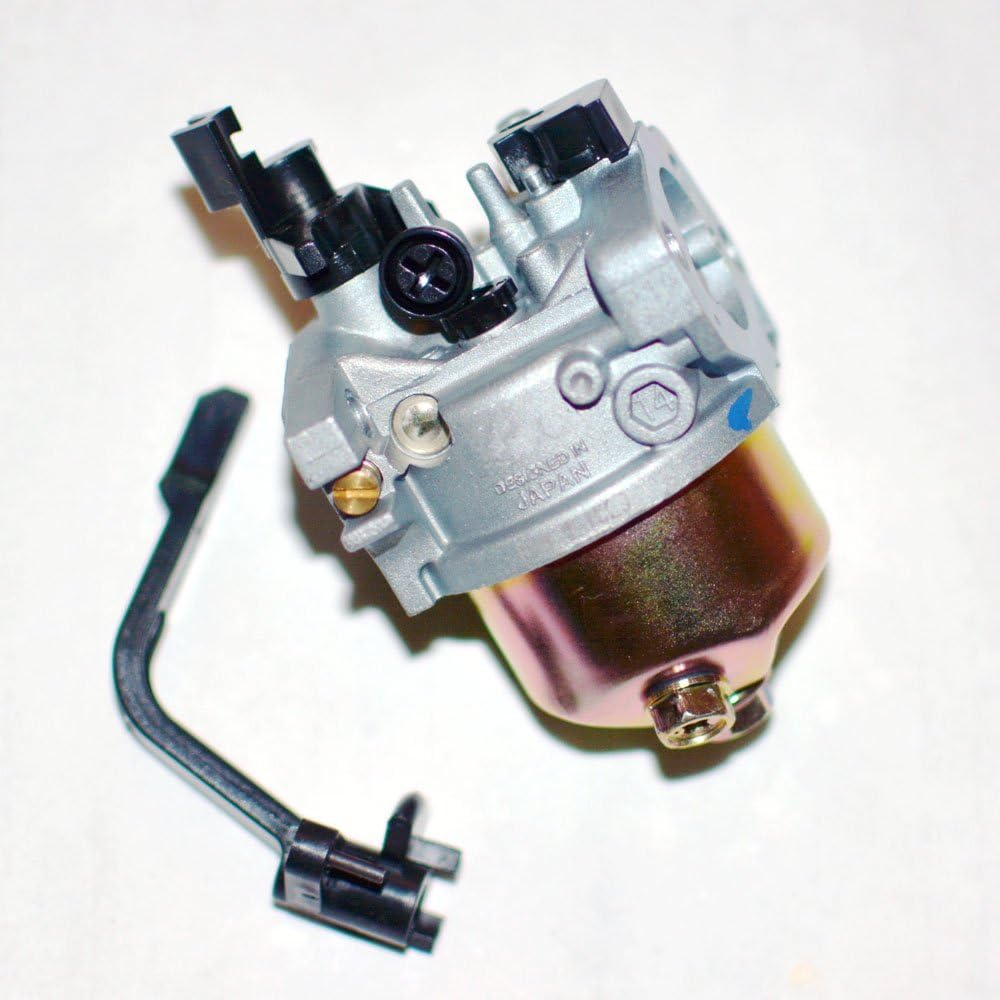
Image 3: A different side view of the 1UQ carburetor, showing the air intake and a "DESIGNED IN JAPAN" marking.

Image 4: Front view of the 1UQ carburetor, displaying the choke plate and throttle linkage.
Compatibility
This 1UQ replacement carburetor is specifically designed for the following McCulloch 5.5/6.5HP gasoline generator models:
- McCulloch FG4000MK
- McCulloch EG4000MK
- McCulloch FGG350MK
Please verify your generator's model number before installation to ensure proper fitment.
Package Contents
The package includes:
- 1 x 1UQ Carburetor (Model: 201-SSC-123)
- 3 x Gaskets
Safety Information
Always observe the following safety precautions when working with gasoline engines and fuel systems:
- Fuel Handling: Gasoline is highly flammable. Work in a well-ventilated area, away from open flames, sparks, or heat sources. Do not smoke.
- Engine Temperature: Allow the engine to cool completely before performing any service. Hot engine components can cause severe burns.
- Eye Protection: Always wear appropriate eye protection to shield against fuel splashes or debris.
- Gloves: Wear fuel-resistant gloves to protect your hands.
- Ventilation: Ensure adequate ventilation to prevent the buildup of gasoline fumes.
- Disconnect Spark Plug: Before starting any work, disconnect the spark plug wire to prevent accidental engine startup.
- Spill Containment: Have absorbent materials ready to clean up any fuel spills immediately.
- Professional Assistance: If you are unsure about any step, consult a qualified technician.
Installation (Setup)
This section outlines the general steps for replacing a carburetor. Specific procedures may vary slightly depending on your generator model. Refer to your generator's original service manual for detailed instructions if available.
- Prepare the Generator:
- Ensure the generator is turned off and the engine is cool.
- Disconnect the spark plug wire to prevent accidental starting.
- Turn the fuel valve to the "OFF" position.
- Drain the fuel tank into an approved container or clamp the fuel line to prevent fuel leakage.
- Access the Carburetor:
- Remove the air filter housing and air filter element.
- Locate the carburetor, typically mounted between the air filter and the engine intake manifold.
- Disconnect Components:
- Carefully disconnect the fuel line from the carburetor. Be prepared for residual fuel.
- Disconnect any throttle linkages, choke linkages, or governor springs attached to the carburetor. Note their positions for reassembly. Taking photos can be helpful.
- Remove any electrical connections, if present (e.g., fuel shut-off solenoid).
- Remove Old Carburetor:
- Unbolt the carburetor from the engine intake manifold. There are usually two nuts or bolts.
- Remove the old carburetor and any old gaskets. Inspect the mounting surfaces for cleanliness.
- Install New Carburetor:
- Place the new gaskets in their correct positions on the engine side and air filter side of the carburetor. Ensure they are properly aligned.
- Mount the new 1UQ carburetor onto the engine studs.
- Secure the carburetor with the nuts or bolts, tightening them evenly to prevent air leaks. Do not overtighten.
- Reconnect Components:
- Reconnect the throttle and choke linkages, and governor springs to their original positions.
- Reconnect the fuel line to the carburetor. Ensure a secure, leak-free connection.
- Reconnect any electrical connections.
- Reinstall the air filter element and air filter housing.
- Final Checks:
- Ensure all connections are secure and there are no loose parts.
- Check for any tools left in the engine area.
Operation (Post-Installation)
After installing the new carburetor, perform the following steps before starting the generator:
- Refill Fuel: If you drained the fuel tank, refill it with fresh, clean gasoline.
- Open Fuel Valve: Turn the fuel valve to the "ON" position. Allow a few minutes for the carburetor bowl to fill with fuel. Check for any leaks around the fuel line connections.
- Reconnect Spark Plug: Reconnect the spark plug wire.
- Choke and Start: Follow your generator's standard starting procedure, typically involving setting the choke and pulling the recoil starter or pressing the electric start button.
- Warm-up: Allow the engine to warm up for a few minutes. The choke should be gradually moved to the "RUN" position as the engine warms.
- Check for Smooth Operation: Listen for smooth engine operation. If the engine runs rough or stalls, refer to the Troubleshooting section.
Maintenance
Regular maintenance helps ensure the longevity and proper function of your carburetor and generator.
- Fuel Quality: Always use fresh, clean, unleaded gasoline. Stale or contaminated fuel is a primary cause of carburetor issues. Consider using a fuel stabilizer if the generator will be stored for extended periods.
- Fuel Filter: Regularly inspect and replace the fuel filter (if equipped) to prevent debris from reaching the carburetor.
- Air Filter: Keep the air filter clean. A dirty air filter can restrict airflow, leading to a rich fuel mixture and poor engine performance.
- Carburetor Cleaning: If the carburetor becomes clogged due to old fuel or debris, it may require cleaning. This typically involves disassembling the carburetor, cleaning jets and passages with carburetor cleaner, and replacing gaskets. This procedure should only be performed by individuals with mechanical experience.
- Storage: Before long-term storage, either run the engine until it runs out of fuel or drain the fuel system completely to prevent fuel degradation and carburetor clogging.
Troubleshooting
This section addresses common issues that may be related to the carburetor. Always ensure basic checks (fuel level, spark plug, air filter) are performed first.
| Problem | Possible Cause (Carburetor Related) | Solution |
|---|---|---|
| Engine will not start |
|
|
| Engine runs rough or stalls |
|
|
| Fuel leaks from carburetor |
|
|
For persistent issues, it is recommended to consult a qualified small engine mechanic.
Specifications
- Brand: 1UQ
- Product Type: Replacement Carburetor
- Model Number (Carburetor): 201-SSC-123
- Compatible Generator Models: McCulloch FG4000MK, EG4000MK, FGG350MK
- Compatible Generator HP: 5.5/6.5HP
- Included Components: Carburetor, 3 Gaskets
Warranty Information
Specific warranty details for this 1UQ carburetor are not provided in the product information. For warranty inquiries, please contact the seller or the manufacturer directly with your purchase details.
Support
For technical assistance or further questions regarding the 1UQ carburetor, please reach out to the retailer from whom you purchased the product or refer to the official 1UQ website if available. Please have your product model number (201-SSC-123) and generator model information ready when seeking support.