1. Introduction
Welcome to your new Hermex CEMA-3R Lock Handle. This manual provides detailed instructions for the proper installation, operation, and maintenance of your lock to ensure optimal performance, security, and longevity. Please read this manual thoroughly before beginning installation or use.
2. Important Safety Information
- Always read and understand all instructions before installing or using the product.
- Use appropriate safety gear, such as gloves and eye protection, during installation.
- Ensure all components are securely fastened to prevent accidental injury or product malfunction.
- Keep small parts and tools out of reach of children.
- Do not modify the lock handle or its components, as this may compromise security and void the warranty.
3. Package Contents
Verify that all components listed below are present in your package:
- Exterior Lever Handle Assembly
- Interior Lever Handle Assembly
- Latch Mechanism (Tubular Latch)
- Strike Plate
- Mounting Screws
- Keys (2x)
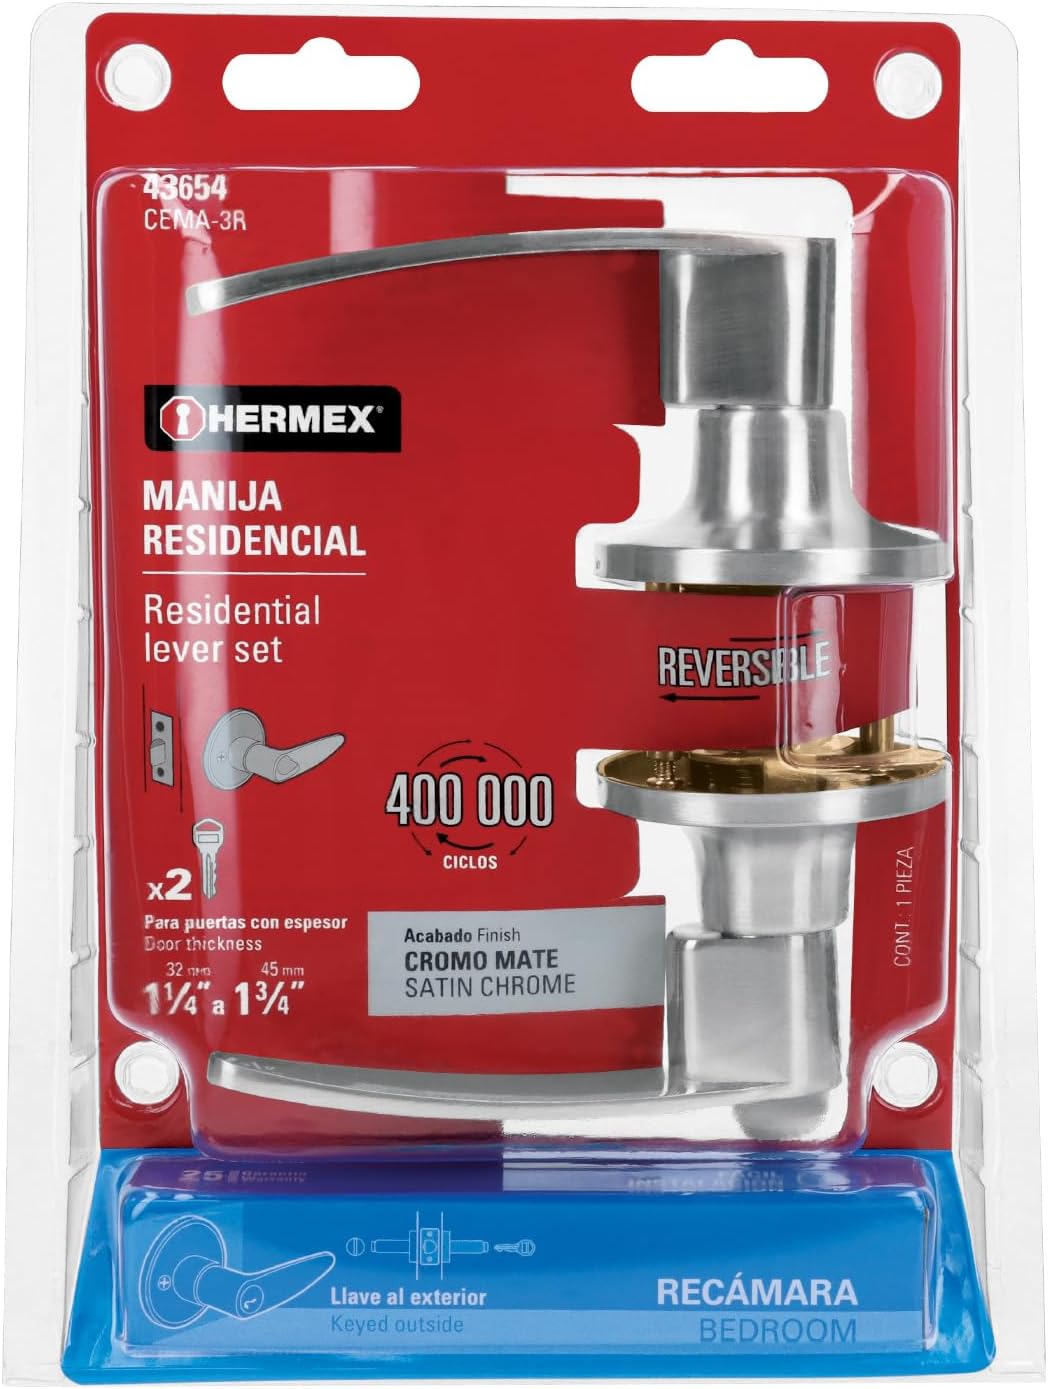
Figure 3.1: The Hermex CEMA-3R lock handle packaging, showing the residential lever set, reversible design, satin chrome finish, and two keys. The packaging indicates it is keyed outside and suitable for bedroom use.
4. Product Specifications
- Brand: Hermex
- Model: CEMA-3R
- Lock Type: Mortise Lock (Tubular Mechanism)
- Material: Brass (Cylinder, Handle)
- Finish: Chrome Matt (Polished)
- Color: Chrome, Brass
- Special Feature: Easy to Install
- Item Dimensions (L x W x H): 6.1 x 4.72 x 0.01 inches (Product dimensions)
- Item Weight: 1.87 pounds (0.85 Kilograms)
- Number of Pieces: 1
- Controller Type: Hand Control
- Shape: Rectangular
- Batteries Required: No
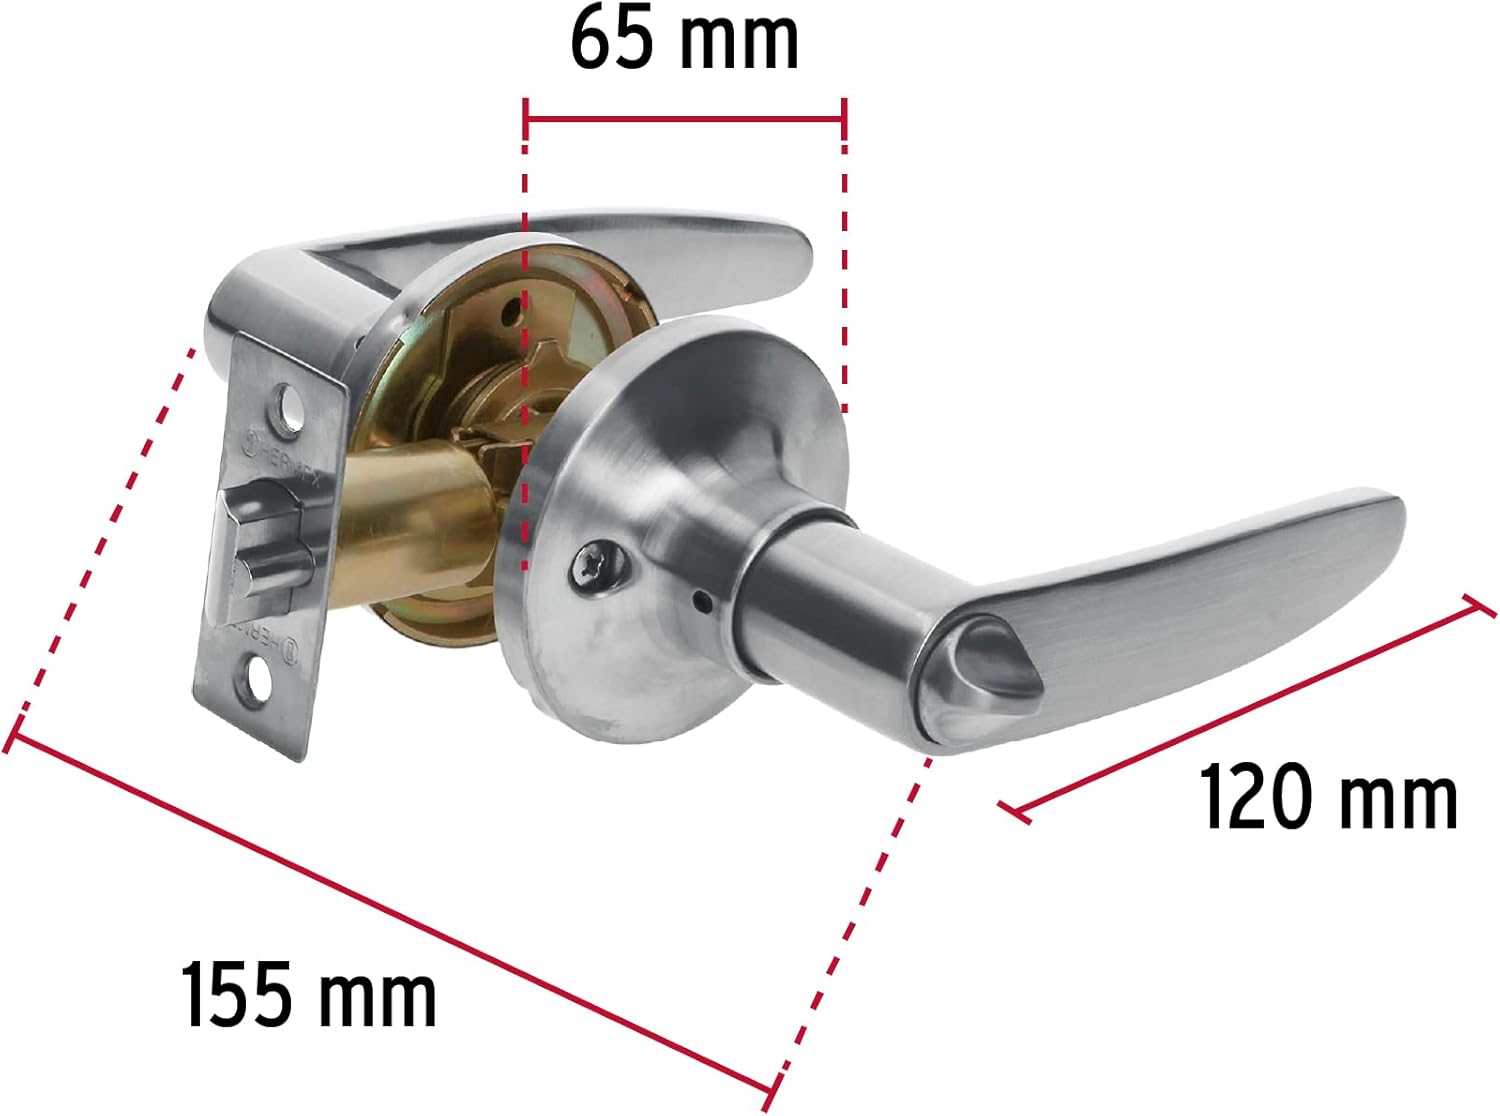
Figure 4.1: Dimensional drawing of the Hermex CEMA-3R lock handle, showing a total length of 155 mm, a backset of 65 mm, and a handle length of 120 mm.
5. Installation Guide
5.1 Tools Required
- Phillips Head Screwdriver
- Measuring Tape
- Pencil
- Drill (optional, for new installations)
- Wood Chisel (optional, for new installations)
5.2 Step-by-Step Installation
Follow these steps to install your Hermex CEMA-3R lock handle:
- Prepare the Door: If installing on a new door, mark and drill holes for the lock body and latch mechanism according to standard door lock templates. For existing doors, ensure the existing holes are clean and correctly sized.
- Install the Latch Mechanism: Insert the tubular latch mechanism into the edge bore hole of the door. Ensure the bevel of the latch bolt faces the door frame. Secure it with the provided screws.
- Install the Exterior Lever: Insert the exterior lever assembly through the door, aligning its spindle with the latch mechanism.
- Install the Interior Lever: Place the interior lever assembly onto the door, aligning it with the exterior assembly and the latch mechanism.
- Secure the Assembly: Fasten the interior and exterior lever assemblies together using the long mounting screws provided. Ensure the lock is square and level before tightening the screws completely. Do not overtighten.
- Install the Strike Plate: Mark the position of the latch bolt on the door frame. Chisel out a shallow recess for the strike plate and secure it with screws. Ensure the latch bolt engages smoothly with the strike plate.
- Test the Lock: Close the door and test the lock from both the interior and exterior using the key. Ensure the latch retracts and extends smoothly, and the lock operates correctly.

Figure 5.1: The fully assembled Hermex CEMA-3R lock handle, showcasing its chrome matt finish and brass cylinder components.

Figure 5.2: An exploded view of the Hermex CEMA-3R lock handle, illustrating its various internal and external components before assembly.

Figure 5.3: Detailed view of the lock handle components, highlighting the tubular mechanism, metal latch, solid brass cylinder, and a security device designed to prevent unauthorized entry using cards.
6. Operation
The Hermex CEMA-3R lock handle is designed for straightforward operation:
- To Open from Outside: Insert the key into the cylinder and turn it to retract the latch bolt. Turn the lever handle to open the door.
- To Lock from Outside: Turn the key to extend the latch bolt into the strike plate. Remove the key.
- To Open from Inside: Simply turn the interior lever handle to retract the latch bolt and open the door.
- To Lock from Inside: The interior lever typically does not have a locking mechanism for this model, providing easy egress. The lock is primarily secured from the exterior with a key.

Figure 6.1: Illustration of the traditional key security system. This lock uses flat keys with combination notches located only on the upper side, providing standard security.
7. Maintenance
Proper maintenance will extend the life and functionality of your lock handle:
- Cleaning: Clean the exterior surfaces with a soft, damp cloth. Avoid abrasive cleaners or solvents, as they can damage the finish.
- Lubrication: Periodically apply a small amount of graphite-based lubricant (do not use oil-based lubricants) into the keyway and on the latch bolt mechanism to ensure smooth operation.
- Periodic Checks: Regularly check all screws and fasteners to ensure they are tight. Loose components can affect the lock's performance and security.
8. Troubleshooting
If you encounter issues with your lock handle, refer to the following table for common problems and solutions:
| Problem | Possible Cause | Solution |
|---|---|---|
| Key is difficult to turn or remove. | Dirt in keyway, worn key, or lack of lubrication. | Apply graphite lubricant to keyway. Try a new key if available. Clean keyway with compressed air. |
| Latch bolt does not retract smoothly. | Misalignment, dirt in mechanism, or loose screws. | Check alignment of lock body and strike plate. Clean and lubricate the latch mechanism. Tighten mounting screws. |
| Door does not latch properly. | Strike plate misalignment or door frame issues. | Adjust the strike plate position. Check door and frame for warping or settling. |
| Lever handle is loose. | Loose mounting screws. | Tighten the mounting screws connecting the interior and exterior assemblies. |
9. Warranty and Customer Support
9.1 Warranty Information
Hermex products are manufactured to high-quality standards. This product is covered by a limited warranty against defects in materials and workmanship under normal use. Please retain your proof of purchase for warranty claims. Specific warranty terms may vary by region and retailer.
9.2 Customer Support
For further assistance, technical support, or warranty inquiries, please contact your retailer or visit the official Hermex website. Please have your product model number (CEMA-3R) and proof of purchase ready when contacting support.