1. Introduction
Thank you for choosing the Brondi Bravo 15 Fixed Phone. This manual provides essential information for setting up, operating, and maintaining your new telephone. Designed for ease of use, the Brondi Bravo 15 features large buttons, direct memory keys, and enhanced audio functions to ensure clear communication. Please read this manual carefully to ensure proper use and to fully benefit from all its features.
2. Package Contents
- Brondi Bravo 15 Fixed Phone (Black)
- Handset
- Coiled Handset Cord
- Telephone Line Cord
- User Manual
3. Setup
3.1. Connecting the Phone
1. Connect one end of the coiled handset cord to the handset and the other end to the corresponding port on the side of the phone base.
2. Connect one end of the telephone line cord to the LINE port on the back of the phone base.
3. Connect the other end of the telephone line cord to your telephone wall socket.
3.2. Battery Installation (for display and memory retention)
The Brondi Bravo 15 requires 2 AAA batteries (not included) for the display and to retain memory settings during power outages. The phone will function for calls without batteries, but the display and stored numbers may not be available.
- Locate the battery compartment on the underside of the phone.
- Open the compartment cover.
- Insert 2 AAA batteries, ensuring correct polarity (+/-).
- Close the battery compartment cover securely.
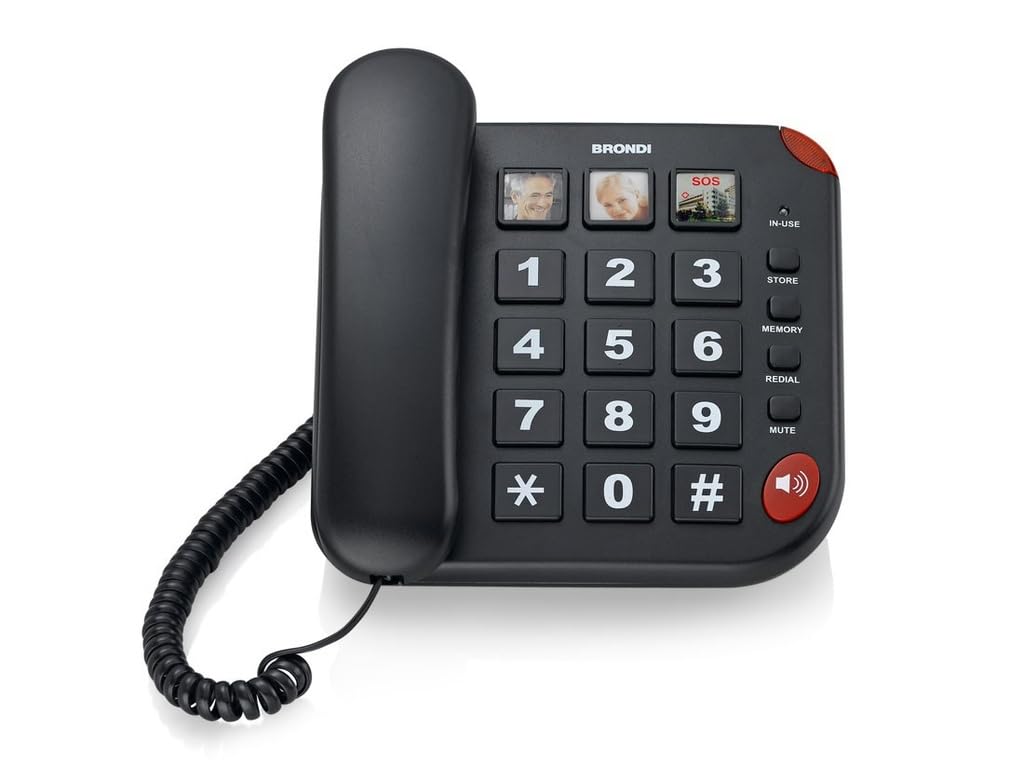
Figure 1: Brondi Bravo 15 Fixed Phone (White model shown for illustration, actual product is black)
4. Operating Instructions
4.1. Making a Call
- Lift the handset or press the Speakerphone button to get a dial tone.
- Dial the desired phone number using the large numeric keypad.
- Wait for the other party to answer.
- To end the call, replace the handset or press the Speakerphone button again.
4.2. Receiving a Call
- When the phone rings and the incoming call light indicator flashes, lift the handset or press the Speakerphone button to answer.
- To end the call, replace the handset or press the Speakerphone button again.
4.3. Using Direct Memory Keys (Photo Keys)
The Brondi Bravo 15 features 3 dedicated direct memory keys that can be customized with photos for quick dialing.
- To Store a Number:
- Lift the handset.
- Press the SET button.
- Dial the phone number you wish to store.
- Press the SET button again.
- Press one of the 3 direct memory keys (M1, M2, M3) to assign the number.
- Replace the handset.
- To Make a Call using a Stored Number:
- Lift the handset or press the Speakerphone button.
- Press the desired direct memory key (M1, M2, or M3). The phone will automatically dial the stored number.
4.4. Speakerphone Function (Vivavoce)
To use the speakerphone function during a call, press the Speakerphone button. You can speak and listen without holding the handset. Press the button again to switch back to the handset or to end the call if the handset is on-hook.
4.5. Adjusting Volume
- Handset Volume (AUDIO BOOST): During a call, press the AUDIO BOOST button to amplify the handset audio for clearer listening. Press it again to return to normal volume.
- Ringer Volume: Use the physical switch on the side or back of the phone (if available) to adjust the ringer volume to your preferred level.
5. Features
- 3 direct memory keys with customizable photo slots.
- AUDIO BOOST function for amplified handset audio.
- Integrated speakerphone (vivavoce).
- Incoming call light indicator.
- Large, easy-to-read buttons.
- LCD display (3 inches, 320x240 pixels).
- Durable ABS material construction.
- Designed as a reliable fixed telephone.
6. Maintenance
To ensure the longevity and optimal performance of your Brondi Bravo 15 Fixed Phone, follow these maintenance guidelines:
- Cleaning: Use a soft, damp cloth to clean the phone's surface. Avoid abrasive cleaners or solvents that could damage the finish.
- Placement: Place the phone on a stable, flat surface. Avoid areas with excessive heat, direct sunlight, moisture, or dust.
- Cords: Regularly check the telephone line cord and handset cord for any signs of wear or damage. Replace if necessary.
- Batteries: If using batteries, replace them periodically (e.g., once a year) to ensure display functionality and memory retention. Remove batteries if the phone will not be used for an extended period.
7. Troubleshooting
| Problem | Possible Cause | Solution |
|---|---|---|
| No dial tone | Telephone line cord is disconnected or faulty. | Check all cable connections. Try connecting another phone to the wall socket to verify line functionality. |
| Cannot hear caller / Caller cannot hear me | Handset volume too low; faulty handset cord. | Adjust handset volume using the AUDIO BOOST function. Check handset cord connection; replace if damaged. |
| Ringer not working | Ringer volume set to minimum or off. | Check the ringer volume switch on the phone base and adjust it to a higher setting. |
| Display is blank or not working | Batteries are low or not installed. | Install or replace the 2 AAA batteries in the battery compartment. |
| Direct memory keys not working | Numbers not stored correctly. | Follow the instructions in section 4.3 to re-store the desired numbers. |
8. Specifications
| Feature | Detail |
|---|---|
| Model Name | Bravo 15 |
| Model Number | 10273471 |
| Dimensions (L x W x H) | 53 x 39 x 20 cm |
| Weight | 690 grams |
| Material | ABS |
| Display Type | LCD |
| Screen Size | 3 inches |
| Resolution | 320x240 pixels |
| Color Screen | No |
| Input Interface | Keys |
| Power Source | Battery (2 AAA required, not included) |
| Special Features | 3 Direct Memory Keys, AUDIO BOOST, Speakerphone, Incoming Call Indicator |
9. Official Product Videos
No official product videos specifically for the Brondi Bravo 15 Fixed Phone from a seller were found in the provided data. Please refer to the written instructions and diagrams for guidance.
10. Warranty and Support
The Brondi Bravo 15 Fixed Phone comes with a standard manufacturer's warranty. For detailed information regarding warranty terms, technical support, or service, please refer to the warranty card included in your package or visit the official Brondi website. Keep your proof of purchase for warranty claims.