Introduction
The Bresser MyTime Bath Radio-Controlled Wall Clock combines modern design with practical functionality. Featuring an elegant brushed aluminum frame and a clear dial with a contrasting red second hand, this clock is designed for readability. It includes an integrated digital display for temperature in Celsius or Fahrenheit. Its splash-proof construction makes it ideal for humid environments such as bathrooms. The clock can be mounted on a wall using the included suction cups or placed on a flat surface with the provided stand. It operates on a single AA battery.

Image: The Bresser MyTime Bath Radio-Controlled Wall Clock, featuring a black dial and brushed aluminum frame, displayed on a wall.
Package Contents
Please check the package contents upon unpacking to ensure all items are present and undamaged.
- Bresser MyTime Bath Radio-Controlled Wall Clock
- Stand
- 4 Suction Cups for mounting
- Instruction Manual
Product Overview
Familiarize yourself with the main components of your Bresser MyTime Bath Radio-Controlled Wall Clock.
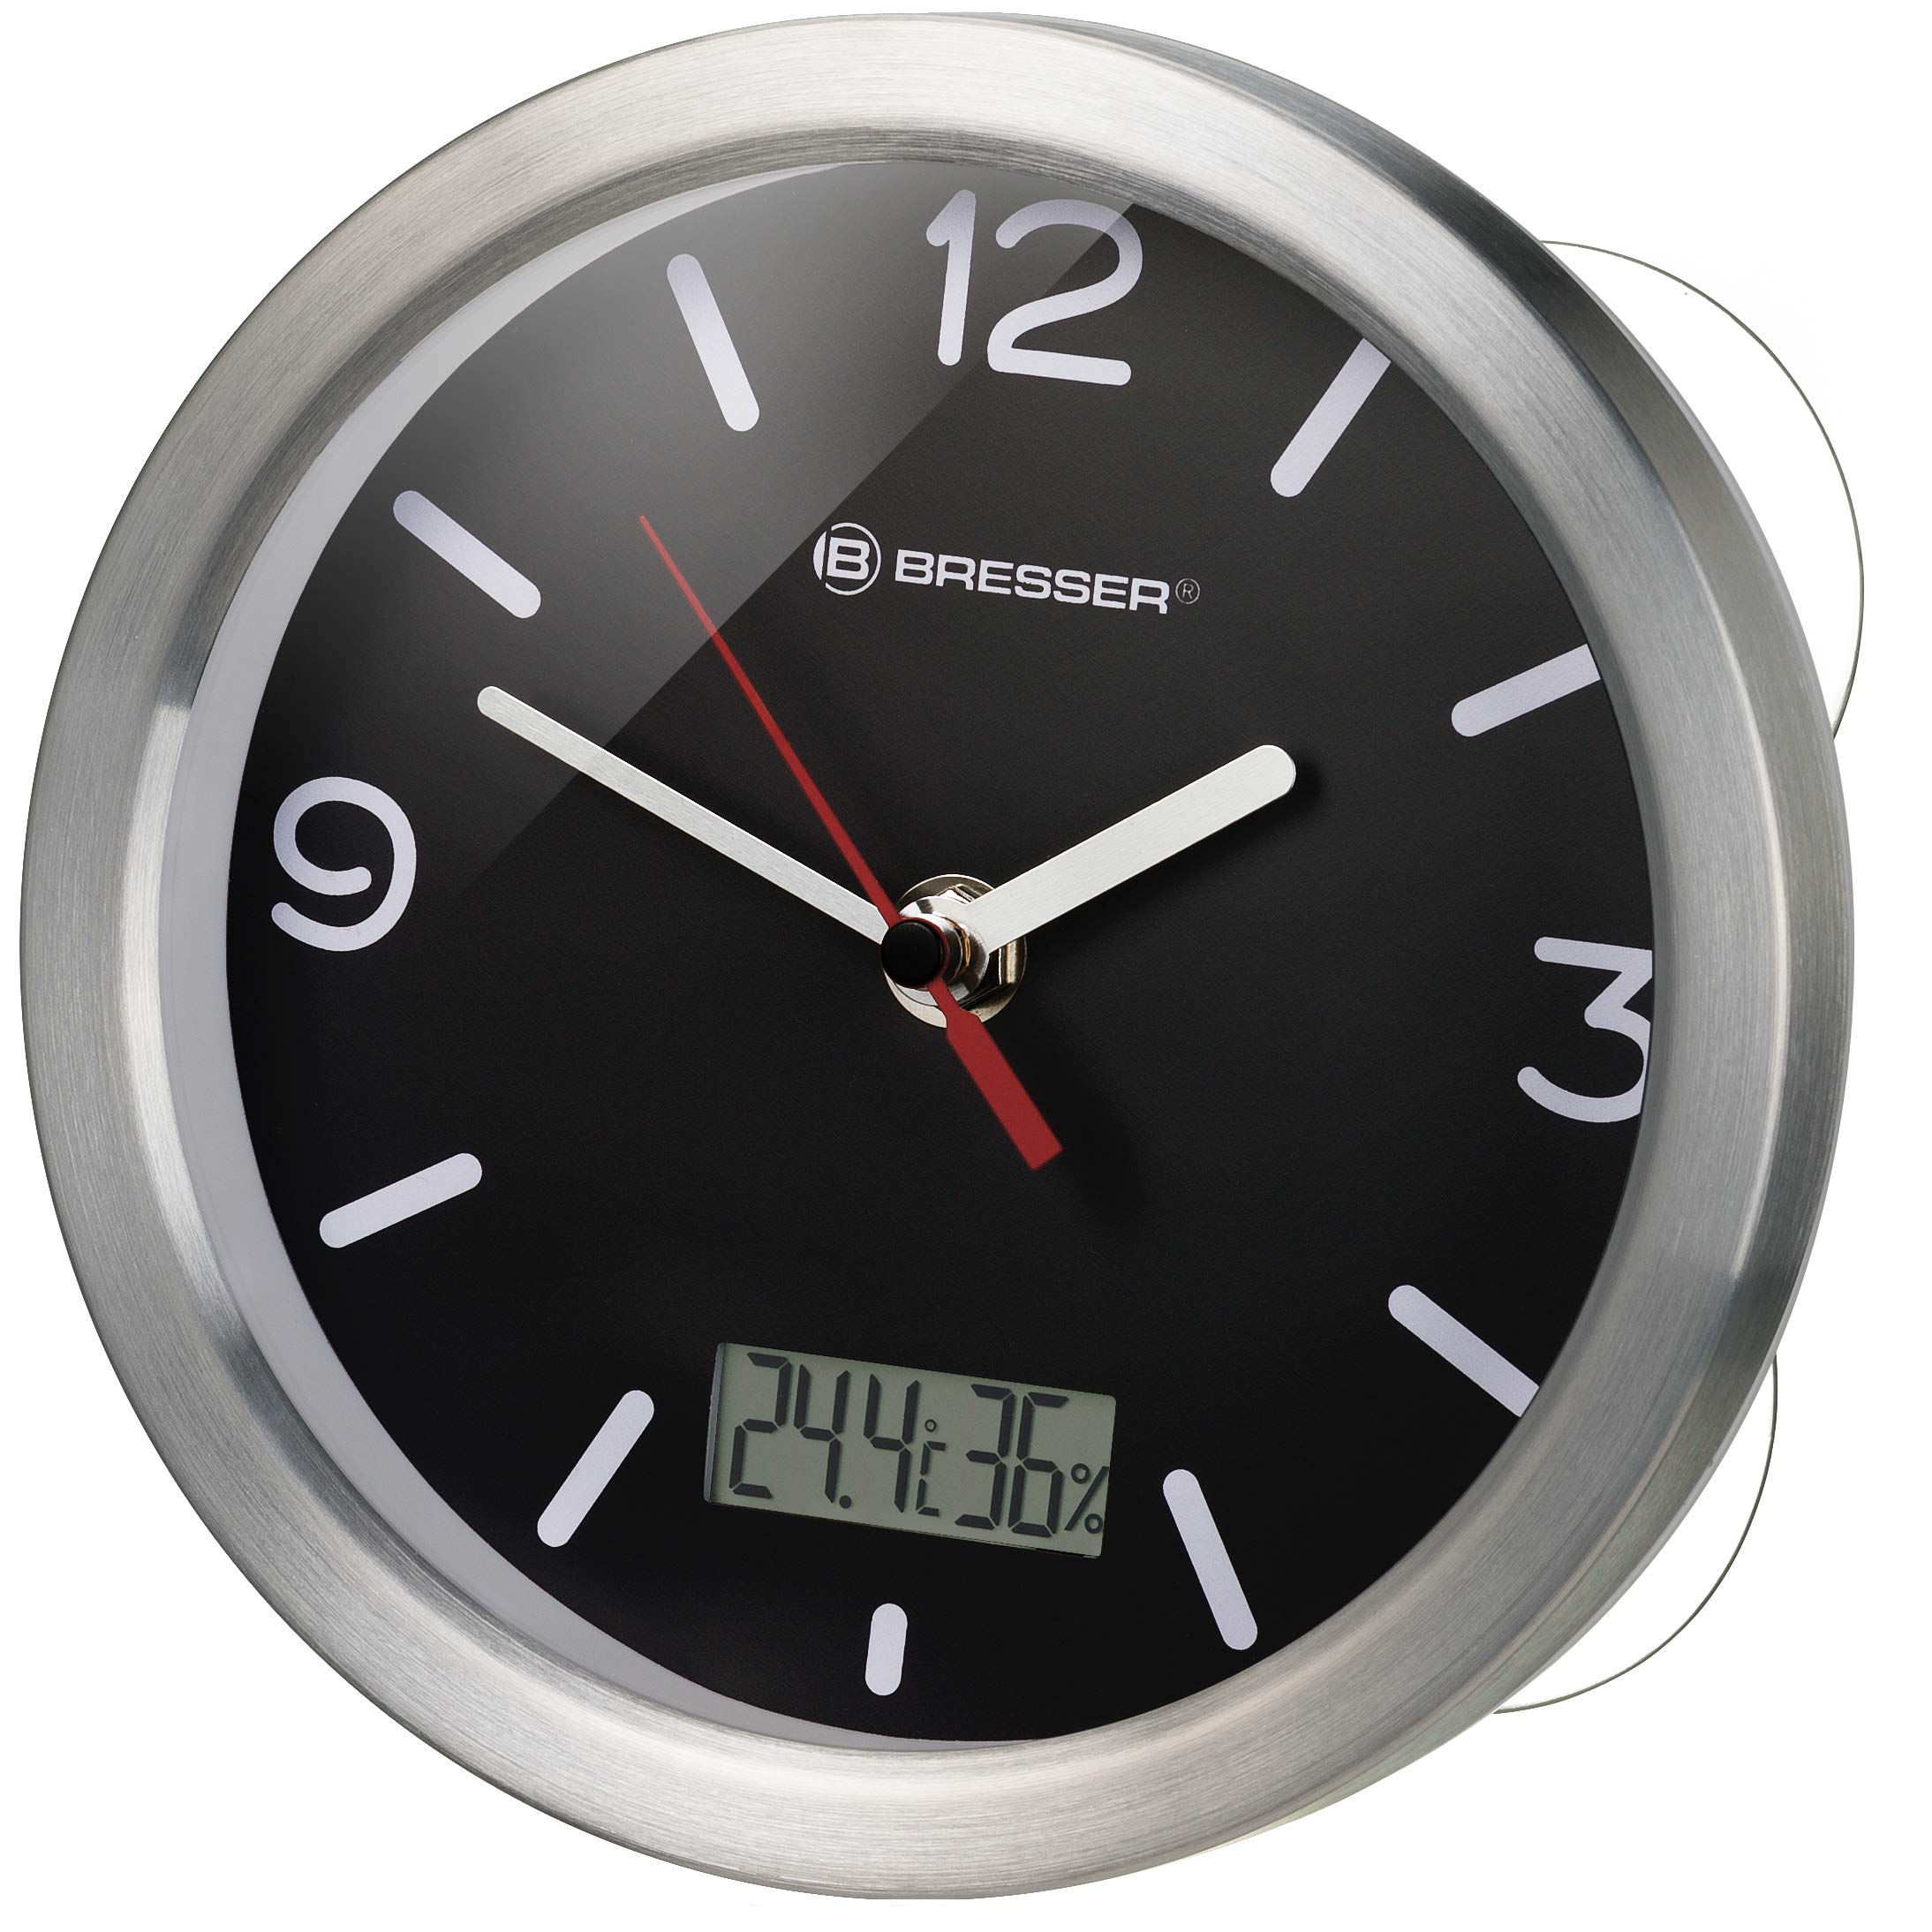
Image: Front view of the clock, showing the analog dial with hour, minute, and second hands, and the digital temperature display at the bottom.
- Analog Dial: Displays time with hour, minute, and second hands.
- Digital Display: Shows indoor temperature in Celsius or Fahrenheit.
- Brushed Aluminum Frame: Provides a modern and elegant finish.
- Battery Compartment (Rear): Houses the AA battery.
- Suction Cups (Rear): For wall mounting on smooth surfaces.
- Stand (Rear): For tabletop placement.
Setup
1. Battery Installation
The clock requires one (1) AA battery (not included).
- Carefully remove the back cover of the clock.
- Insert one AA battery into the battery compartment, ensuring the correct polarity (+/-).
- Replace the back cover securely.

Image: The internal mechanism of the clock, highlighting the battery compartment for AA battery insertion.
2. Initial Time Synchronization (Radio Control)
After battery insertion, the clock will automatically attempt to synchronize with the DCF77 radio signal. This process may take several minutes to a few hours, depending on signal strength and location. During synchronization, the hands will typically move to the 12 o'clock position and then adjust to the correct time.
- Place the clock near a window or in an open area for better signal reception.
- Avoid placing the clock near electronic devices that may cause interference.
- The clock will automatically adjust for daylight saving time.
3. Mounting Options
The clock offers two mounting options: wall mounting with suction cups or tabletop placement with the included stand.
Wall Mounting with Suction Cups
The four suction cups are designed for secure attachment to smooth, non-porous surfaces like tiles or glass.
- Ensure the desired surface is clean, dry, and smooth.
- Slightly moisten the suction cups for better adhesion.
- Press the clock firmly against the surface, ensuring all four suction cups are securely attached.

Image: Rear view of the clock, showing the four transparent suction cups attached to the back for wall mounting.
Tabletop Placement with Stand
For placement on a flat surface, attach the included stand to the back of the clock.
- Locate the designated slot on the back of the clock.
- Insert the stand firmly into the slot until it clicks into place.
- Place the clock on a stable, flat surface.

Image: Rear view of the clock, showing both the suction cups and the detachable stand for versatile placement options.
Operation
Time Display
The analog hands continuously display the current time, synchronized by the radio signal.
Temperature Display
The digital display on the clock face shows the indoor temperature. The unit (Celsius or Fahrenheit) is typically set by a small switch or button within the battery compartment area. Refer to the specific markings on your clock for temperature unit selection.
Radio Signal Reception
The clock regularly attempts to receive the DCF77 radio time signal to ensure accuracy. If the signal is lost or weak, the clock will continue to run on its internal quartz movement until the signal is re-established. Automatic adjustments for daylight saving time will occur when the signal is received.
Maintenance
Cleaning
To clean the clock, use a soft, dry cloth. For stubborn marks, a slightly damp cloth can be used, followed by immediate drying. Do not use abrasive cleaners, solvents, or chemical sprays, as these can damage the clock's finish and internal components.
Battery Replacement
When the clock hands stop moving or the digital display fades, it is time to replace the AA battery. Follow the battery installation steps outlined in the Setup section. Always use a fresh, high-quality AA battery.
Troubleshooting
| Problem | Possible Cause | Solution |
|---|---|---|
| Clock not displaying correct time | Weak or no radio signal; depleted battery. | Move the clock to a location with better signal reception (e.g., near a window). Replace the battery. Allow time for re-synchronization. |
| Digital temperature display is blank or dim | Depleted battery. | Replace the AA battery. |
| Clock hands are stuck or not moving | Depleted battery; mechanical obstruction. | Replace the AA battery. Check for any physical obstructions to the hands. |
| Suction cups not holding | Surface is not clean, dry, or smooth; suction cups are dry. | Clean and dry the mounting surface thoroughly. Slightly moisten the suction cups before pressing firmly. |
Specifications
- Model Number: 8020113
- Brand: BRESSER
- Color: Black
- Style: Radio-controlled clock
- Special Feature: Temperature display
- Product Dimensions (L x H): 17 x 6 cm
- Power Source: Battery powered (1 x AA battery, not included)
- Room Type: Bathroom
- Shape: Round
- Indoor/Outdoor Use: Indoor
- Mounting Type: Wall mount (suction cups) or Tabletop (stand)
- Watch Movement Type: Quartz
- Material Type: Aluminum
- Frame Material: Aluminum
- Dial Color: Black
Warranty and Support
This Bresser MyTime Bath Radio-Controlled Wall Clock comes with a 2-year manufacturer's warranty.
For technical support, warranty claims, or further assistance, please contact BRESSER customer service. You can find more information and contact details on the official BRESSER website or through their Amazon store: BRESSER Amazon Store.