1. Introduction
This manual provides essential information for the proper installation, operation, and maintenance of your Lippert Waste Master 20-Foot Extended RV Sewer Hose Management System. Please read these instructions thoroughly before using the product to ensure safe and efficient operation.
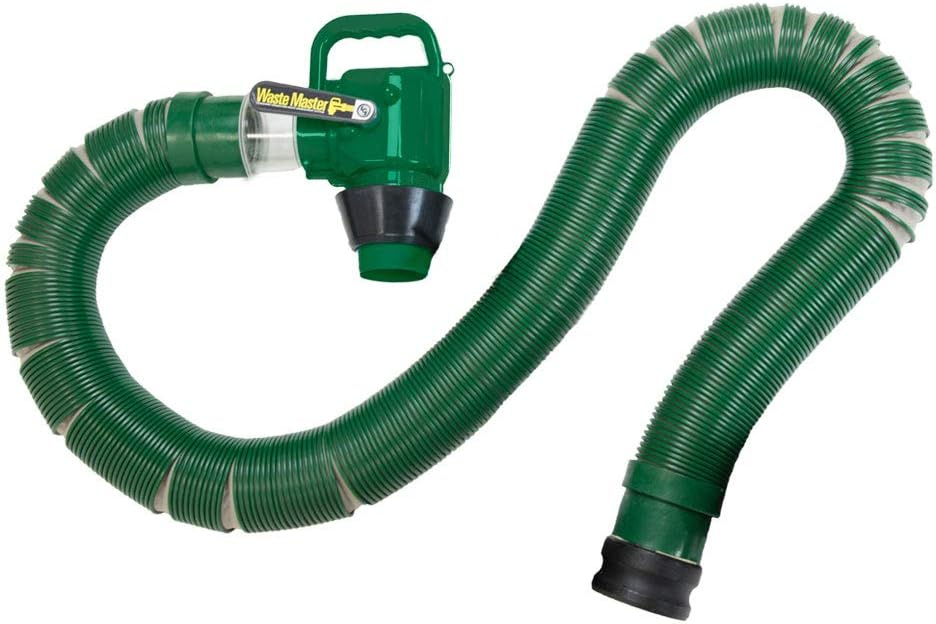
Figure 1: Lippert Waste Master 20-Foot Extended RV Sewer Hose Management System.
2. What's in the Box
Your Waste Master system includes the following components:
- Ball Valve Kit
- 3" Hose with Male Cam Lock Fitting
- ABS Coupler Assembly
- Plug Insert
3. Setup and Installation
The Waste Master system features a cam lock connector designed for a leak-resistant connection to your RV's sewer outlet. Follow these steps for proper installation:
- Prepare RV Outlet: Ensure your RV's sewer outlet is clean and free of debris.
- Attach Cam Lock Adapter: The system includes an ABS coupler assembly. This is designed to be permanently attached to your RV's existing sewer outlet. Some RVs may require modification (e.g., removing existing bayonet fittings) to accommodate the cam lock adapter.
- Connect Hose to RV: Securely attach the male cam lock fitting on the hose to the cam lock adapter on your RV. The cam lock mechanism ensures a tight, leak-proof seal.
- Position Hose: Extend the UV-protected hose to the required length, up to 20 feet. The hose's design allows it to maintain its extended length during use.
- Connect Nozzle to Sewage Inlet: The permanently-connected nozzle features a 90-degree discharge port. Insert this port into the campground's sewage inlet. The easy-grip handle assists with secure placement.

Figure 2: RV sewer outlet with the cam lock adapter installed, ready for hose connection.

Figure 3: Close-up view of the secure cam lock connection mechanism.

Figure 4: The Waste Master hose properly connected to an RV and extended to a ground sewage inlet.
Installation Video
Video 1: This video demonstrates the installation process for a clamp connector, which is similar to the cam lock system used in the Waste Master hose.
4. Operating Instructions
The Waste Master system is designed for ease of use during waste disposal:
- Open RV Waste Valves: Once the hose is securely connected to both your RV and the sewage inlet, open your RV's black water valve first, followed by the gray water valve.
- Monitor Flow: The nozzle features a clear view port, allowing you to visually confirm when waste has completely evacuated from your tanks.
- Use Shut-Off Valve: An integrated shut-off valve on the nozzle provides control over the flow, allowing you to stop or start as needed.
- Close Valves: After emptying, close your RV's gray water valve, then the black water valve.

Figure 5: The Waste Master nozzle securely inserted into a ground sewage inlet, showcasing the clear view port for monitoring waste flow.

Figure 6: The easy-grip handle on the Waste Master nozzle provides comfortable and secure handling during operation.
5. Maintenance
Proper maintenance ensures the longevity and performance of your Waste Master system:
- Rinse Hose: After each use, thoroughly rinse the hose with fresh water. The smooth interior design, with the helical coil on the outside, helps prevent waste from getting trapped, making cleaning easier.
- Inspect for Damage: Regularly inspect the hose for any signs of abrasion, punctures, or damage to the cam lock connectors and nozzle. The hose is resistant to abrasions and punctures, but regular checks are recommended.
- Store Properly: The hose compresses to 5 feet 6 inches for compact storage. Use the included plug insert to seal the hose ends during storage to prevent odors and drips.

Figure 7: Cutaway illustration of the Waste Master hose, highlighting its smooth interior for efficient waste flow and easy cleaning.
6. Troubleshooting
- Leaks at Connection: If leaks occur, ensure the cam lock connector is fully engaged and tightened. Check the rubber gaskets for any signs of wear or damage. Replace worn gaskets if necessary.
- Hose Damage: While the hose is designed to be tough and resistant to abrasions/punctures, extreme conditions or misuse can cause damage. If the hose is compromised, it should be replaced to prevent leaks.
- Difficulty Extending/Compressing: Ensure the hose is clean and free of internal obstructions. The hose is designed to extend and compress easily; excessive force should not be required.
7. Specifications
| Brand | Lippert Components |
| Model Number | 359724 |
| Material | Plastic (TPE) |
| Color | Green |
| Item Weight | 7 Pounds |
| Extended Length | 20 Feet |
| Compressed Length | 5 Feet 6 Inches |
| UV Protection | Yes |
| Connection Type | Cam Lock |
8. Warranty and Support
For warranty information or technical support regarding your Lippert Waste Master system, please refer to the documentation included with your purchase or visit the official Lippert Components website. Contact their customer service for assistance with any product-related inquiries.