Introduction
This manual provides detailed instructions for the setup, operation, and maintenance of your Coby CBCR-103-BLK AM/FM Digital Dual Alarm Clock Radio. Please read this manual thoroughly before using the device to ensure proper function and to maximize your user experience. Keep this manual for future reference.
Important Safety Instructions
- Do not expose this appliance to dripping or splashing liquids.
- Do not block any ventilation openings. Install in accordance with the manufacturer's instructions.
- Do not install near any heat sources such as radiators, heat registers, stoves, or other apparatus (including amplifiers) that produce heat.
- Protect the power cord from being walked on or pinched, particularly at plugs, convenience receptacles, and the point where they exit from the appliance.
- Only use attachments/accessories specified by the manufacturer.
- Unplug this appliance during lightning storms or when unused for long periods of time.
- Refer all servicing to qualified service personnel. Servicing is required when the apparatus has been damaged in any way.
Product Overview
Familiarize yourself with the components of your Coby CBCR-103-BLK clock radio.
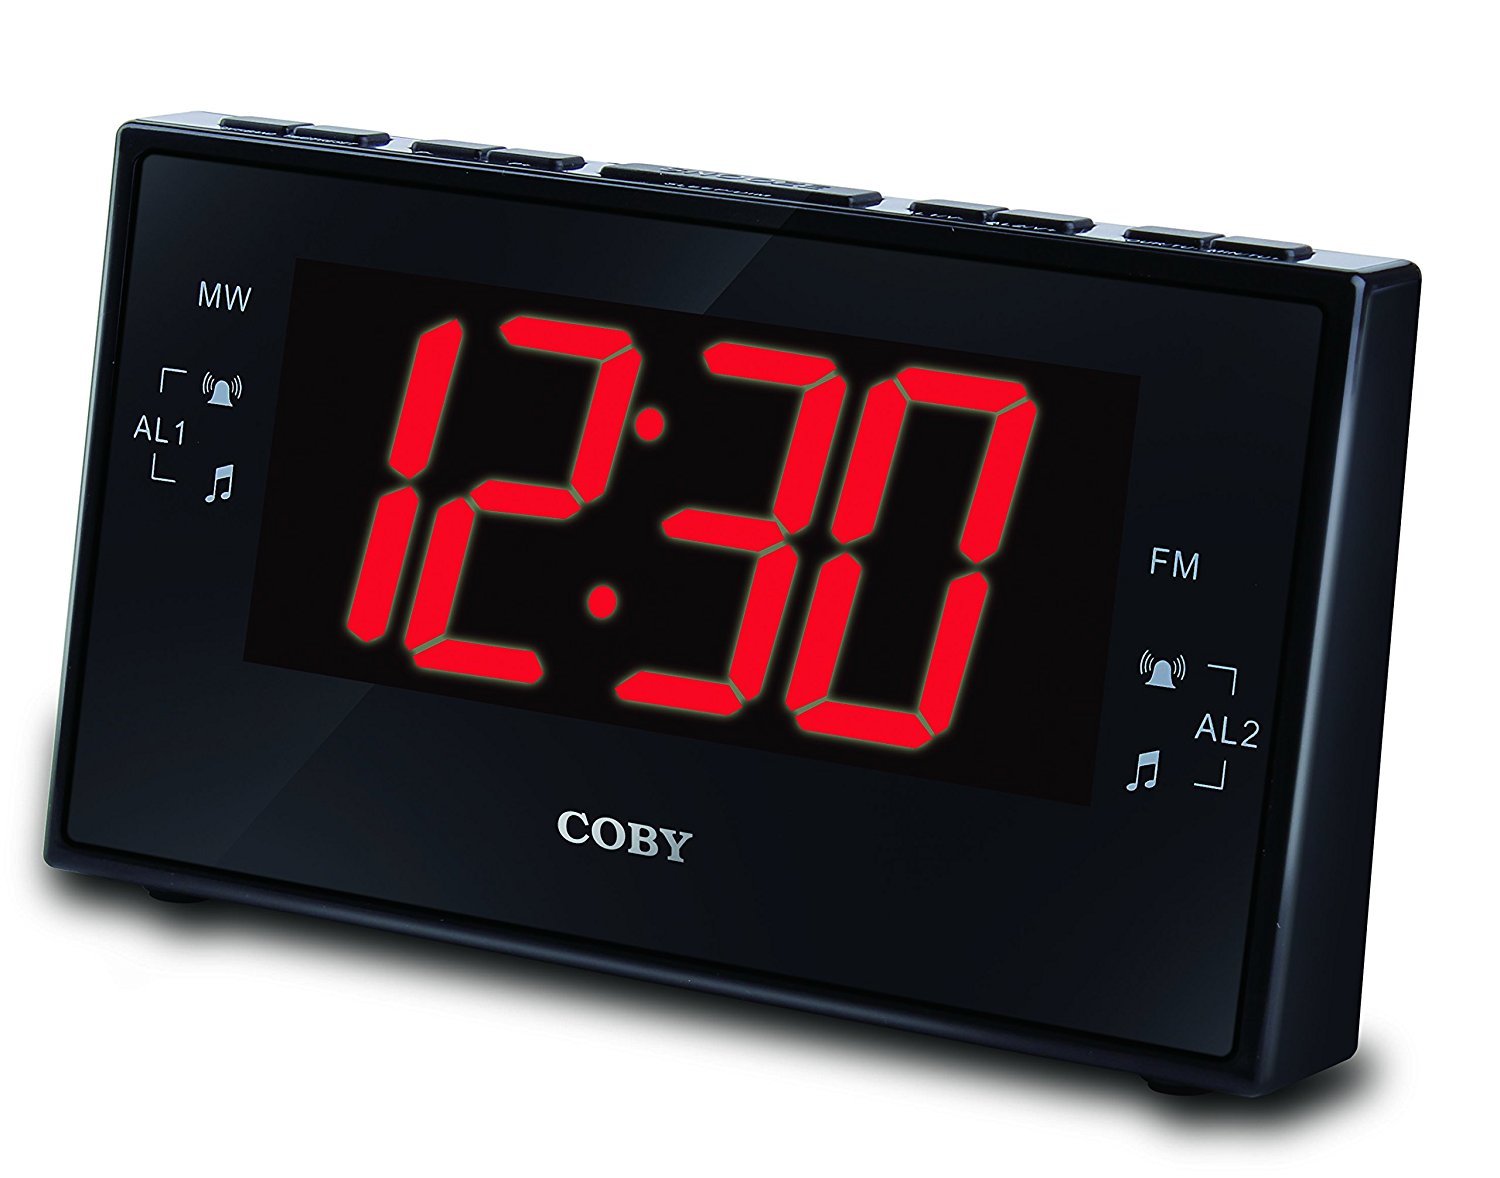
Figure 1: Coby CBCR-103-BLK AM/FM Digital Dual Alarm Clock Radio. This image displays the clock radio in its retail packaging. The clock itself is black with a large red LED display showing '12:30'. The packaging highlights key features such as AM/FM radio, dual alarm, and sleep timer.
Controls and Indicators:
- LED Display: Shows time, alarm status, and radio frequency.
- Time Set Button: Used to set the current time.
- Alarm 1 Set Button: Used to set the first alarm time.
- Alarm 2 Set Button: Used to set the second alarm time.
- Snooze/Sleep Button: Activates snooze during an alarm or sets the sleep timer.
- Radio On/Off Button: Turns the radio on or off.
- Tuning Buttons (Up/Down): Adjusts radio frequency.
- Volume Control: Adjusts radio volume.
- AM/FM Selector: Switches between AM and FM radio bands.
Setup
1. Power Connection
- Unpack the clock radio and place it on a stable, flat surface.
- Plug the AC power cord into a standard wall outlet. The display will light up, indicating power is connected.
2. Battery Backup Installation
The clock radio uses 2 AAA batteries (not included) for backup power. These batteries maintain time and alarm settings during a power outage but do not power the display or alarm functions.
- Open the battery compartment cover located on the bottom of the unit.
- Insert 2 new AAA batteries, observing the correct polarity (+ and -) as marked inside the compartment.
- Close the battery compartment cover securely.
3. Antenna Setup
For optimal FM radio reception, fully extend the wire antenna located at the back of the unit. For AM reception, rotate the unit for the best signal.
Operating Instructions
Setting the Time
- Press and hold the TIME SET button. The hour digits will begin to flash.
- While holding TIME SET, press the HOUR button repeatedly to adjust the hour. Observe the PM indicator if setting PM hours.
- Release the TIME SET button, then press and hold it again. The minute digits will begin to flash.
- While holding TIME SET, press the MINUTE button repeatedly to adjust the minutes.
- Release the TIME SET button to save the current time.
Setting the Alarms (Alarm 1 and Alarm 2)
This unit features two independent alarms.
- Press and hold the ALARM 1 SET button (or ALARM 2 SET button). The alarm hour digits will flash.
- While holding the respective ALARM SET button, press the HOUR button to set the desired alarm hour.
- Release the ALARM SET button, then press and hold it again. The alarm minute digits will flash.
- While holding the respective ALARM SET button, press the MINUTE button to set the desired alarm minutes.
- Release the ALARM SET button to save the alarm time.
- To activate the alarm, press the ALARM 1 ON/OFF button (or ALARM 2 ON/OFF button) repeatedly to cycle through alarm modes: OFF, BUZZER, or RADIO. An indicator light on the display will show the active alarm mode.
Snooze Function
When an alarm sounds, press the SNOOZE/SLEEP button to temporarily silence the alarm for approximately 9 minutes. The alarm will sound again after the snooze period.
Radio Operation
- Press the RADIO ON/OFF button to turn the radio on.
- Press the AM/FM button to select either AM or FM band.
- Use the TUNING UP or TUNING DOWN buttons to tune to your desired station. Press and hold to auto-scan for the next available station.
- Adjust the volume using the VOLUME control.
- To turn the radio off, press the RADIO ON/OFF button again.
Sleep Timer
The sleep timer allows the radio to play for a set duration before automatically turning off.
- While the radio is playing, press the SNOOZE/SLEEP button repeatedly to cycle through available sleep times (e.g., 90, 60, 30, 15 minutes, or OFF).
- The radio will automatically turn off after the selected time duration.
Maintenance
Cleaning the Unit
- Wipe the exterior of the unit with a soft, dry cloth.
- Do not use abrasive cleaners, waxes, or solvents as they may damage the finish.
- Ensure the unit is unplugged from the power outlet before cleaning.
Battery Replacement
Replace the backup batteries annually or when the battery low indicator appears (if applicable) to ensure time and alarm settings are retained during power interruptions.
Troubleshooting
| Problem | Possible Cause | Solution |
|---|---|---|
| No power/Display off | Power cord not plugged in; Power outage. | Ensure AC cord is securely plugged into a working outlet. Check household circuit breaker. |
| Alarm does not sound | Alarm not set or not activated; Volume too low (for radio alarm). | Verify alarm time is set correctly and alarm mode (Buzzer/Radio) is selected. Increase radio volume if using radio alarm. |
| Poor radio reception | Antenna not extended; Interference; Unit position. | Fully extend the FM wire antenna. For AM, rotate the unit. Move unit away from other electronic devices. |
| Time/Alarm settings lost after power outage | Backup batteries are dead or not installed. | Install new AAA batteries or replace existing ones. |
Specifications
- Model: CBCR-103-BLK
- Display Type: Digital LED (Red, 3 inch)
- Radio Bands: AM/FM
- Alarm Type: Dual Alarm (Buzzer or Radio)
- Snooze Duration: Approximately 9 minutes
- Sleep Timer: Yes
- Power Source: AC 120V, 60Hz
- Battery Backup: 2 x AAA batteries (not included)
- Manufacturer: Summit Electronics, US
Warranty Information
Coby products are designed and manufactured to the highest quality standards. For specific warranty details, please refer to the warranty card included with your purchase or visit the official Coby website. Keep your proof of purchase for any warranty claims.
Customer Support
If you encounter any issues not covered in this manual or require further assistance, please contact Coby customer support. Contact information can typically be found on the product packaging or the official Coby website.


