
Product Overview
The QUNDA Universal AC Remote Control (KTN828) is designed to operate a wide range of air conditioning units. It features a selectable Fahrenheit/Celsius display, digital automatic code searching, and easy-to-use controls. The remote includes a built-in clock with AM/PM display and an ON/OFF timer function. Its backlit LCD display ensures visibility in low-light conditions. Please note that this remote is not suitable for Carrier RV Rooftop A/C systems or portable/window A/C units.

Image: QUNDA Universal AC Remote Control KTN828, silver color, showing its backlit LCD screen and various buttons.
Key Features:
- Background Lighted LCD DISPLAY for clear visibility.
- FAN OPTIONS INCLUDE AUTO - MANUAL - NORMAL settings.
- AUTO DIGITAL SEARCH MODE with 2000 pre-programmed codes.
- 17 Buttons, with 12 hidden under a slide-down cover for a streamlined design.
- Built-in clock (AM/PM) and ON/OFF timer function.
- Constant room temperature and setpoint temperature display.
Getting Started
Battery Installation
Locate the battery compartment, which on some models may require sliding the front cover all the way down to open. Insert two AAA (No.5) alkaline batteries, ensuring correct polarity as indicated inside the compartment. Batteries are not included with the remote control.
Initial Setup: Code Programming
The remote control can be set up using one of two methods. It is recommended to try Method 1 first if you know the brand of your AC unit.
Method 1: Code Setup by Brand
- Consult the code list provided with your remote to find the codes for your AC brand.
- If your brand has multiple codes, begin with the lowest code listed.
- To enter a code (e.g., 0288):
- Press and quickly release the S (SEL) key until the factory default code (usually 0001) flashes on the bottom of the screen.
- Enter the 4-digit code (e.g., 0288) by pressing the corresponding number buttons. Ensure all four digits are entered, even if they are zeroes.
- The remote will automatically confirm the setting after a few seconds or after pressing the OK key. The screen will then revert to the clock.
- Point the remote at your AC unit and press the power button (labeled "One Key" on some models).
- If the AC unit responds (beeps, turns ON or OFF), test all other function buttons. If some functions do not work, or if there is no response, try the next higher code for your brand.
- If none of the codes for your brand work, proceed to Method 2.
Method 2: Auto-Search Code Setup
This method is used if you do not know your AC brand, if your brand is not listed, or if Method 1 was unsuccessful.
- Place the remote control on a table or shelf, ensuring it is pointing directly at your air conditioner.
- Press and hold the S (SELECT) key for five seconds. The remote will enter auto-search mode, continuously emitting signals. The codes will blink and increase at approximately one per second.
- When your air conditioner recognizes a code, it will emit a beep. Immediately press any key on the remote to confirm the code.
- Note: This auto-search process can take between 20 minutes and an hour and a half. Stay within hearing distance of the AC unit.
- Once the AC beeps and you press a key, note the code displayed on the remote. If you read the code within 30 seconds, you may need to set a code approximately 30 less than the one you stopped at (e.g., if you stopped at 0230, try 0200). Set this code using Method 1.
- Then, restart the auto-search again, holding the controller in your hand and pointing it at the AC unit. Press any key as soon as you hear the beep.
- Test all function buttons. If not all functions work, restart the auto-search at the last known working code number by pressing the S or SELECT key for 5 seconds and repeating Method 2, waiting for the next beep.
- It is common to find several continuous codes that elicit a "beep" response (e.g., 0110, 0111, 0112, 0113). Try all codes up to the point where you stopped to ensure full functionality.
- Once the correct code is found and all functions work, write it down directly on the remote or on a label in the space provided on the back of the control for future reference.
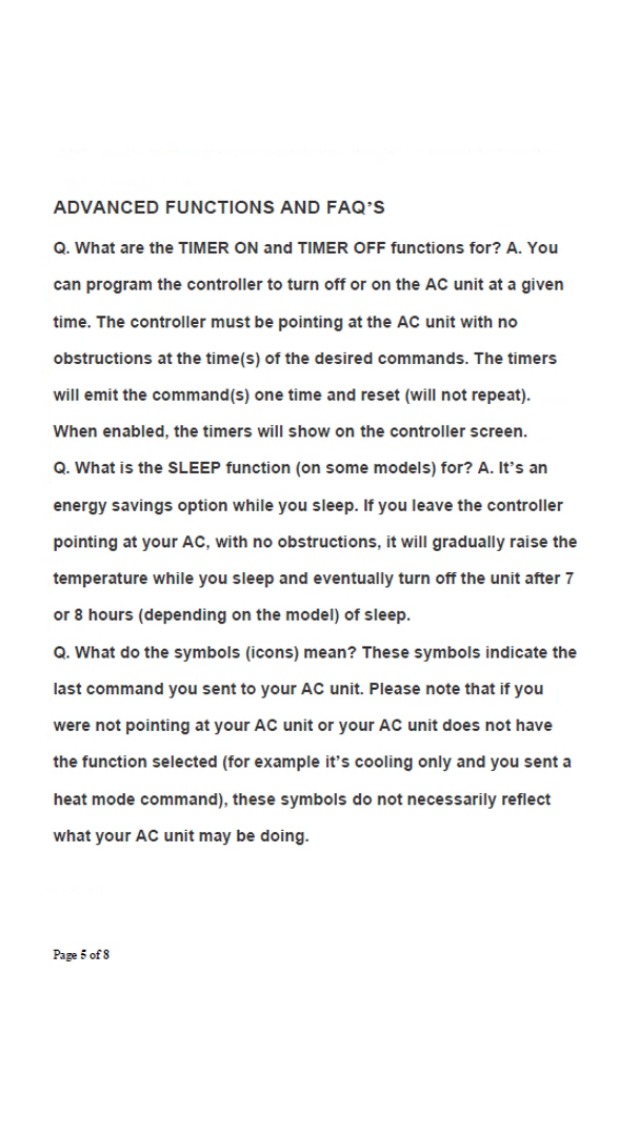
Image: Pages from the QUNDA Universal AC Remote Control Quick Start Guide, detailing battery installation and code setup procedures.
Basic Operation
Fahrenheit/Celsius Display
On most models (except KT-E0E), there is a key labeled C/F. Press this key to switch the temperature display between Celsius and Fahrenheit degrees.
Temperature Display
On most models, you will see two temperatures displayed. The temperature accompanied by a house symbol represents the current room temperature. The other temperature is your desired setpoint temperature.
Temperature Adjustment Increments
The temperature setting may jump in increments of 2 degrees Fahrenheit for certain ranges. This is because AC units often operate in steps of 1 degree Celsius, which is approximately 2 degrees Fahrenheit.
Advanced Functions
TIMER ON and TIMER OFF Functions
These functions allow you to program the remote to turn the AC unit ON or OFF at a specific time. For the commands to be sent successfully, the controller must be pointing at the AC unit without any obstructions at the scheduled time. The timers will execute the command once and then reset (they will not repeat automatically). When enabled, the timer status will be shown on the controller screen.
SLEEP Function (on some models)
The SLEEP function is an energy-saving option designed for use while you sleep. If the controller is left pointing at your AC unit without obstructions, it will gradually raise the temperature over time and eventually turn off the unit after 7 or 8 hours, depending on the specific model of the AC unit.
Understanding Display Symbols
The symbols (icons) on the remote's display indicate the last command sent to your AC unit. It is important to note that if the remote was not pointing at the AC unit, or if your AC unit does not support the selected function (e.g., sending a heat mode command to a cooling-only unit), these symbols may not accurately reflect the current operation of your AC unit.
- ❄️ Cooling mode
- ☀️ Heating mode
- 💧 Dry Mode (Fan only, also known as Ventilation mode)
- △ Auto Mode: Automatically switches between Heating and Cooling. In this mode, it cannot display both setpoints. It will display:
- -- (top of screen): Current setpoint 8 or more (10 on some models) degrees F above current room temperature.
- --- (bottom of screen): Current setpoint 8 or more (10 on some models) degrees F below current room temperature.
- 🌀 Fan: Indicates fan speed (3 blades - Slow; 4 blades - Medium; 5 blades - High).
- AUTO Fan: Fan speed (Slow, Medium, or High) adjusts automatically based on the temperature difference between the setpoint and current room temperature.
- ⏰ Timer: Indicates ON, OFF, TMR ON, TMR OFF, or that a timer has been set (depending on the model).
- 🌙 Sleep: (on some models) Indicates the SLEEP function has been activated.
- ⬆️⬇️ Automatic Louver: Indicates the air vent is in "swing" mode.
- ↔️ Manual Louver: Indicates manual air vent position.
- 🏠 Current Room Temperature: (on some models) Displays the current room temperature.
- SET Temperature Setpoint: (on some models) Displays the desired temperature.
- 📡 Infrared Signal: Indicates an infrared signal is being sent from the remote.
Troubleshooting
Common Issues and Solutions
- Remote is unresponsive or dead: Check the batteries. Ensure they are inserted correctly and have sufficient charge.
- Remote stops operating or starts to flash: Briefly remove the batteries and re-insert them. On some models, there is a recessed RESET button; press it with a pin or a paper clip.
- Remote displays temperatures in Celsius degrees: On most models (except KT-E0E), there is a key labeled C/F. Press this key to switch between Celsius and Fahrenheit degrees.
- AC unit does not respond to all remote functions after code setup: Re-initiate the auto-search process starting from the last known working code. It is common for several continuous codes to work, so try codes immediately following the one that initially worked to find the code that enables all functions.
Video: Quick Start tips and FAQ's for the QUNDA Universal AC Remote Control. This video provides visual guidance on setting up and troubleshooting the remote.
Specifications
| Brand | QUNDA |
| Model Name | a5e1c648-8fad-479d-bfd1-9429f3ed5f30 |
| Model Number | KTN828 Silver |
| Color | Silver |
| Special Feature | Backlit, Universal |
| Max Number of Supported Devices | 1 |
| Compatible Devices | Ductless Mini Splits |
| Connectivity Technology | Infrared |
| Button Quantity | 18 |
| Controller Type | Button Control |
| Maximum Range | 10 Feet |
| Number of Batteries | 2 AAA batteries required (not included) |
| Battery Type | AAA |
| Item Dimensions L x W x H | 6.5"L x 2.3"W x 1"H |
Warranty and Support
Warranty Information
This QUNDA Universal AC Remote Control comes with a 1-year seller warranty.
Customer Support
If you encounter difficulties finding a compatible code or following the instructions, please contact HEATCOOLHOME for assistance:
Phone: 1-800-349-4360