1. Introduction
The HP JL188A E 103 Instant 802.11N (Ww) Access Point is a wireless networking device designed to provide high-speed wireless connectivity for various environments. This manual provides essential information for the proper installation, configuration, operation, and maintenance of your access point. Please read these instructions carefully before using the device.
2. Package Contents
Verify that your package contains the following items:
- HP JL188A E 103 Instant 802.11N (Ww) Access Point
- Documentation (this manual, safety information)
If any items are missing or damaged, please contact your vendor or HP customer support.
3. Physical Overview
Familiarize yourself with the physical components and labels of your access point.
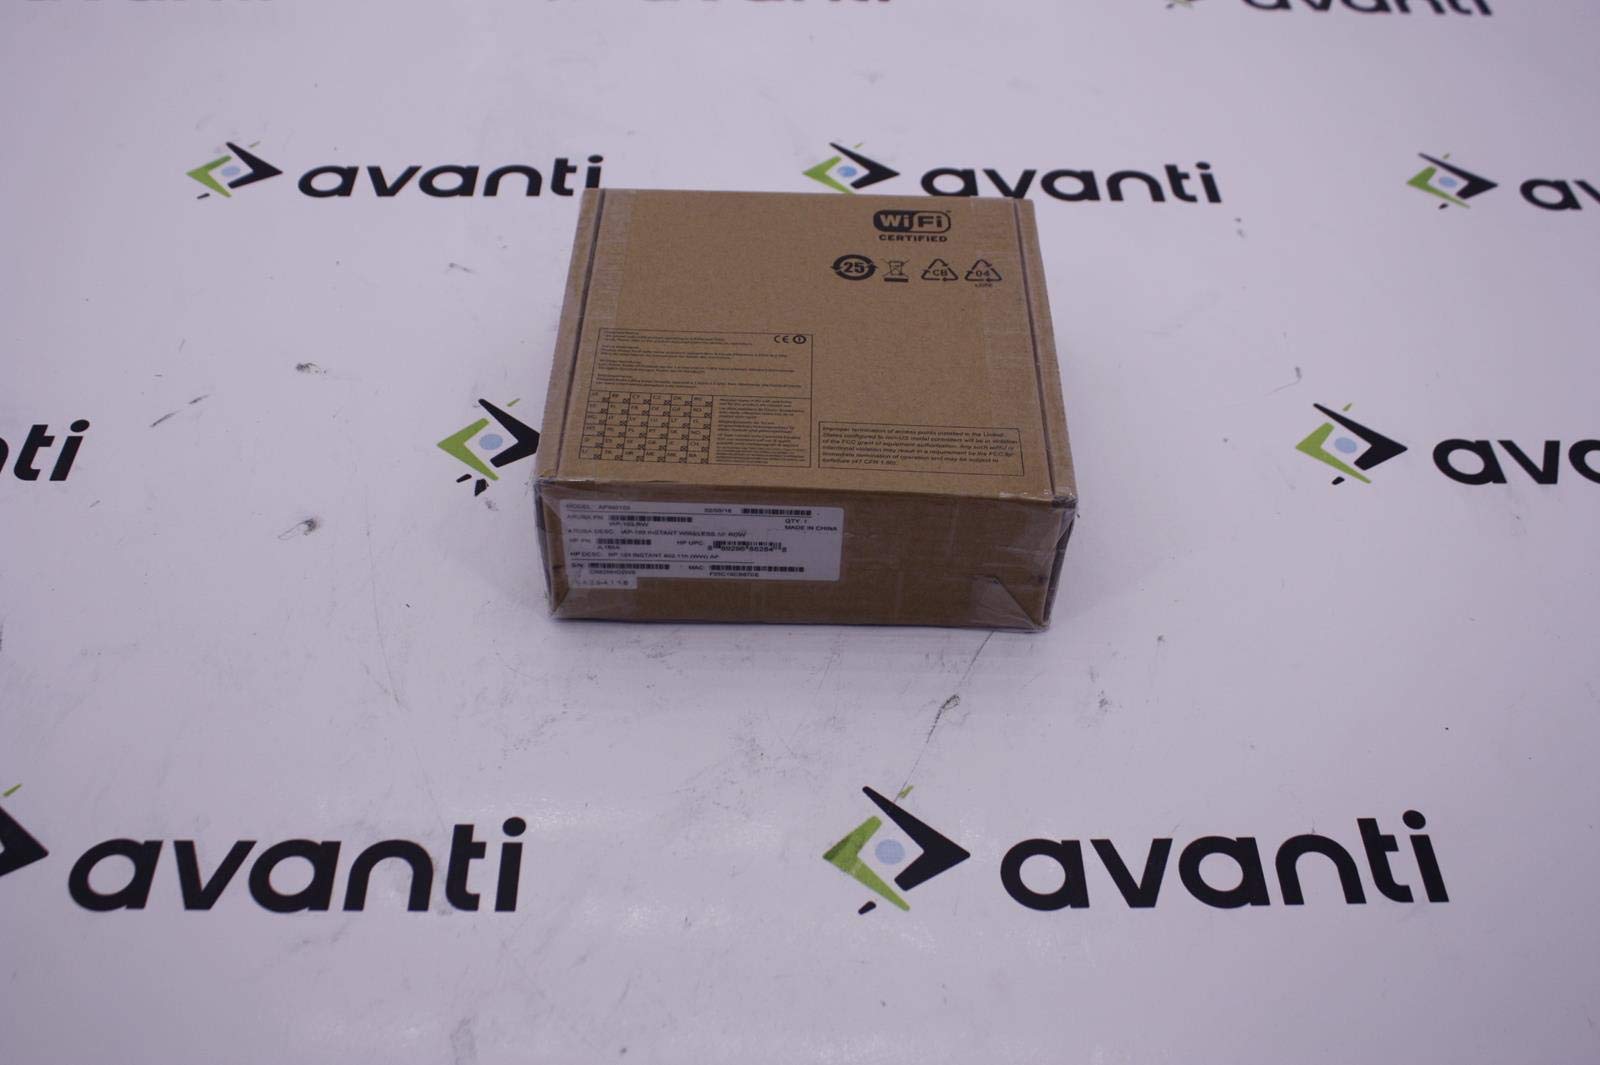
Figure 3.1: Top view of the Access Point with serial number label. The label includes Serial Number CN62HHD2W5 and MAC Address F05C19CB87BE.

Figure 3.2: Product box label. Key identifiers include Model APIN0103, Aruba PN IAP-103-RW, HP PN JL188A, HP UPC 0889296882848, S/N CN62HHD2W5, and MAC F05C19CB87BE.

Figure 3.3: Bottom view of the Access Point, showing the Ethernet port, power input, and mounting points.
4. Setup
Follow these steps to set up your HP JL188A E 103 Instant Access Point:
- Unpack the Device: Carefully remove the access point from its packaging.
- Choose a Location: Select a central location for optimal wireless coverage. Avoid placing the device near large metal objects, concrete walls, or other sources of interference.
- Connect Power: Connect the power adapter to the access point's power input port and then plug the adapter into a power outlet. The power LED should illuminate.
- Connect to Network: Connect an Ethernet cable from your network switch or router to the Ethernet port on the access point. The Ethernet LED should indicate network activity.
- Initial Configuration: The HP Instant Access Point is designed for easy deployment. It will automatically form a cluster with other Instant APs or can be configured individually via a web browser. Refer to the HP Aruba Instant User Guide for detailed configuration steps, including setting up SSIDs, security, and network parameters.
5. Operating Instructions
Once the access point is set up and configured, it will begin broadcasting wireless networks (SSIDs) as defined during configuration.
- Connecting Clients: Wireless clients (laptops, smartphones, tablets) can connect to the broadcasted SSIDs using the configured security keys (e.g., WPA2-PSK).
- Monitoring: The status LEDs on the access point provide visual feedback on its operational status. Consult the full product documentation for a detailed explanation of LED indicators.
- Management: Access the web-based management interface using a web browser and the IP address of the access point (or the virtual controller IP in an Instant AP cluster) to monitor performance, adjust settings, and perform administrative tasks.
6. Maintenance
Regular maintenance ensures optimal performance and longevity of your access point.
- Firmware Updates: Periodically check the HP support website for new firmware versions. Keeping the firmware updated ensures access to the latest features, security patches, and performance improvements.
- Cleaning: Keep the access point clean and free from dust. Use a soft, dry cloth to wipe the exterior. Do not use liquid cleaners or aerosols. Ensure ventilation openings are not obstructed.
- Environmental Conditions: Operate the device within its specified environmental ranges (temperature, humidity) to prevent damage and ensure reliable operation.
7. Troubleshooting
If you encounter issues with your access point, refer to the following common troubleshooting steps:
- No Power:
- Ensure the power adapter is securely connected to both the access point and a working power outlet.
- Verify the power outlet is functional by plugging in another device.
- No Network Connectivity:
- Check the Ethernet cable connection between the access point and your network device.
- Verify that your network switch or router is operational.
- Confirm that the access point has obtained a valid IP address (check via the management interface).
- Poor Wireless Performance:
- Relocate the access point to a more central position or away from potential interference sources.
- Check for overlapping Wi-Fi channels with neighboring networks and adjust your access point's channel if necessary.
- Ensure client devices are within optimal range.
- Factory Reset: If the device is unresponsive or you need to revert to default settings, perform a factory reset. Consult the full product documentation for the specific procedure, which typically involves pressing and holding a reset button for a certain duration.
8. Specifications
| Feature | Specification |
|---|---|
| Model Number | JL188A |
| Wireless Type | 802.11b, 802.11g, 802.11n |
| Item Weight | 10.6 ounces (approx. 300 grams) |
| Product Dimensions (LxWxH) | 7 x 2 x 7 inches (approx. 17.8 x 5.1 x 17.8 cm) |
| Manufacturer | HP Inc-613567 |
| ASIN | B00YRANCJA |
| Date First Available | June 6, 2015 |
9. Warranty and Support
For detailed warranty information, technical support, and additional resources, please refer to the official HP website or contact HP customer service. Keep your purchase receipt and product serial number (found on the device and packaging) handy when seeking support.
Online Resources: HP Support Website