1. Introduction and Safety Information
This manual provides essential instructions for the safe installation, operation, and maintenance of your Lampa NORDRIVE N15014 Snap Steel Telescopic Roof Bars. Please read this manual thoroughly before installation and retain it for future reference.
1.1 General Safety Warnings
- Always ensure the roof bars are securely fastened to your vehicle before driving.
- Do not exceed the maximum load capacity specified for these roof bars (100 kg) or your vehicle's roof load limit, whichever is lower.
- Distribute the load evenly on the roof bars.
- Check the security of the roof bars and any loaded items regularly, especially during long journeys or after driving on rough terrain.
- Adjust your driving speed according to the load and road conditions. Crosswinds and sudden braking can affect vehicle stability.
- Be aware of increased vehicle height and width when roof bars are installed, especially when entering garages, car washes, or low-clearance areas.
- Always use the anti-theft lock to secure the bars when not in use or when parked.
2. Product Overview
The NORDRIVE N15014 Snap Steel roof bars are designed for vehicles with specific roof types, offering a secure and aerodynamic solution for transporting luggage and equipment. Their telescopic design allows for a flush fit without protruding from the roof profile.
2.1 Key Features
- Aerodynamic Profile: Designed to minimize wind noise and drag.
- Telescopic System: Allows for precise adjustment and integration with the vehicle's roof profile, preventing overhang.
- Anti-theft Lock: Equipped with a security lock for enhanced protection.
- Quick Assembly: Designed for straightforward and rapid installation.
- GS-TÜV Approved: Certified for safety and quality.
2.2 Components
The package includes a pair of telescopic steel roof bars. Specific fitting kits (sold separately) are required depending on your vehicle's roof type.
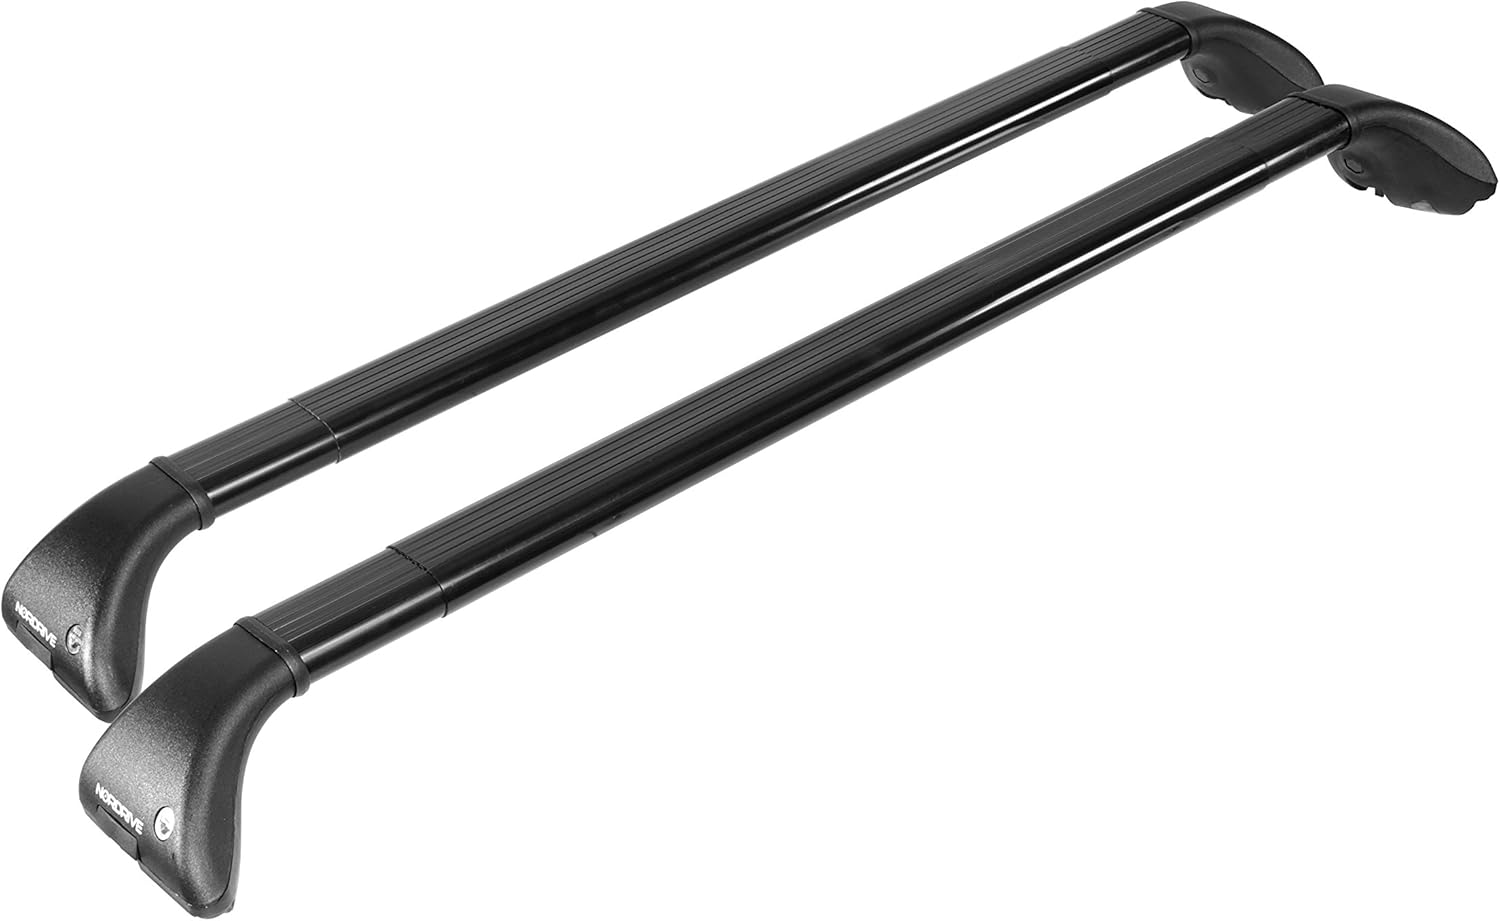
Figure 1: Lampa NORDRIVE N15014 Snap Steel Telescopic Roof Bars, general view.
3. Setup and Installation
Installation requires a specific fitting kit tailored to your vehicle's make and model. Ensure you have the correct kit before proceeding. The installation process varies slightly based on whether your vehicle has traditional roof rails or integrated roof rails.
3.1 Required Tools
- Hex key (often included with the fitting kit)
- Measuring tape
- Soft cloth to protect vehicle paintwork
3.2 Installation Steps (General)
- Identify Roof Type: Determine if your vehicle has traditional raised roof rails or integrated flush roof rails. This will dictate the type of fitting kit required.
- Assemble Feet and Bars: Attach the roof bar feet to the telescopic bars according to the instructions provided with your specific fitting kit. Ensure the telescopic mechanism is free to move.
- Position Bars on Roof: Carefully place the assembled roof bars onto your vehicle's roof. For traditional roof rails, the feet will clamp around the rails. For integrated rails, the feet will fit into designated mounting points or clamp onto the flush rails.
- Adjust Telescopic Length: Extend or retract the telescopic bars to match the width of your vehicle's roof or the distance between the mounting points. Ensure an even overhang (if applicable) or a flush fit.
- Secure Clamps/Mounts: Tighten all clamps and mounting bolts evenly and securely. Refer to your fitting kit's instructions for specific torque settings.
- Test Security: After tightening, firmly push and pull on each roof bar to ensure it is securely attached and does not move.
- Install Anti-theft Locks: Insert and lock the anti-theft keys into the designated lock cylinders on the roof bar feet.
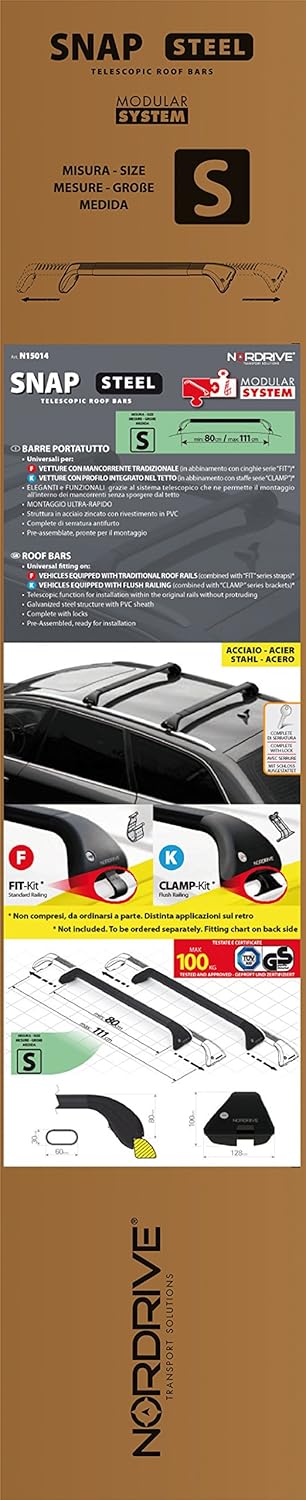
Figure 2: Installation diagrams showing different fitting kit types (FIT kit for integrated rails, CLAMP kit for traditional rails). Always refer to the specific instructions provided with your fitting kit.
4. Operating Instructions
Once installed, your NORDRIVE Snap Steel roof bars are ready for use. Always adhere to the maximum load capacity and ensure proper load distribution.
4.1 Loading the Roof Bars
- Place items centrally on the roof bars to ensure even weight distribution.
- Secure all items using appropriate straps, nets, or roof boxes. Ensure no items can shift during transit.
- For long items, ensure they do not obstruct your view or extend dangerously beyond the vehicle's dimensions.
- Periodically check the security of your load during your journey.
4.2 Using the Anti-theft Lock
The roof bars are equipped with an anti-theft locking system. Use the provided key to lock the feet of the roof bars after installation and whenever the vehicle is unattended. This helps prevent unauthorized removal of the bars.
5. Maintenance
Regular maintenance ensures the longevity and safe operation of your roof bars.
- Cleaning: Clean the roof bars regularly with mild soap and water. Avoid abrasive cleaners or solvents that could damage the finish.
- Inspection: Periodically inspect all components for signs of wear, damage, or corrosion. Check bolts, clamps, and the telescopic mechanism for proper function.
- Lubrication: If the telescopic mechanism becomes stiff, apply a small amount of silicone-based lubricant to the sliding parts.
- Storage: If removing the roof bars for extended periods, store them in a dry place away from direct sunlight and extreme temperatures.
6. Troubleshooting
This section addresses common issues you might encounter with your roof bars.
6.1 Common Issues
- Excessive Wind Noise:
- Ensure the bars are correctly positioned and all components are tightly secured.
- Check for any gaps or loose parts that could cause whistling.
- Consider adding a fairing or wind deflector (if available and compatible) for further noise reduction.
- Bars Feel Loose After Installation:
- Re-check all mounting bolts and clamps. Ensure they are tightened to the recommended torque specifications.
- Verify that the correct fitting kit for your vehicle model has been used.
- Inspect the vehicle's roof rails or mounting points for any damage.
- Telescopic Mechanism is Stiff:
- Clean the sliding parts of the mechanism to remove dirt or debris.
- Apply a silicone-based lubricant to the sliding surfaces.
7. Specifications
| Model | N15014 |
| Type | Telescopic Steel Roof Bars |
| Size | S (80-111 cm) |
| Material | Steel |
| Maximum Load Capacity | 100 kg (Always check vehicle manufacturer's roof load limit) |
| Bar Profile Dimensions (W x H) | 60 mm x 30 mm |
| Overall Foot Dimensions (L x W) | 128 mm (width of foot base) |
| Overall Height (from roof rail) | 80 mm |
| Item Weight | 6 Kilograms |
| Product Dimensions (L x W x H) | 8 x 10 x 16 cm (packaging/storage dimensions) |
| Approval | GS-TÜV |

Figure 3: Cross-sectional dimensions of the roof bar profile.

Figure 4: Overall dimensions of the roof bar and foot, including telescopic length range.
8. Warranty and Support
For warranty information, please refer to the documentation provided at the time of purchase or contact your retailer. Warranty terms and conditions may vary by region and retailer.
8.1 Customer Support
If you require further assistance, have questions regarding installation, or need to report a product issue, please contact the retailer where you purchased the product or visit the official Lampa website for support contact details.


