1. Introduction
The Neato Robotics Botvac D75 is an advanced robotic vacuum cleaner designed to efficiently clean various floor types. This manual provides essential information for setting up, operating, maintaining, and troubleshooting your Botvac D75 to ensure optimal performance and longevity.

Figure 1.1: The Neato Robotics Botvac D75 Robot Vacuum, showcasing its distinctive D-shape design and top-mounted laser navigation system.
2. Setup
2.1 Unboxing and Components
Carefully remove all components from the packaging. Ensure the following items are present:
- Neato Botvac D75 Robot Vacuum
- Charging Base
- Power Cord
- Side Brush (pre-installed or separate)
- Boundary Markers (magnetic strip)
- Filter
2.2 Charging Base Placement
Place the charging base against a wall in an open area, ensuring at least 3 feet (1 meter) of clear space on either side and in front of the base. Plug the power cord into the charging base and then into a wall outlet. Ensure the outlet is always powered.
2.3 Initial Charge
Place the Botvac D75 onto the charging base. The robot will automatically align itself. Allow the robot to charge completely before its first use. A full charge can take several hours. The battery indicator on the robot will show its charging status.
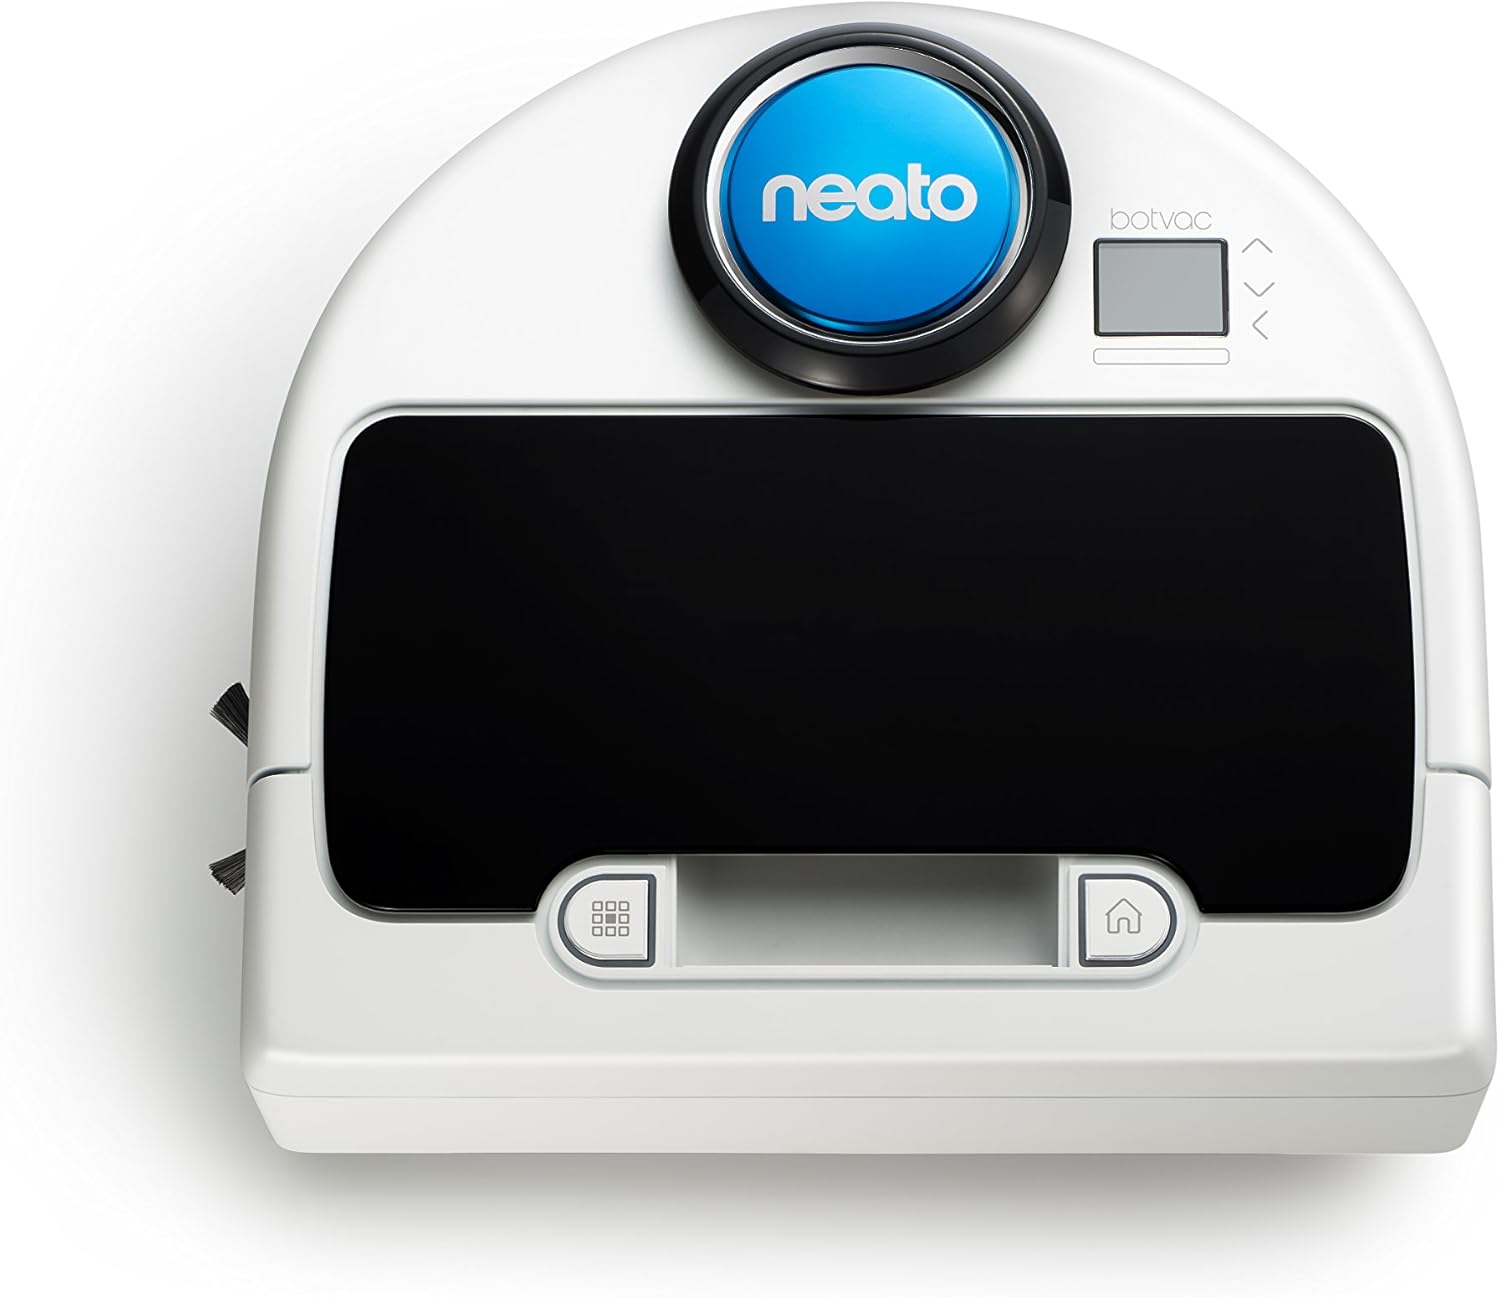
Figure 2.1: Top view of the Botvac D75, highlighting the control panel and laser navigation dome.
3. Operating Your Botvac D75
3.1 Preparing the Cleaning Area
Before starting a cleaning cycle, remove small objects, loose cables, and fragile items from the floor. Use the provided boundary markers to restrict the robot from entering specific areas, such as pet bowls or delicate furniture.
3.2 Starting a Cleaning Cycle
Press the Start button on the robot's control panel or use the Neato app (if connected) to begin a cleaning cycle. The robot will leave its charging base, scan the room using its laser navigation system, and systematically clean the area.

Figure 3.1: The Botvac D75 actively cleaning a tiled kitchen floor, demonstrating its ability to navigate open spaces.
3.3 Smart Mapping and Navigation
The Botvac D75 utilizes advanced laser navigation to map your home, allowing it to clean in straight, efficient lines rather than random patterns. This systematic approach ensures thorough coverage and reduces cleaning time.

Figure 3.2: Comparison illustrating the systematic cleaning path of Neato robots versus the random movement of other robotic vacuums.
3.4 Scheduling
The Botvac D75 supports scheduling through its companion mobile application. Refer to the app for instructions on setting daily or weekly cleaning schedules.
4. Maintenance
Regular maintenance is crucial for the optimal performance and longevity of your Botvac D75.
4.1 Emptying the Dirt Bin
The dirt bin should be emptied after each cleaning cycle or when the 'Dirt Bin Full' indicator appears. To empty, open the top cover of the robot, remove the dirt bin, and discard its contents. Ensure the filter is properly seated before reinserting the bin.
4.2 Cleaning the Brushes
Periodically inspect and clean the main brush and side brush. Hair and debris can become entangled, reducing cleaning effectiveness. Use the cleaning tool provided (if applicable) or scissors to cut away tangled hair. The main brush is accessible from the bottom of the robot.

Figure 4.1: Underside of the Botvac D75, displaying the main brush, side brush, and wheels, which require periodic cleaning.
4.3 Cleaning the Filter
The filter should be cleaned regularly by tapping it against a trash can to remove dust. Replace the filter every 1 to 2 months, depending on usage, to maintain suction power. The filter is located within the dirt bin.
4.4 Cleaning Sensors
Wipe the robot's sensors (cliff sensors, wall sensors, laser navigation sensor) with a clean, dry cotton swab or cloth. Keeping sensors clean ensures proper navigation and prevents falls.
5. Troubleshooting
This section addresses common issues you might encounter with your Botvac D75.
5.1 Robot Not Charging
- Ensure the charging base is plugged into a live outlet.
- Verify the robot is correctly docked with its charging contacts aligned with the base contacts.
- Clean the charging contacts on both the robot and the base with a dry cloth.
5.2 Robot Getting Stuck Frequently
- Clear the cleaning area of loose cables, small rugs, or objects that might obstruct the robot.
- Use boundary markers to block off problematic areas.
- Clean the wheels and brushes to ensure they are free of debris.
5.3 Poor Cleaning Performance
- Empty the dirt bin and clean or replace the filter.
- Clean the main brush and side brush for entangled hair or debris.
- Ensure the robot's sensors are clean.
5.4 Error Messages
If an error message appears on the robot's display, consult the Neato app or the manufacturer's website for specific instructions related to the error code.
6. Specifications
| Feature | Detail |
|---|---|
| Brand | Neato Robotics |
| Model Number | 945-0185 |
| Color | White |
| Special Features | Edge Cleaning, Logical Navigation, Obstacle Avoidance, Scheduling, Smart Mapping |
| Included Components | Side Brush |
| Filter Type | Cartridge |
| Voltage | 12 Volts |
| Capacity | 0.7 Liters |
| Power Source | Corded Electric |
| Batteries Included | Yes (1 x 12V) |
| Control Method | App |
| Form Factor | Robotic |
| UPC | 810841011703 |
| Product Dimensions | 12.64 x 13.19 x 3.94 inches |
| Item Weight | 9.02 pounds |
| Date First Available | July 1, 2016 |
7. Warranty and Support
For warranty information, technical support, or to purchase replacement parts, please visit the official Neato Robotics website or contact their customer service. You can find more information at the Neato Robotics Store.


