1. Introduction
This manual provides essential instructions for the safe assembly, operation, maintenance, and storage of your Solstice Flare 1P Performance Inflatable Kayak. Please read this manual thoroughly before using your kayak. Retain this manual for future reference.
The Solstice Flare 1P Performance Inflatable Kayak is designed for solo paddlers, offering durability, portability, and stability for recreational use on lakes, calm rivers, and bays. Crafted from heavy-duty, UV-resistant PVC with reinforced seams and a drop-stitch floor, it provides a rigid and stable platform for your water adventures.
WARNING: This product can expose you to chemicals including Di(2-ethylhexyl)phthalate (DEHP), which is known to the State of California to cause cancer and birth defects or other reproductive harm. For more information go to www.P65Warnings.ca.gov.
2. Package Contents
Verify that all items listed below are included in your package:
- Solstice Flare 1P Performance Inflatable Kayak Hull
- Adjustable Padded Bucket Seat (1)
- High-Pressure Hand Pump with Pressure Gauge
- Detachable Tracking Skeg
- Repair Kit
- Durable Carry Bag
- Adjustable Paddle

Description of Image 2.1: This image displays all the items typically included with the Solstice Flare 1P Performance Inflatable Kayak. It features the red and white deflated kayak hull, a black adjustable paddle, a yellow high-pressure hand pump with a pressure gauge, a black adjustable bucket seat, a black detachable skeg, and a white carry bag with the Solstice logo. Various small repair kit components are also visible near the pump.
3. Setup Instructions
Follow these steps to prepare your kayak for use:
3.1. Inflation
- Unfold the kayak on a clean, flat surface, free from sharp objects.
- Locate the three main air chambers: two side pontoons and the drop-stitch floor.
- Open the valve caps on each chamber. Ensure the valve pin is in the 'up' position for inflation (twist counter-clockwise to raise).
- Attach the high-pressure hand pump hose to the valve.
- Inflate each chamber evenly until firm. The recommended pressure for the side pontoons is 1.5-2.0 PSI, and for the drop-stitch floor, it is 8-10 PSI. Use the included pressure gauge to monitor. Do not overinflate.
- Once inflated, quickly replace the valve caps to prevent air leakage.
3.2. Seat Installation
- Position the adjustable padded bucket seat inside the kayak.
- Attach the four anchor straps from the seat to the D-rings located on the kayak's interior.
- Adjust the strap lengths to achieve a comfortable and supportive seating position. The two top straps should be anchored in front of the seat and tightened for back support, while the two bottom straps should be anchored behind to prevent forward sliding.
- Ensure the Velcro on the bottom of the seat aligns with the Velcro on the kayak floor for added stability.
3.3. Skeg Installation
- Turn the kayak upside down.
- Locate the skeg box at the stern (rear) of the kayak.
- Slide the detachable tracking skeg into the skeg box until it clicks securely into place.
- Ensure the skeg is firmly attached before launching.
3.4. Paddle Assembly
- Connect the two halves of the paddle by aligning the push-button with the corresponding hole.
- Ensure the paddle is securely locked together.
4. Operating Instructions
4.1. Safety Guidelines
- Always wear a U.S. Coast Guard-approved personal flotation device (PFD).
- Never exceed the maximum weight capacity of 320 pounds.
- Do not use in strong currents, high winds, or adverse weather conditions.
- Inform someone of your paddling plans, including your route and estimated return time.
- Be aware of local boating regulations and navigation rules.
- Avoid alcohol or drugs before and during kayaking.
- Carry essential safety gear, such as a whistle, extra paddle, and a first-aid kit.
4.2. Launching
- Carry the inflated kayak to the water's edge using the grab handles.
- Ensure the water is deep enough to prevent the skeg from dragging on the bottom.
- Carefully enter the kayak, maintaining balance. Sit down slowly into the adjustable seat.
4.3. Paddling Techniques
- Hold the paddle with both hands, slightly wider than shoulder-width apart.
- Use your core muscles, not just your arms, to propel the kayak.
- For forward motion, alternate strokes on each side of the kayak.
- To turn, paddle on one side only, or use a sweep stroke (a wide, arcing stroke) on the side opposite the desired turn direction.
- The detachable skeg will assist with straight-line tracking.

Description of Image 4.1: This image shows a woman wearing a life vest and sunglasses, seated comfortably in the red and white Solstice Flare 1P Inflatable Kayak. She is holding a black paddle and actively paddling on a calm river with lush green trees in the background. The kayak appears stable and well-suited for recreational use.
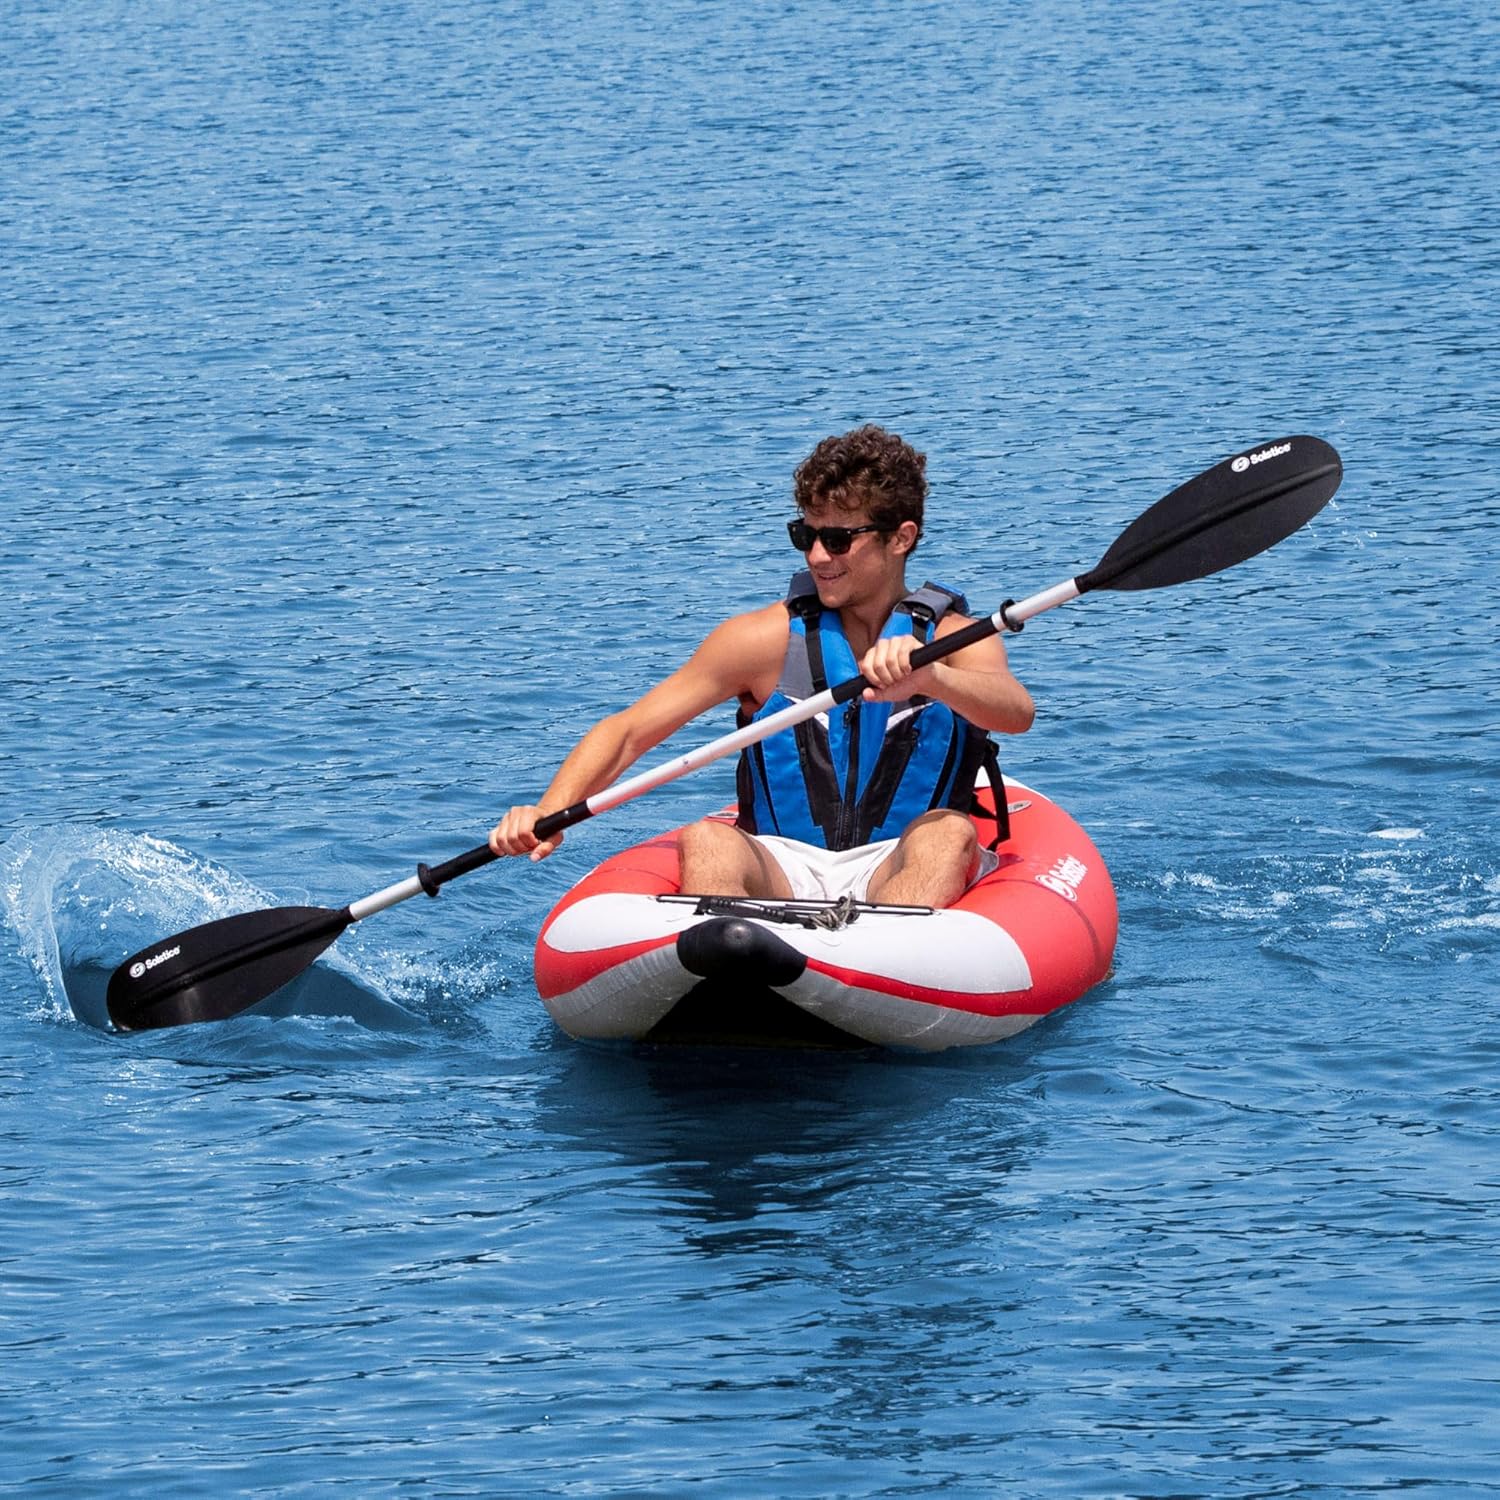
Description of Image 4.2: This image features a man wearing a life vest and sunglasses, paddling the red and white Solstice Flare 1P Inflatable Kayak on a body of water. He is actively engaged in paddling, creating a small splash with his paddle. The kayak demonstrates good stability on the water, with a clear blue sky and distant land visible in the background.
5. Maintenance
5.1. Cleaning
- After each use, rinse the kayak thoroughly with fresh water to remove salt, sand, and dirt.
- Use a mild soap and soft brush if necessary for stubborn grime.
- Rinse again to remove all soap residue.
5.2. Drying
- Completely dry the kayak, inside and out, before deflating and storing. This prevents mildew and material degradation.
- Allow it to air dry in a shaded area, away from direct sunlight, which can damage the PVC material over time.
5.3. Storage
- Deflate all air chambers by pushing down and twisting the valve pin clockwise to the 'down' position.
- Roll or fold the kayak neatly to fit into the included carry bag.
- Store the kayak in a cool, dry place, away from extreme temperatures and direct sunlight.
- Avoid placing heavy objects on top of the stored kayak.
5.4. Repair
- For minor punctures, use the included repair kit.
- Clean and dry the area around the puncture.
- Apply adhesive (not always included, may need to purchase separately) to the patch and the damaged area.
- Press the patch firmly over the puncture and hold until secure. Allow sufficient drying time before re-inflating.
- For larger damage, consult a professional repair service or contact Solstice customer support.
6. Troubleshooting
| Problem | Possible Cause | Solution |
|---|---|---|
| Kayak loses air quickly | Valve not properly closed; Puncture; Loose valve fitting | Ensure valve caps are tightly closed. Check for punctures using soapy water and repair with kit. Tighten valve if loose. |
| Kayak does not track straight | Skeg not installed; Skeg damaged; Uneven inflation | Install skeg correctly. Inspect skeg for damage. Ensure all chambers are inflated to recommended pressure. |
| Seat is unstable or slides | Straps not tightened; Velcro not engaged | Adjust and tighten all four seat straps. Ensure seat Velcro is firmly attached to the kayak floor. |
| Difficulty inflating | Valve pin in 'down' position; Pump hose not properly attached | Ensure valve pin is in the 'up' position. Check pump hose connection to valve. |
7. Specifications
| Feature | Detail |
|---|---|
| Brand | Solstice |
| Model Name | Solstice Flare 1 Person High Pressure Inflatable Kayak Performance Series |
| Model Number | 29615 |
| Material | Heavy-Duty Polyvinyl Chloride (PVC) |
| Color | Red/Grey |
| Seating Capacity | 1 Person |
| Weight Limit | 320 Pounds (145 kg) |
| Product Dimensions (Inflated) | 114 x 37 x 22 inches (9'6" x 37") |
| Item Weight | 30 pounds (13.65 kg) |
| Hull Identification Number (HIN) | Located on the stern and inside the kayak (e.g., ILP80020E323) |

Description of Image 7.1: This image provides a visual guide to the locations of the Hull Identification Number (HIN) on the Solstice Flare 1P Kayak. The main diagram shows an overhead view of the inflated kayak, with two numbered callouts. Inset images provide close-ups: location '1' points to the HIN on the stern (rear) of the kayak, and location '2' points to the HIN printed on the interior surface of the kayak, near the bow.
8. Warranty & Support
Solstice products are manufactured by Swimline. For warranty information, product registration, or technical support, please refer to the documentation included with your purchase or visit the official Solstice Watersports website. Keep your proof of purchase for any warranty claims.
For additional assistance, you may contact Solstice customer service through their official channels. Details are typically found on the product packaging or the brand's website.