Introduction
The GemRed 82412 Digital Angle Gauge is a compact and precise instrument designed for accurate angle and level measurements. Utilizing advanced MEMS technology, it provides quick and reliable readings for various applications, including woodworking, construction, machinery, and automotive tasks. This manual provides essential information for the proper setup, operation, and maintenance of your device.

Image: The GemRed 82412 Digital Angle Gauge, highlighting its compact design and user interface.
Key Features
- High Accuracy: Measures with an accuracy of ±0.2° and a resolution of 0.1°.
- Wide Measuring Range: 0 to 360° (4 x 90°).
- Two Measurement Modes: Absolute measurement (level mode) and relative measurement (incremental mode).
- Strong Aluminum Framework: Durable construction for extended use.
- Magnetic Base: Built-in strong magnets on the bottom for secure attachment to metal surfaces.
- Large LCD with Green Backlight: Ensures clear readability in various lighting conditions.
- Auto-Reverse Display: Numbers automatically invert for easy reading when the gauge is upside down.
- Simple Operation: Features only two buttons (ON/OFF and ZERO) for ease of use.
- Compact Size: Portable design suitable for diverse applications.
Package Contents
Upon opening the package, please ensure all items are present:
- GemRed Digital Angle Gauge (Model 82412)
- 1 CR2032 Battery
- Instruction Manual (this document)
Note: The product specifications list a CR2032 battery. Please refer to the battery compartment for the correct type if unsure.
Setup
1. Battery Installation
The GemRed 82412 Digital Angle Gauge requires one CR2032 battery for operation. The battery compartment is located on the bottom of the device.
- Locate the battery cover on the bottom of the gauge.
- Slide or unclip the battery cover to open the compartment.
- Insert the CR2032 battery, ensuring the correct polarity (+/-) as indicated inside the compartment.
- Close the battery cover securely.

Image: The back of the GemRed 82412 Digital Angle Gauge showing the battery compartment and technical specifications.
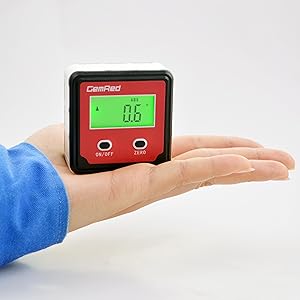
Image: A close-up view of the battery compartment with a CR2032 battery being inserted, illustrating the correct orientation.
Operating Instructions
1. Power On/Off
- To Power On: Short press the ON/OFF button. The green backlight will illuminate, and the display will show the current angle.
- To Power Off: Long press the ON/OFF button for approximately 3 seconds. The display will turn off.
- Auto Shut-off: The device will automatically power off after 5 minutes of inactivity to conserve battery life. The backlight turns off after 30 seconds of no movement, but the display remains active. Moving the device will reactivate the backlight.
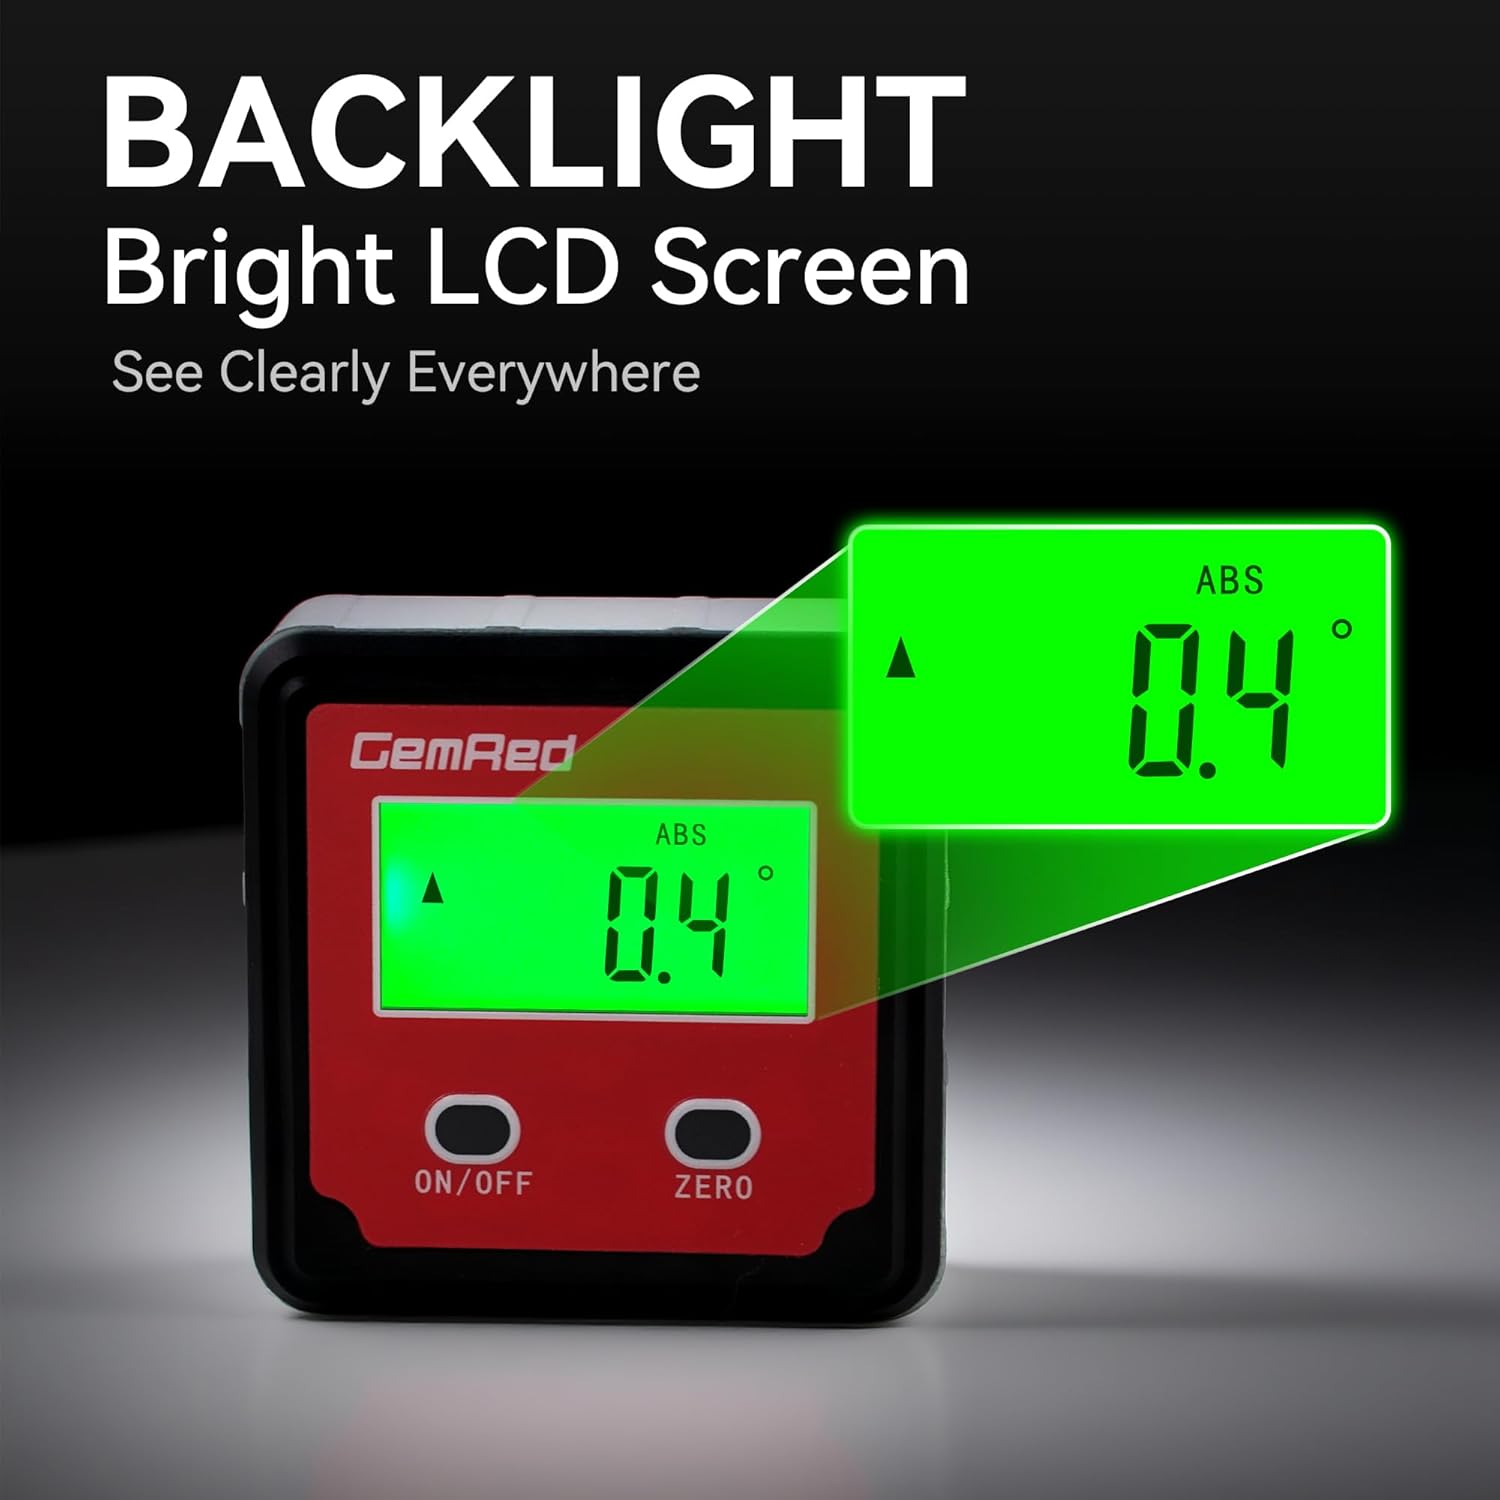
Image: The digital angle gauge displaying an angle with its bright green backlight activated, enhancing visibility.
2. Zeroing (Relative Measurement)
The ZERO button allows you to set a reference point for relative angle measurements.
- Place the gauge on the surface you wish to use as your reference (0°).
- Short press the ZERO button. The display will show 0.0°, indicating that this surface is now your reference point.
- Move the gauge to another surface to measure the angle relative to your set zero point.
3. Absolute Measurement (Level Mode)
The gauge defaults to absolute measurement mode upon power-on, displaying the angle relative to a true horizontal plane.
- To switch between absolute (ABS) and relative (ZERO) modes, short press the ON/OFF button while the device is on. The display will show "ABS" for absolute mode.
- In ABS mode, the gauge measures the angle against gravity, providing a true level reading.

Image: The digital angle gauge attached to a circular saw blade, displaying an angle measurement, useful for precise blade adjustments.
4. Auto-Inverted Display
For convenience, the display automatically inverts the numbers when the gauge is turned upside down, ensuring easy readability from any orientation.

Image: Two digital angle gauges, one upright and one inverted, both displaying the same angle with the numbers automatically oriented for easy reading.
5. Magnetic Base
The strong magnetic base allows the gauge to securely attach to ferrous metal surfaces, enabling hands-free operation and precise measurements on tools like saw blades, drill presses, and metal frameworks.
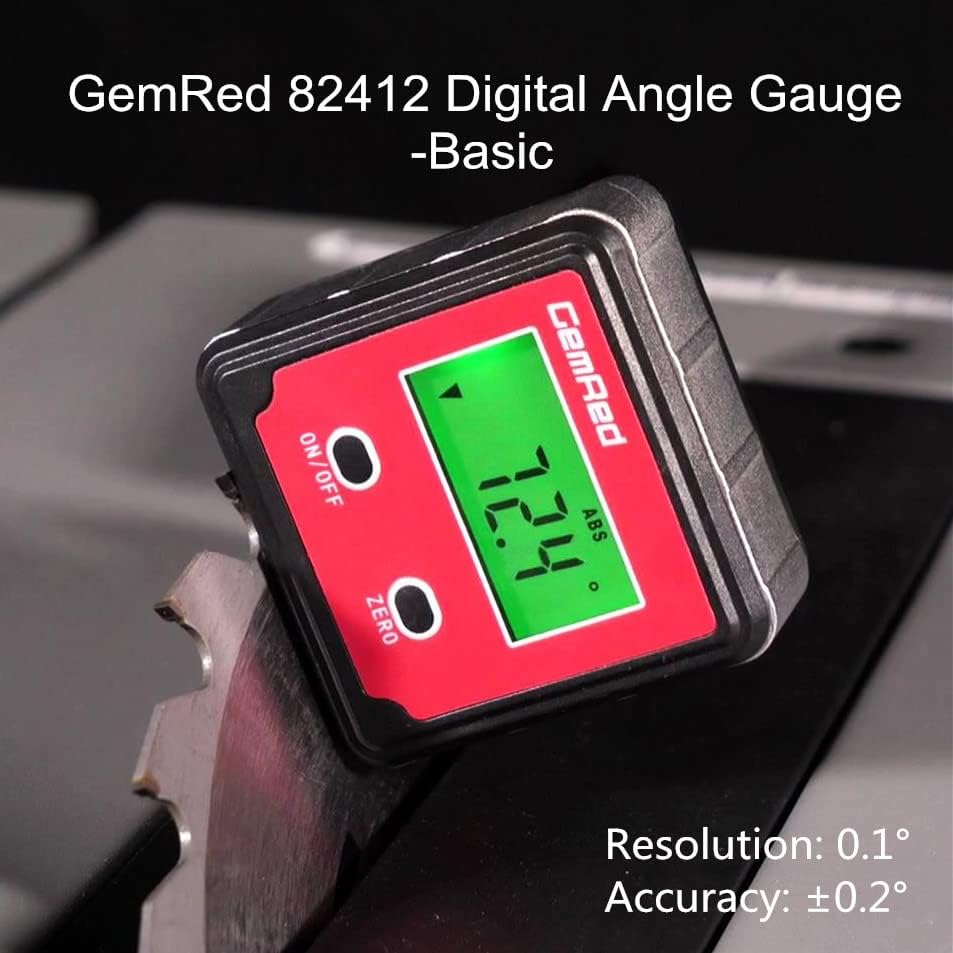
Image: A view of the digital angle gauge's bottom, illustrating its magnetic base for secure attachment to metal surfaces.
Maintenance
1. Battery Replacement
When the display becomes dim or the device behaves erratically, it's time to replace the battery. Follow the steps outlined in the "Battery Installation" section under Setup.
2. Cleaning
To clean the device, wipe it with a soft, dry cloth. Do not use abrasive cleaners or immerse the device in water. Keep the magnetic base clean for optimal adhesion.
Troubleshooting
"Erro" Indicator
If the display shows "Erro", it indicates that the device is tilted diagonally by more than 30 degrees. In this situation, the measurement may not be accurate. To resolve this, ensure the device is placed on a stable surface and is not tilted excessively on its vertical axis.

Image: The digital angle gauge displaying "Erro" on its screen, with an illustration showing the device tilted diagonally beyond 30 degrees, indicating an inaccurate measurement condition.
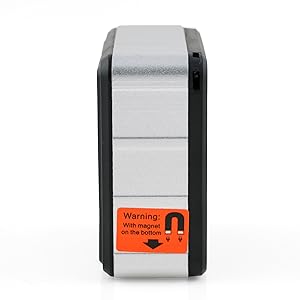
Image: A close-up of the digital angle gauge displaying "Erro", indicating an improper measurement angle.
Specifications
| Parameter | Value |
|---|---|
| Brand | GemRed |
| Model Number | LB-01 (82412) |
| Measuring Range | 0 to 360° (4 x 90°) |
| Accuracy | ±0.2° |
| Resolution | 0.1° |
| Display Unit | DEGREE only |
| Material | Aluminum, Plastic |
| Color | Green Backlight |
| Operation Mode | Manual |
| Battery Type | 1 CR2032 battery (included) |
| Product Dimensions | 0.39 x 0.39 x 0.39 inches |
| Item Weight | 3.84 ounces |
Applications
The GemRed 82412 Digital Angle Gauge is versatile and can be used in various settings:
- Setting saw blade angles on table saws and miter saws.
- Measuring angles for woodworking projects.
- Checking the level of surfaces in construction.
- Aligning machinery components.
- Automotive applications for precise angle adjustments.
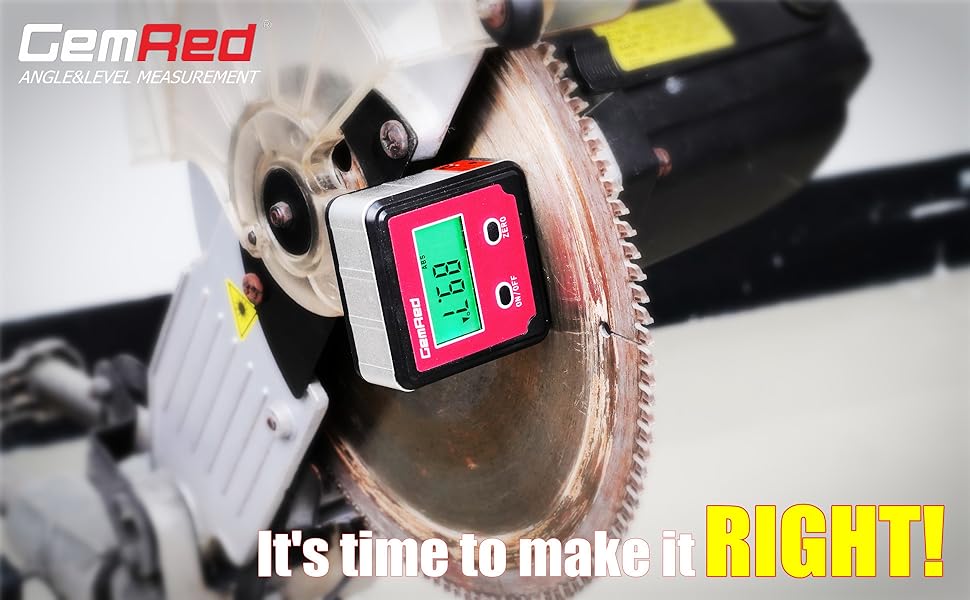
Image: A collage of images showing the digital angle gauge being used in different scenarios, including on a saw blade, a drill press, and a metal frame.

Image: A hand holding the compact digital angle gauge, demonstrating its small and portable design.