1. Introduction
The HP 1820-48G is a managed Gigabit Ethernet Layer 2 switch designed to provide enhanced network performance and user experience for small to medium-sized organizations. This fixed-configuration switch features 48 10/100/1000 RJ-45 ports and SFP ports for fiber connectivity, offering basic yet intelligent management capabilities. It is engineered for simplicity and a lower total cost of ownership, making it suitable for various network deployments.
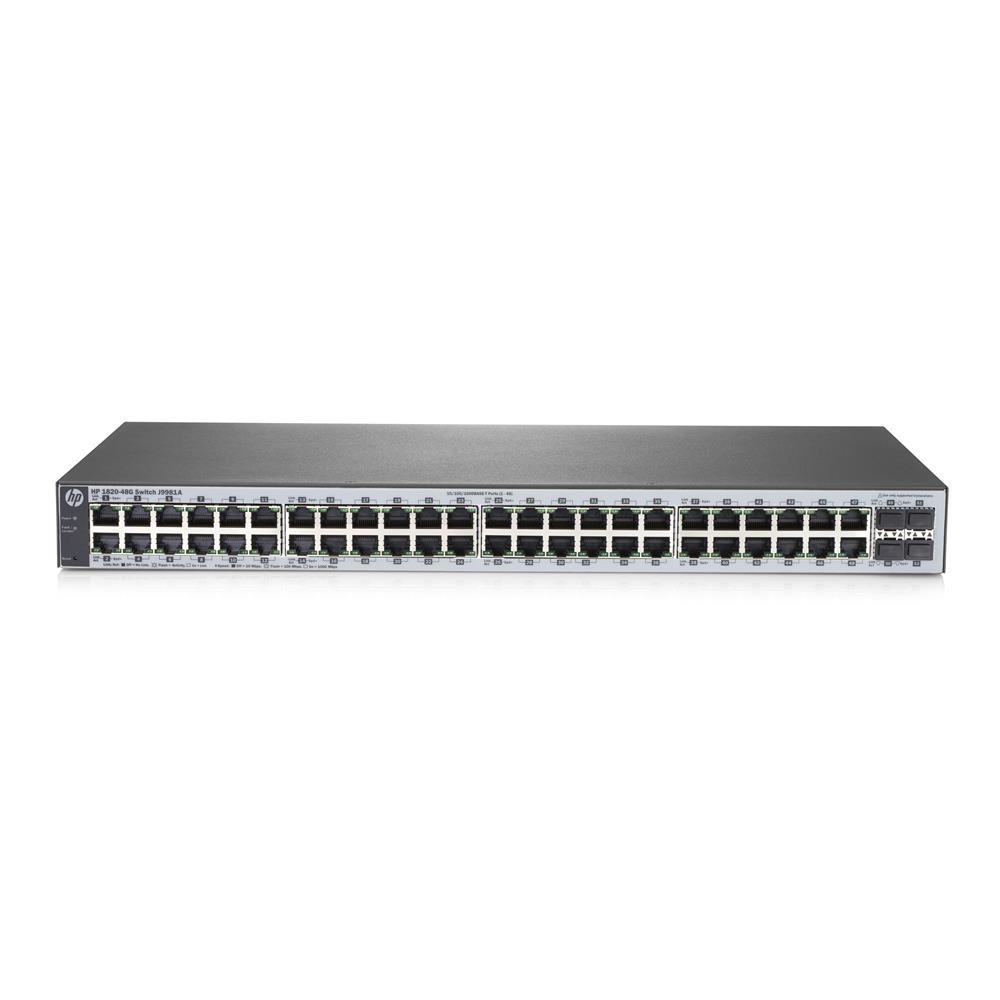
Figure 1: Front view of the HP 1820-48G Managed 48-Port Gigabit Switch, showing 48 RJ-45 ports and SFP slots.
2. Setup and Installation
2.1 Package Contents
Verify that your package contains the following items:
- HP 1820-48G Switch
- Power Cord
- Rack-Mount Kit (if applicable)
- Documentation CD/Leaflet
2.2 Physical Installation
The HP 1820-48G switch can be installed on a desktop or mounted in a standard 19-inch equipment rack.
- Rack Mounting: Attach the provided rack-mount brackets to the sides of the switch using the screws included in the kit. Secure the switch into the rack using appropriate rack screws. Ensure adequate airflow around the device.
- Desktop Placement: Place the switch on a flat, stable surface. Ensure there is sufficient space for ventilation and cable management.
- Power Connection: Connect the power cord to the AC inlet on the rear panel of the switch and then to a grounded electrical outlet.
- Initial Power On: The switch will power on automatically once connected to power. Observe the system LED indicators for initial boot-up status.

Figure 2: Close-up view of the RJ-45 ports on the HP 1820-48G switch, showing port numbering and status LEDs.
3. Operating the Switch
3.1 Connecting Network Devices
Connect your network devices (computers, servers, other switches) to the RJ-45 ports on the front panel of the HP 1820-48G switch using standard Ethernet cables. For fiber optic connections, use compatible SFP transceivers in the designated SFP slots.
- Ensure cables are securely connected.
- Observe the port status LEDs; a solid green or amber light indicates a link, and blinking indicates activity.
3.2 Accessing the Management Interface
The HP 1820-48G is a managed switch, configurable via a web-based graphical user interface (GUI).
- Default IP Address: The switch typically has a default IP address (e.g., 192.168.1.1 or similar, check documentation for exact default).
- Connect a PC: Connect a computer directly to any RJ-45 port on the switch. Configure the PC's network adapter with a static IP address in the same subnet as the switch (e.g., if switch is 192.168.1.1, set PC to 192.168.1.10 with subnet mask 255.255.255.0).
- Open Web Browser: Launch a web browser and enter the switch's default IP address in the URL bar.
- Login: Enter the default username and password (refer to the included documentation for default credentials). It is highly recommended to change these default credentials immediately after initial login for security purposes.
- Configuration: Use the web interface to configure VLANs, link aggregation, QoS, and other network settings as required.
4. Maintenance
Regular maintenance ensures optimal performance and longevity of your HP 1820-48G switch.
- Cleaning: Keep the switch free from dust and debris. Use a soft, dry cloth for external cleaning. Do not use liquid cleaners directly on the device. Ensure ventilation openings are clear.
- Firmware Updates: Periodically check the official HP support website for firmware updates. Applying updates can improve performance, add new features, and address security vulnerabilities. Follow the instructions provided with the firmware update carefully.
- Environmental Conditions: Ensure the switch operates within its specified temperature and humidity ranges. Avoid placing it near heat sources or in areas with excessive moisture.
- Cable Management: Organize network cables to prevent strain on ports and ensure proper airflow.
5. Troubleshooting
This section provides solutions to common issues you might encounter with your HP 1820-48G switch.
5.1 No Power
- Check Power Cord: Ensure the power cord is securely connected to both the switch and a working electrical outlet.
- Verify Power Source: Test the electrical outlet with another device to confirm it is supplying power.
- Power Supply: If the power LED remains off, the internal power supply may be faulty. Contact HP support.
5.2 No Link on Port
- Check Cable: Ensure the Ethernet cable is properly connected at both ends. Try a different cable.
- Verify Device: Confirm the connected device (PC, server) is powered on and its network adapter is functioning correctly.
- Port Status: Check the port status LED on the switch. If it's off, there's no link. If it's amber, there might be a speed mismatch or a problem with the cable/device.
- Configuration: Access the web management interface to check port settings (e.g., speed, duplex) to ensure they match the connected device.
5.3 Cannot Access Web Management Interface
- IP Address: Ensure your computer's IP address is in the same subnet as the switch.
- Default IP: If the IP address was changed and forgotten, you may need to perform a factory reset (refer to advanced documentation for this procedure, as it will erase all configurations).
- Firewall: Temporarily disable any firewall on your computer to rule out interference.
- Browser Issues: Try a different web browser or clear your browser's cache.
6. Specifications
| Feature | Description |
|---|---|
| Brand | HP |
| Model Number | J9981A |
| Number of Ports | 48 (Gigabit Ethernet RJ-45) |
| Switch Type | Managed, Layer 2 |
| Data Transfer Rate | 104 Gigabits Per Second (Switching Capacity) |
| MAC Address Table Size | 16000 entries |
| Throughput | 77.3 Mpps |
| Processor | ARM Cortex-A9, 400 MHz |
| Internal Memory | 128 MB |
| Voltage | 240 Volts (AC Input: 50/60 Hz) |
| Max Power Consumption | 39W |
| Item Weight | 3.31 Kilograms |
| Color | Gray |
| Case Material | Plastic |
7. Warranty Information
This HP product is covered by a standard manufacturer's warranty. Specific warranty terms and conditions, including duration and coverage details, can be found in the warranty statement included with your product or on the official HP website. Please retain your proof of purchase for warranty claims.
8. Technical Support
For technical assistance, product information, or to download the latest drivers and firmware, please visit the official HP support website:
When contacting support, please have your product model number (J9981A) and serial number readily available.