1. Safety Information
Please read and understand all instructions before beginning installation. Failure to do so may result in electric shock, fire, or other injuries that could be fatal or cause serious damage.
- WARNING: To avoid electric shock, disconnect power at the main circuit breaker or fuse box before installation or servicing.
- All electrical connections must be in accordance with local codes, ordinances, or the National Electric Code (NEC). Consult a qualified electrician if you are unfamiliar with proper electrical wiring connections.
- This fixture is intended for indoor use only.
- Ensure the mounting surface can support the weight of the fixture.
- Do not exceed the maximum wattage specified for the bulbs.
- Wear safety glasses and gloves during installation.
- Keep combustible materials away from the light fixture.
2. Package Contents
Carefully unpack the fixture and check that all parts are included. If any parts are missing or damaged, do not attempt to assemble or install the fixture. Contact customer service for assistance.
- Flush Mount Fixture Assembly (A)
- Mounting Plate (B)
- Mounting Screws (C)
- Wire Nuts (D)
- Glass Shade (E)
- Decorative Finial (F)
Note: Bulbs are not included and must be purchased separately.
3. Tools Required (Not Included)
- Phillips Head Screwdriver
- Flat Head Screwdriver
- Wire Strippers
- Electrical Tape
- Pliers
- Safety Glasses
- Ladder
4. Setup & Installation
Before you begin: Ensure power is turned off at the circuit breaker. If you are replacing an existing fixture, carefully remove it and disconnect its wiring.
Step-by-Step Installation:
- Prepare Mounting Plate: Attach the mounting plate (B) to the junction box in the ceiling using the provided mounting screws (C). Ensure it is securely fastened.
- Electrical Connections:
- Connect the black wire from the fixture to the black (hot) wire from the junction box using a wire nut (D).
- Connect the white wire from the fixture to the white (neutral) wire from the junction box using a wire nut (D).
- Connect the ground wire (bare copper or green) from the fixture to the ground wire from the junction box and to the mounting plate using a wire nut (D) or ground screw.
- Carefully tuck all wires into the junction box.
- Attach Fixture Body: Align the fixture assembly (A) with the mounting plate (B) and secure it using the screws provided on the mounting plate or by twisting the fixture base onto the plate, depending on the design. Ensure it is flush with the ceiling.
- Install Bulbs: Screw in two incandescent bulbs (not included) into the sockets. Do not exceed 60 watts per bulb.
- Install Glass Shade: Carefully place the glass shade (E) onto the fixture. Secure it in place with the decorative finial (F) by screwing it onto the central rod. Do not overtighten.
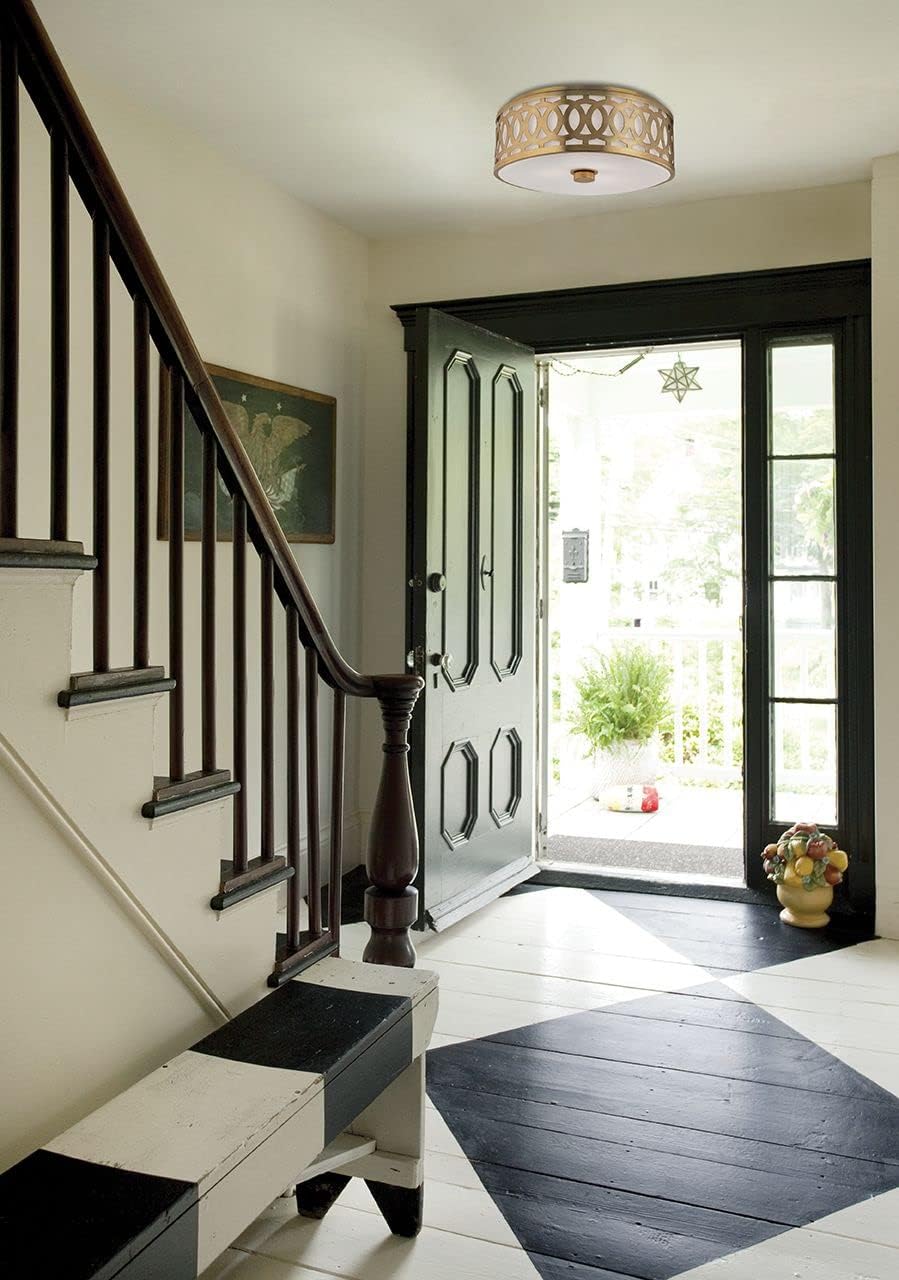
Image: The Genesee 4314-PN Flush Mount Light installed on a ceiling, showcasing its polished nickel finish and opal glassware.
5. Operation
Once installation is complete and verified, restore power at the main circuit breaker. The fixture can then be operated using a standard wall switch connected to the circuit.
- Turning On/Off: Use the wall switch to turn the light fixture on or off.
- Bulb Replacement: To replace bulbs, first turn off power at the circuit breaker. Allow bulbs to cool. Unscrew the decorative finial and carefully remove the glass shade. Unscrew old bulbs and replace with new ones (max 60W incandescent). Reattach the glass shade and finial. Restore power.
6. Maintenance
Regular maintenance will help preserve the appearance and functionality of your light fixture.
- Cleaning: Always disconnect power before cleaning. Wipe the fixture with a soft, dry cloth. Do not use abrasive cleaners, solvents, or polishes as they may damage the finish. For the glass shade, a mild glass cleaner can be used on a soft cloth, then wipe dry.
- Inspection: Periodically check all connections and mounting hardware to ensure they remain secure.
7. Troubleshooting
If you experience issues with your fixture, refer to the following common problems and solutions:
| Problem | Possible Cause | Solution |
|---|---|---|
| Light does not turn on. |
|
|
| Flickering light. |
|
|
| Fixture hums. |
|
|
If these solutions do not resolve the issue, consult a qualified electrician or contact customer support.
8. Specifications
| Model Number | 4314-PN |
| Brand | Hudson Valley Lighting |
| Type | Flush Mount Light |
| Dimensions (L x W x H) | 13.5" x 13.5" x 7" |
| Weight | 14 Pounds |
| Material | Alloy Steel (Fixture), Glass (Shade) |
| Finish | Polished Nickel |
| Light Source | Incandescent (Bulbs not included) |
| Number of Bulbs | 2 |
| Max Wattage per Bulb | 60 Watts |
| Voltage | Standard Household Voltage (120V AC) (Note: Product specification lists 600 Volts, which typically refers to component rating, not operating voltage for residential use.) |
| Mounting Type | Ceiling Mount |
| Certifications | UL Listed |
9. Warranty & Support
Manufacturer's Warranty:
This Hudson Valley Lighting product is covered by a 1-year limited manufacturer's warranty from the date of purchase. This warranty covers defects in materials and workmanship under normal use. It does not cover damage resulting from improper installation, accident, misuse, abuse, or normal wear and tear.
For full warranty details, please refer to the documentation included with your purchase or visit the official Hudson Valley Lighting website.
Customer Support:
If you have any questions, require technical assistance, or need to report a missing or damaged part, please contact Hudson Valley Lighting customer service. Please have your model number (4314-PN) and proof of purchase ready when contacting support.
Website: www.hudsonvalleylighting.com
Phone: Refer to the website for current contact numbers.