1. Introduction
The Grin Technologies Standard Satiator is a versatile, programmable battery charger designed for a wide range of battery chemistries and voltage requirements. It offers precise control over charging parameters, allowing users to optimize battery life and performance. This manual provides instructions for the safe and effective use of your Satiator charger.
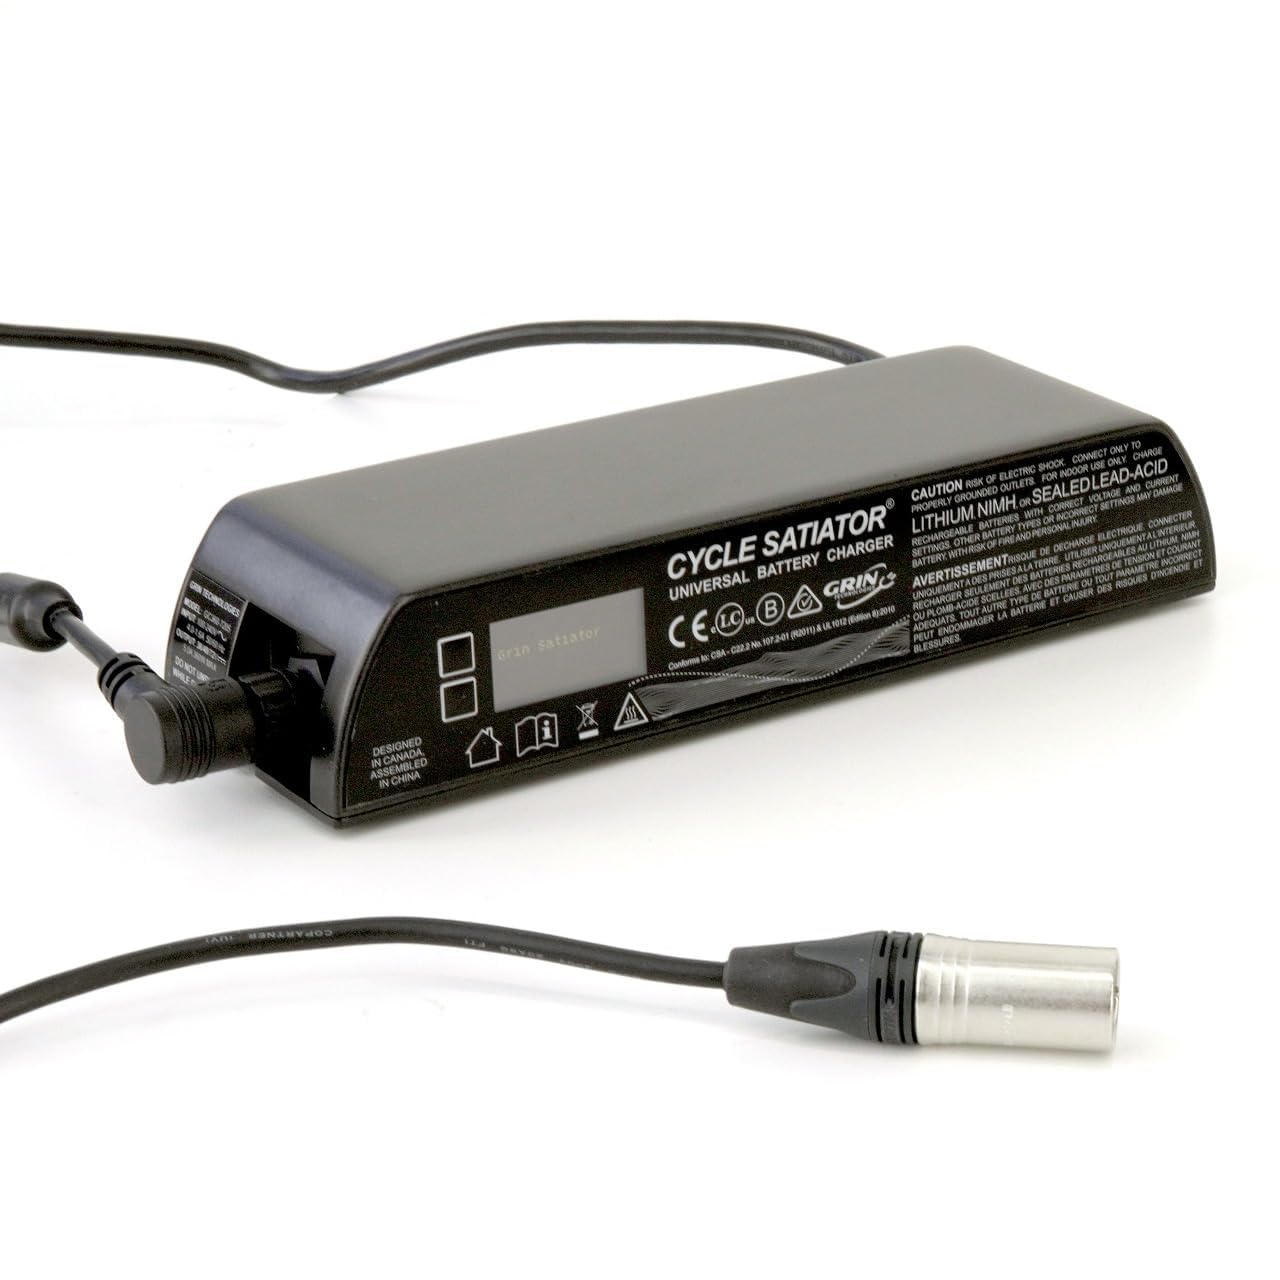
Figure 1: Grin Technologies Standard Satiator Charger.
2. What's in the Box
Carefully unpack your Satiator charger and verify that all components are present:
- Grin Technologies Standard Satiator Charger Unit
- AC Wall Adapter (Power Cord)
- XLR Output Cable
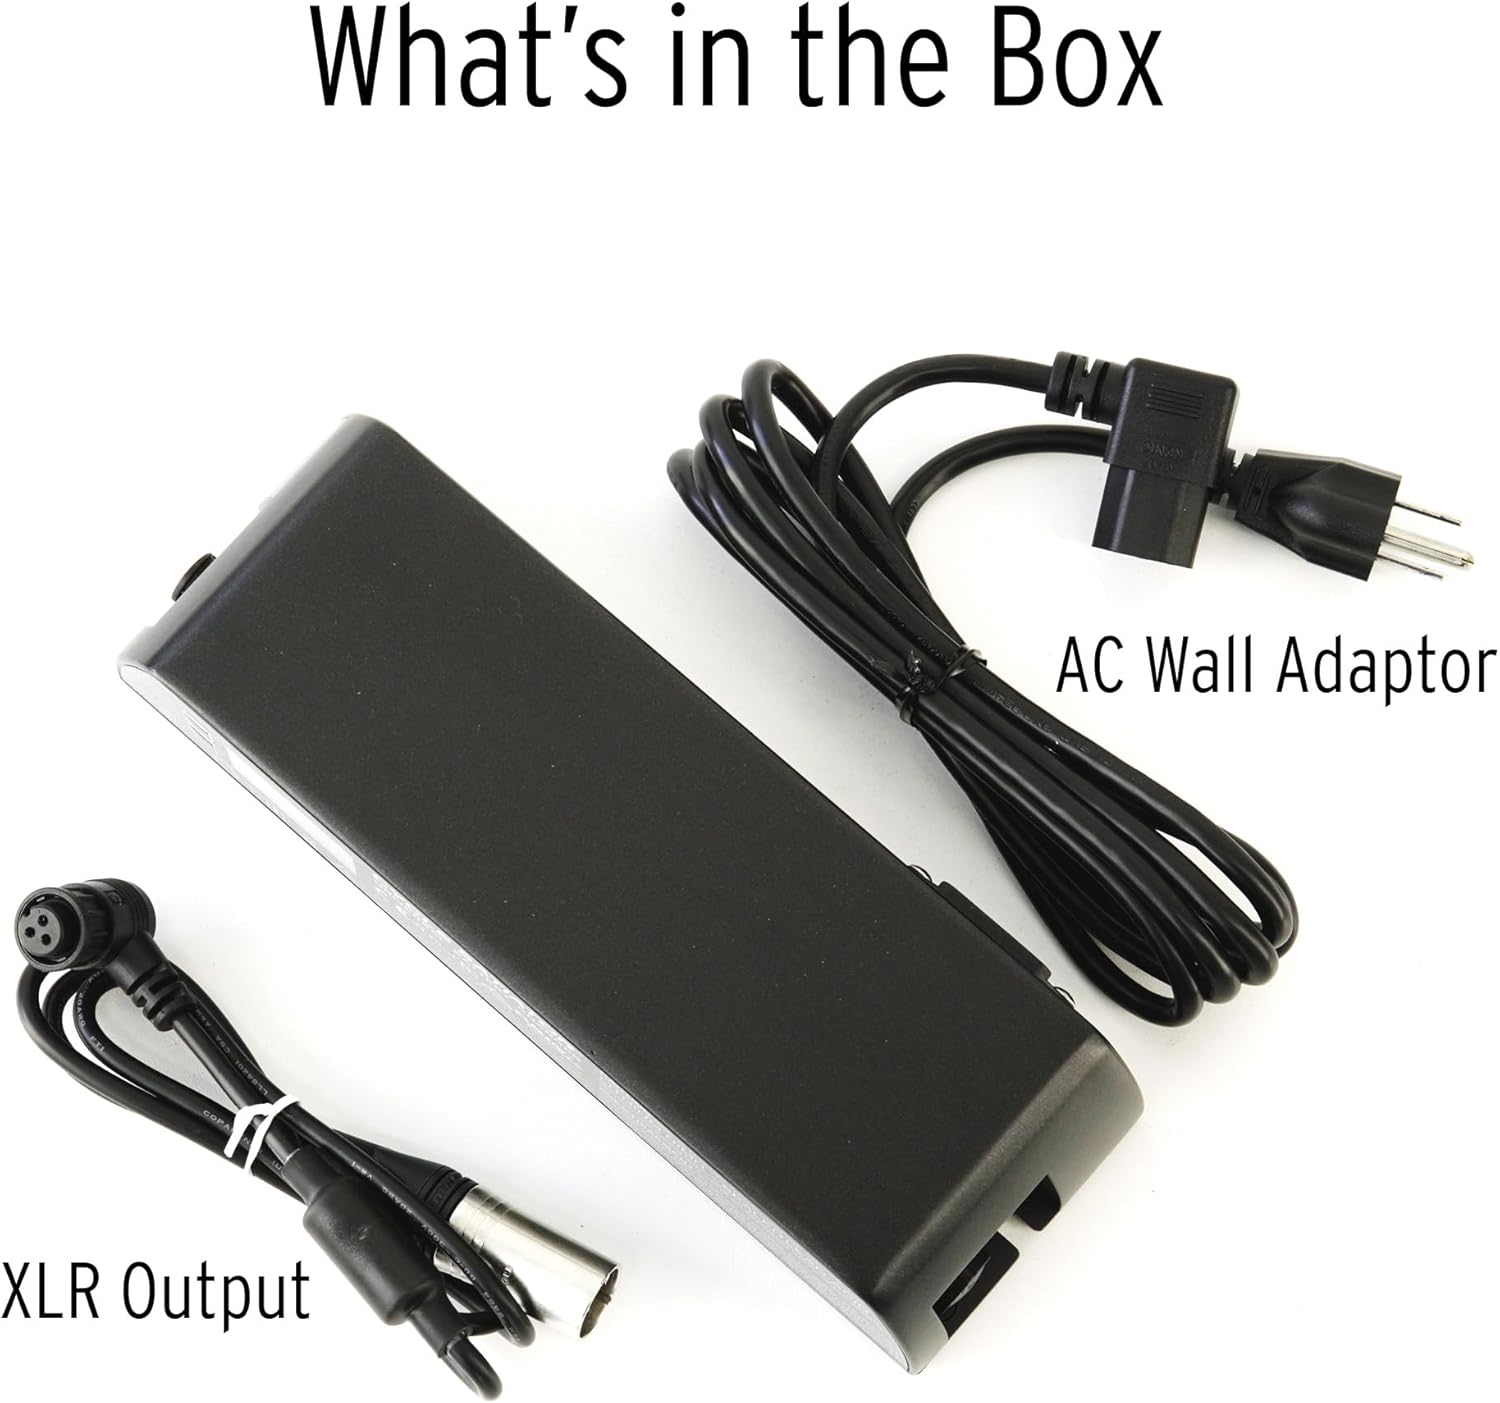
Figure 2: Included components: Satiator charger, AC wall adapter, and XLR output cable.
3. Features
The Standard Satiator offers a range of features for efficient and customizable battery charging:
- Programmable Smart Charging: Customize voltage and current to match specific battery requirements.
- Wide Voltage Range: Compatible with 24V, 36V, 48V, and 52V nominal systems (24V–63V DC output).
- High Power Output: Delivers up to 8 Amps / 360 Watts for fast and efficient charging.
- Multi-Chemistry Compatible: Supports Lithium-ion, LiFePO4, Lead Acid, NiMH, and NiCad batteries.
- Battery Life Extension: Adjust charge levels for partial charging to improve battery cycle longevity.
- Universal Solution: Designed to replace multiple chargers with one versatile unit.
- Compact & Rugged Design: Features a durable aluminum enclosure for everyday use.
- Silent Operation: Fanless design ensures quiet, maintenance-free performance.

Figure 3: The Satiator charger is sealed and fan-free, providing up to 360 Watts and 8 Amps.
4. Setup
Follow these steps to set up your Grin Technologies Standard Satiator charger:
- Connect AC Power: Plug the AC wall adapter into the charger's AC input port. Then, plug the other end of the AC adapter into a standard 120V AC wall outlet.
- Connect Battery: Connect the XLR output cable from the charger to your battery's charging port. Ensure the connection is secure. The XLR connector typically uses pins for positive, negative, and signal.
- Power On: The charger will typically power on automatically once connected to AC and a battery. The display will illuminate.

Figure 4: Connecting the AC power cord to the charger.

Figure 5: Detail of the Neutrik XLR connector pins for battery connection.
5. Operating Instructions
The Satiator charger features an intuitive display and control buttons for operation.
5.1. Selecting a Charging Profile
The charger comes with pre-programmed profiles. Use the navigation buttons on the charger to scroll through the "PROFILE LIST" and select the appropriate profile for your battery type and desired charge level (e.g., Standard Charge, Partial Charge, Fast Charge). Hold the button to confirm your selection and start charging.

Figure 6: Example of selecting charging profiles on the Satiator display.
5.2. Monitoring Charging Progress
During charging, the display provides real-time information such as current wattage, voltage, amperage, temperature, and total charge delivered. This allows you to monitor the charging process effectively.

Figure 7: Real-time charging data displayed on the Satiator screen.

Figure 8: Graphical charge monitoring interface.
5.3. Charge Completion and Statistics
Once charging is complete, the display will indicate "CHARGE COMPLETE" and provide post-charge statistics, including the final voltage, total time, and total amp-hours delivered. This information is useful for understanding battery performance and capacity.

Figure 9: Post-charge statistics screen.
6. Programming Custom Profiles
The Satiator allows you to create and save custom charging profiles to precisely match your battery's specifications and desired charging behavior. This is particularly useful for optimizing battery health and extending its lifespan.
- Access Profile Settings: Navigate through the menu to access the profile creation or editing options.
- Select Battery Chemistry: Choose the correct battery chemistry (e.g., Lithium, Lead Acid, NiCd/NiMH) for your custom profile. Incorrect chemistry selection can damage your battery.
- Adjust Parameters: Set the desired charge voltage, current, and other advanced parameters according to your battery manufacturer's recommendations.
- Save Profile: Save your custom profile for future use. You can create multiple profiles for different batteries or charging scenarios.

Figure 10: Selecting battery chemistry for a new profile.

Figure 11: Interface for creating and selecting custom charging profiles.
Caution: Always refer to your battery's specifications before creating custom charging profiles. Incorrect settings can lead to battery damage or safety hazards.
7. Maintenance
The Grin Technologies Standard Satiator is designed for low maintenance. Its fanless and sealed design minimizes dust ingress and wear.
- Cleaning: Keep the charger clean by wiping it with a dry, soft cloth. Do not use liquid cleaners or immerse the unit in water.
- Storage: Store the charger in a cool, dry place when not in use.
- Inspection: Periodically inspect the power cords and connectors for any signs of damage. Discontinue use if any damage is observed and contact support.
8. Troubleshooting
If you encounter issues with your Satiator charger, consider the following basic troubleshooting steps:
- Charger Not Powering On:
- Ensure the AC power cord is securely plugged into both the charger and a live wall outlet.
- Verify the wall outlet is functioning correctly by testing it with another device.
- Battery Not Charging:
- Check that the XLR output cable is firmly connected to both the charger and the battery.
- Confirm that the selected charging profile matches your battery's chemistry and voltage requirements.
- Ensure the battery is not fully charged already.
- Error Messages:
- Refer to the charger's on-screen display for specific error codes or messages. Consult the Grin Technologies website or support for detailed explanations of error codes.
For persistent issues or advanced troubleshooting, please contact Grin Technologies customer support.
9. Specifications
Key technical specifications for the Grin Technologies Standard Satiator charger:
| Specification | Value |
|---|---|
| Brand | Grin Technologies |
| Model Number | Standard Satiator |
| Product Dimensions (D x W x H) | 7"D x 11"W x 3"H |
| Input Voltage | 120 Volts (AC) |
| Output Voltage Range | 24V - 63V DC |
| Amperage | Up to 8 Amps |
| Power Output | Up to 360 Watts |
| Supported Chemistries | Lithium-ion, LiFePO4, Lead Acid, NiMH, NiCad |
| Safety Certification | UL |
10. Warranty and Support
For warranty information and customer support, please contact Grin Technologies directly.
- Warranty Description: Contact Grin Technologies for details.
- Manufacturer: Grin Technologies
- Support: Visit the official Grin Technologies website or refer to the contact information provided with your product for assistance.