1. Introduction
This manual provides essential information for the installation and maintenance of your new replacement drive belt for Toastmaster bread makers. This belt is a crucial component for the proper operation of your bread machine, ensuring the kneading paddle functions correctly to mix dough.
Regular inspection and timely replacement of the drive belt are vital for maintaining the performance and longevity of your bread maker.
2. Product Overview
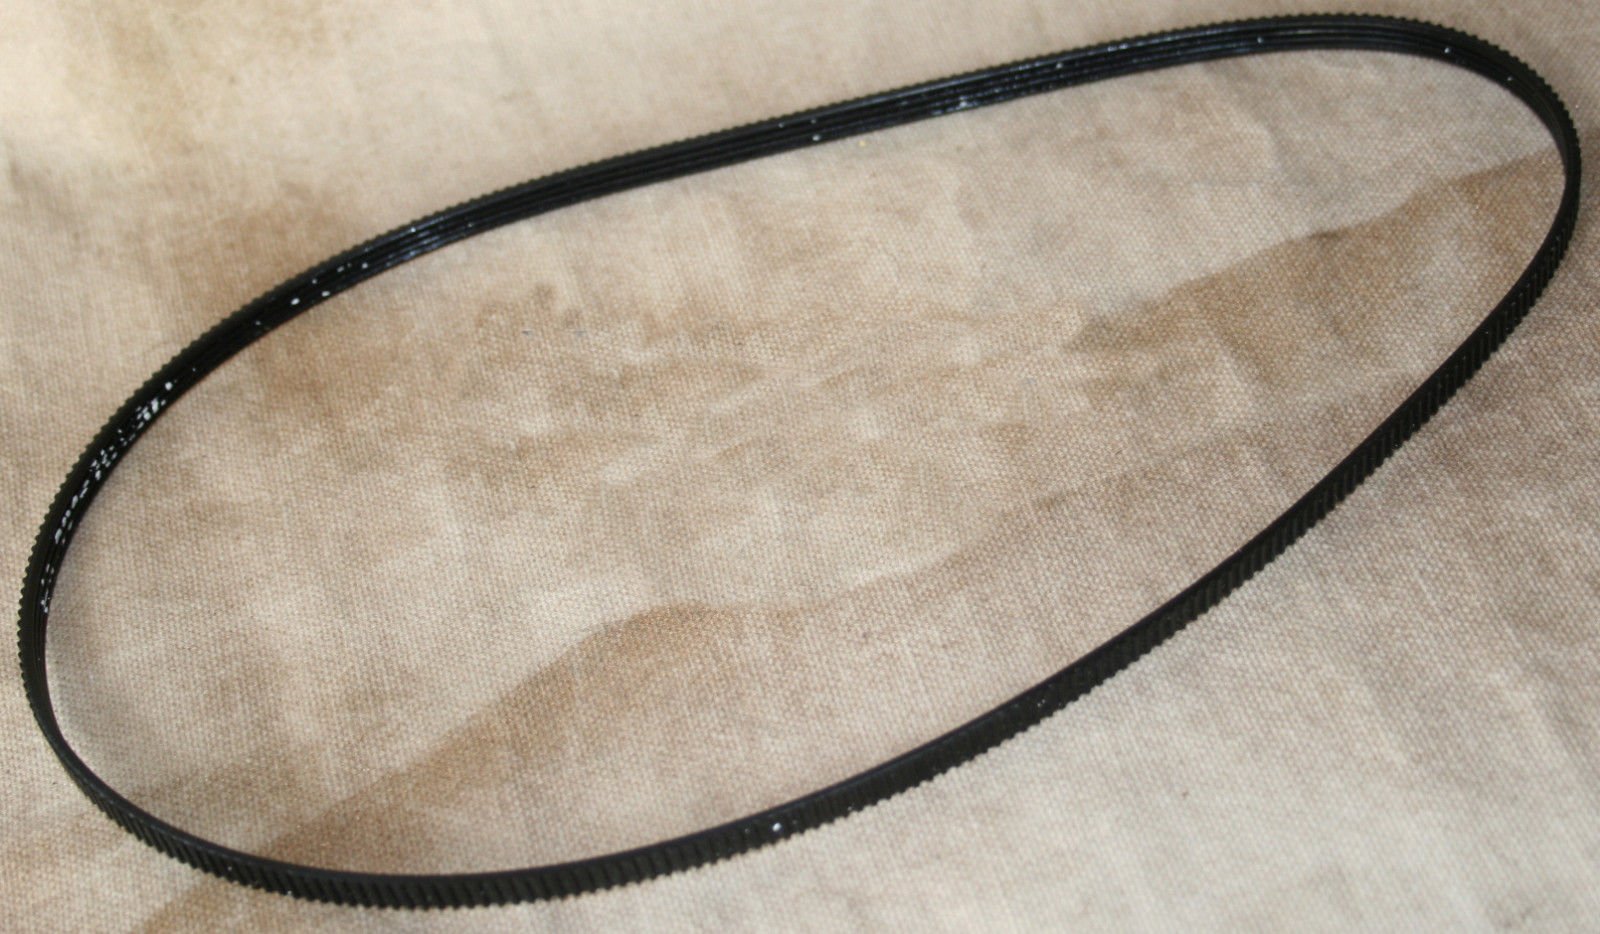
Figure 1: The replacement drive belt. This black rubber belt features a ribbed inner surface designed for optimal grip and power transmission within your bread maker.
The drive belt is responsible for transferring power from the bread maker's motor to the kneading paddle shaft. A worn or broken belt will prevent the paddle from rotating, leading to improperly mixed dough or a non-functional machine.
3. Setup and Installation
Important Safety Notice: Always unplug your bread maker from the power outlet before attempting any maintenance or installation procedures. Failure to do so may result in electric shock or injury.
- Prepare the Bread Maker: Ensure the bread maker is unplugged and completely cooled down. Place it on a stable, clean surface.
- Access the Drive Mechanism: Depending on your specific Toastmaster model, you may need to remove the bottom panel or casing of the bread maker to access the motor and drive shaft. This typically involves unscrewing several screws. Refer to your original bread maker's user manual for detailed disassembly instructions.
- Remove the Old Belt: Carefully remove the old, broken, or worn belt from the motor pulley and the kneading shaft pulley. You may need to gently pry it off if it's still partially intact.
- Install the New Belt: Place the new belt around the smaller motor pulley first. Then, carefully stretch and guide the belt around the larger kneading shaft pulley. Ensure the belt is seated correctly in the grooves of both pulleys. It should be snug but not excessively tight.
- Test Rotation: Manually rotate the kneading shaft to ensure the belt moves smoothly and does not slip.
- Reassemble: Once the new belt is properly installed and tested, reattach the bottom panel or casing of your bread maker, securing all screws.
- Initial Power Test: Plug in the bread maker and run a short cycle (e.g., "Dough" cycle without ingredients) to confirm the kneading paddle rotates correctly and smoothly.
4. Operating Considerations
Once the new drive belt is installed, your bread maker should operate as intended, with the kneading paddle mixing ingredients effectively. No special operating procedures are required for the belt itself; simply use your bread maker according to its original instruction manual.
Ensure that the bread pan is properly seated and locked into place before starting any cycle to prevent undue stress on the drive mechanism and belt.
5. Maintenance
- Regular Inspection: Periodically inspect the drive belt for signs of wear, such as cracks, fraying, or excessive looseness. The frequency of inspection depends on usage, but checking every 6-12 months is recommended for frequent users.
- Cleaning: If you access the belt area for inspection, you may gently wipe the belt and pulleys with a dry cloth to remove any dust or debris. Do not use water or cleaning solutions on the belt or electrical components.
- Replacement: Replace the belt immediately if you notice any signs of damage or if the kneading paddle stops rotating during operation. A failing belt can put strain on the motor.
6. Troubleshooting
| Problem | Possible Cause | Solution |
|---|---|---|
| Kneading paddle does not rotate. | Broken or slipped drive belt. | Inspect and replace the drive belt if broken. Re-seat the belt if it has slipped off the pulleys. |
| Grinding or squealing noise during operation. | Worn or misaligned drive belt. | Inspect the belt for wear. Ensure it is properly aligned on the pulleys. Replace if necessary. |
| Dough is not mixed thoroughly. | Belt slipping due to wear or improper tension. | Check the belt for wear and proper tension. Replace if worn. |
If troubleshooting steps do not resolve the issue, or if you are uncomfortable performing the repair, it is recommended to consult a qualified appliance repair technician.
7. Specifications
- Product Type: Replacement Drive Belt
- Material: Rubber
- Color: Black
- Compatibility: Designed for Toastmaster Bread Makers, including Model 1196. (Please verify compatibility with your specific model before purchase.)
- UPC: 741812660913
8. Warranty and Support
As this product is a replacement part, its warranty is typically limited to defects in manufacturing. Please refer to the seller or manufacturer of this specific replacement belt for warranty details. For issues related to the overall operation or warranty of your Toastmaster bread maker, please consult the original bread maker's instruction manual or contact Toastmaster customer support directly.
This manual is for informational purposes regarding the replacement belt and does not supersede the original appliance manufacturer's safety or operational guidelines.


