1. Introduction
This manual provides detailed instructions for the assembly, operation, and maintenance of your TOOLPORT 16x33 ft Party Tent, Model FLEX Smart. This heavy-duty outdoor canopy is designed for various events, offering reliable shelter and stability. Please read these instructions carefully before setup to ensure safe and correct usage.
The tent features a fully galvanized steel frame for rust protection, bolted connections for enhanced stability, and a durable PE 450 N tarpaulin that is tear-resistant and waterproof. Modular side walls allow for customizable entrances, and the design promotes air circulation to reduce condensation.

Figure 1: Fully assembled TOOLPORT 16x33 ft Party Tent.
2. Safety Information
Important Safety Instructions:
- Always anchor the tent securely to the ground using the provided ground pegs and guy ropes.
- Do not use the tent in high winds, severe storms, or heavy snowfall. Disassemble the tent if adverse weather conditions are expected.
- Keep the tent away from open flames, heaters, barbecues, and other heat sources to prevent fire hazards.
- Ensure adequate ventilation if using any heating or cooking appliances inside the tent.
- Always follow the assembly and dismantling instructions carefully for safe setup and removal.
- Inspect all components for damage before each use. Do not use damaged parts.
- Children should be supervised around the tent.
3. Package Contents
Before beginning assembly, verify that all components listed below are present and undamaged.
- Galvanized Steel Frame (poles and connectors)
- Complete PE Tarp Set (Roof tarp, 2 Gable panels, 4 Side panels)
- Bungee Cords for panel attachment
- Ground Anchors / Footplates
- Guy Ropes
- Assembly Tool
- Step-by-step Instructions (this manual)
4. Setup Instructions
Assembly typically requires two people and takes approximately one hour. Follow these steps for proper setup.
4.1 Frame Assembly
- Unpack all steel frame components and lay them out.
- Begin by assembling the roof structure. Connect the roof poles using the appropriate connectors and bolts. Ensure all connections are securely bolted for stability.
- Attach the leg poles to the roof structure. The frame is designed with bolted connections to increase stability and safety.
- Ensure all footplates are attached to the bottom of the leg poles.

Figure 2: Frame structure and dimensions (5.0 m x 10.0 m, 2.80 m peak height, 2.0 m side height).
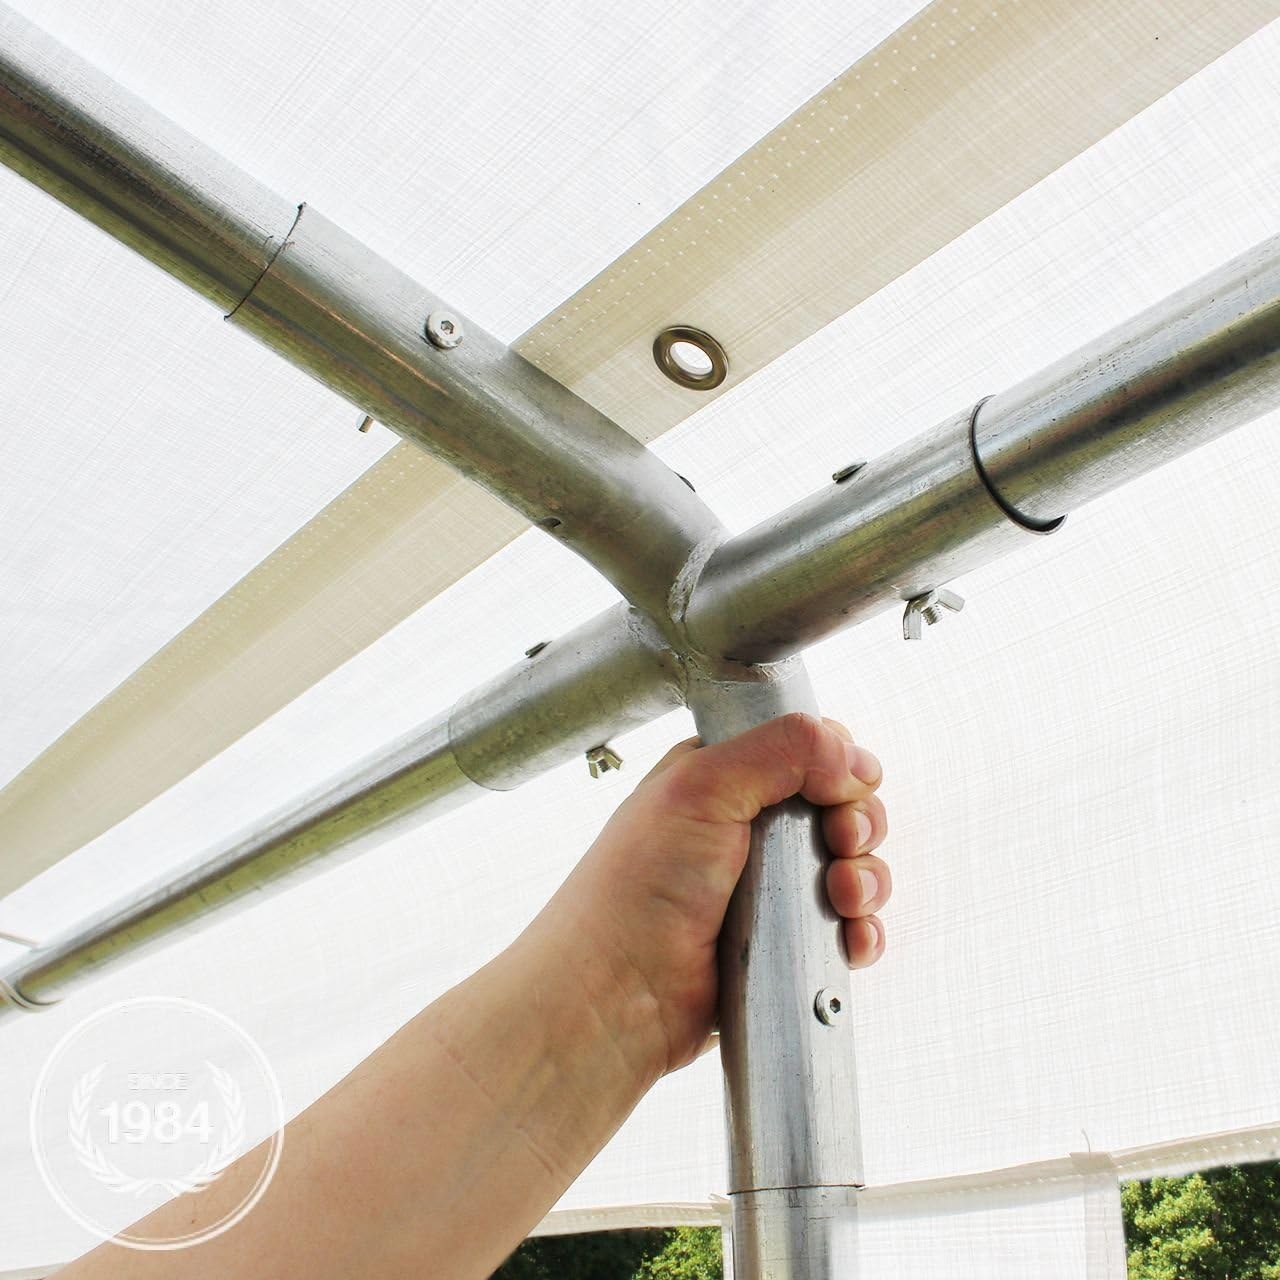
Figure 3: Detail of bolted frame connection for enhanced stability.
4.2 Tarp and Side Panel Attachment
- Carefully unfold the single-piece roof tarp and drape it over the assembled frame. Ensure it is centered and evenly distributed.
- Secure the roof tarp to the frame using the provided bungee cords. The wrap-around valance should conceal gaps and block drafts.
- Attach the gable panels (end walls) to the frame. These panels include double-stitched zippered entrances for access.
- Attach the side panels individually using bungee cords. This modular design allows you to customize entrance locations.
- Ensure all panels overlap slightly to seal gaps while allowing for air circulation.
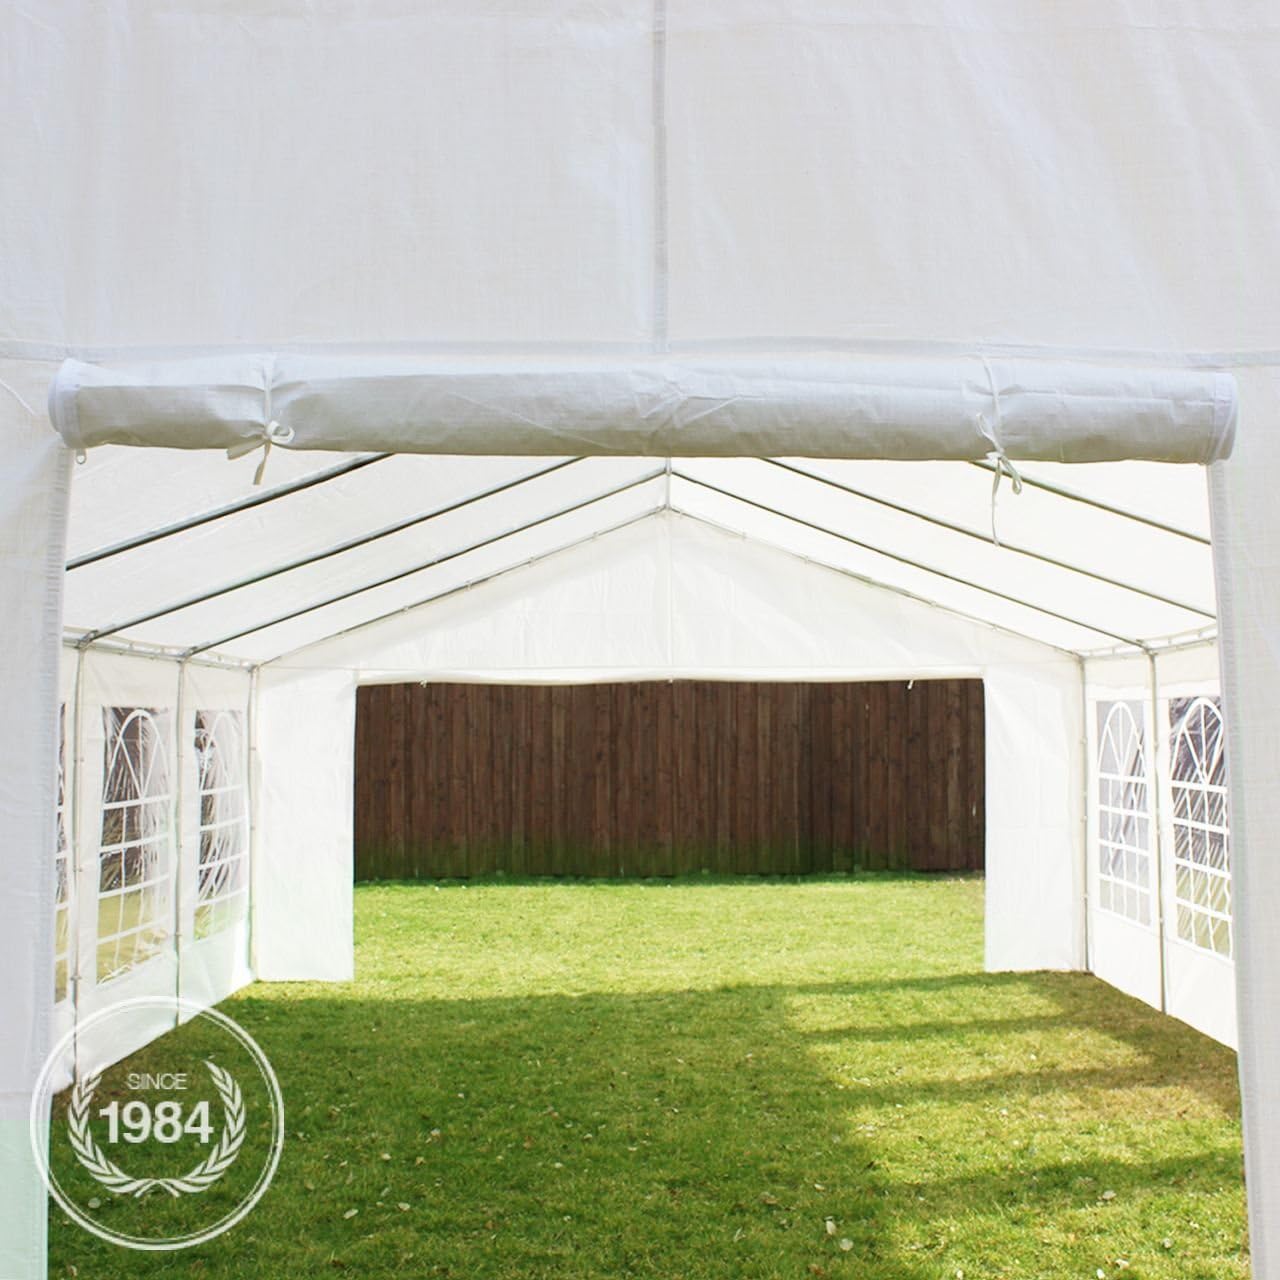
Figure 4: Example of a zippered entrance on a gable panel.
4.3 Anchoring the Tent
- Once the frame and tarps are in place, secure the tent to the ground. Use the large footplates on each leg and the included ground anchors to firmly secure the tent on soft surfaces.
- Attach and tension the guy ropes to provide additional stability, especially in moderate wind conditions.
- Regularly check the tension of the guy ropes and the security of the ground anchors, particularly after changes in weather.
5. Operating Instructions
The TOOLPORT Party Tent is designed for versatility and comfort during outdoor events.
- Customizable Entrances: The individual side panels allow you to open or close sections as needed, creating entrances at various points around the tent.
- Air Circulation: The design intentionally avoids airtight seals. Bungee attachments allow slight flexibility, and overlapping side panels seal gaps without trapping stale air. This reduces condensation and maintains a fresh interior.
- Natural Light: Large round-arched windows, constructed from 12-layer transparent PVC, allow ample natural light into the tent.
- Weather Protection: The PE 450 N tarpaulin is 100% waterproof, providing protection from rain. The wrap-around valance helps block drafts.
6. Maintenance
Proper maintenance will extend the lifespan of your party tent.
- Cleaning: Clean the PE tarpaulin with mild soap and water. Avoid harsh chemicals or abrasive cleaners, which can damage the material. Rinse thoroughly and allow to air dry completely before storage.
- Frame Inspection: Periodically check all steel frame connections for tightness. Ensure bolts are secure and there is no significant rust or corrosion.
- Tarp Inspection: Inspect the tarpaulin for any tears, punctures, or signs of wear. Small damages can often be repaired with appropriate repair kits.
- Storage: Before storing, ensure all fabric components (roof, gable panels, side panels) are completely dry to prevent mold and mildew. Store the tent components in a dry, cool place, ideally in protective bags (not included) to prevent damage and keep parts organized.
7. Troubleshooting
Common issues and their solutions.
- Condensation Inside Tent: The tent's design includes features to minimize condensation. Ensure adequate airflow by adjusting side panels or opening zippered entrances. Avoid airtight sealing.
- Tent Instability in Wind: Ensure all ground anchors are firmly secured and guy ropes are properly tensioned. In strong winds, the tent should be disassembled to prevent damage.
- Water Pooling on Roof: Ensure the roof tarp is taut and evenly distributed over the frame. Proper tension prevents water from collecting.
- Difficulty with Assembly: Refer to the step-by-step instructions. Ensure all components are correctly identified and oriented. Assembly is easier with two people.
8. Specifications
| Brand | TOOLPORT |
| Model Number | FLEX Smart (91116) |
| Size | 16x33 ft (approximately 5.0m x 10.0m) |
| Floor Area | 50 Square Meters |
| Item Dimensions (L x W x H) | 394"L x 197"W x 79"H (approx. 10m L x 5m W x 2m H side, 2.8m H peak) |
| Item Weight | 191.36 Pounds |
| Frame Material | Galvanized Steel (Alloy Steel poles) |
| Tarp Material | PE 450 N Tarpaulin |
| Water Resistance Level | Waterproof |
| Ultraviolet Light Protection | 30+ |
| Color | White |
| Required Assembly | Yes |
9. Warranty and Support
For detailed warranty information, please refer to the official TOOLPORT warranty document.
Warranty Document: https://manuals.toolport.eu/Warranty.pdf
If you require further assistance, have questions about assembly, or need to order replacement parts, please contact TOOLPORT customer support. Refer to the official TOOLPORT website for contact details.