1. Introduction
This instruction manual provides detailed guidance for the safe and efficient operation of your Juki HZL-353ZR-C Sewing Machine. Please read this manual thoroughly before using the machine to ensure proper setup, operation, and maintenance. Retain this manual for future reference.
The Juki HZL-353ZR-C is designed for home sewing projects, offering 21 built-in sewing patterns, an automatic needle threader, automatic one-step buttonholing, presser foot pressure adjustment, and bright LED lighting for enhanced visibility.
2. Important Safety Instructions
- Always unplug the sewing machine from the electrical outlet immediately after using, before cleaning, or when making any user servicing adjustments mentioned in this manual.
- Keep fingers away from all moving parts. Special care is required around the sewing machine needle.
- Use the proper needle plate. The wrong plate can cause the needle to break.
- Do not pull or push fabric while stitching. This may deflect the needle, causing it to break.
- Turn the sewing machine off when making any adjustments in the needle area, such as threading the needle, changing the needle, threading the bobbin, or changing the presser foot.
- Never operate the sewing machine with any air openings blocked. Keep ventilation openings of the sewing machine and foot controller free from the accumulation of lint, dust, and loose cloth.
- Do not operate where aerosol (spray) products are being used or where oxygen is being administered.
- This appliance is not intended for use by persons (including children) with reduced physical, sensory or mental capabilities, or lack of experience and knowledge, unless they have been given supervision or instruction concerning use of the appliance by a person responsible for their safety.
3. Parts Identification
Familiarize yourself with the main components of your Juki HZL-353ZR-C sewing machine.

Figure 3.1: Front view of the Juki HZL-353ZR-C Sewing Machine, showing the main body, needle area, and control dials.

Figure 3.2: The sewing machine with its removable accessory tray detached, revealing the free arm for circular sewing.
3.1 Needle Area and Presser Foot

Figure 3.3: Detailed view of the needle, presser foot, and needle plate. This area is crucial for fabric feeding and stitch formation.
3.2 Stitch Selection Dial

Figure 3.4: The stitch selection dial, displaying various stitch patterns (A-T) available on the machine.
3.3 Bobbin Area

Figure 3.5: The top-loading bobbin area with a clear cover, allowing easy monitoring of bobbin thread supply.
3.4 Included Accessories
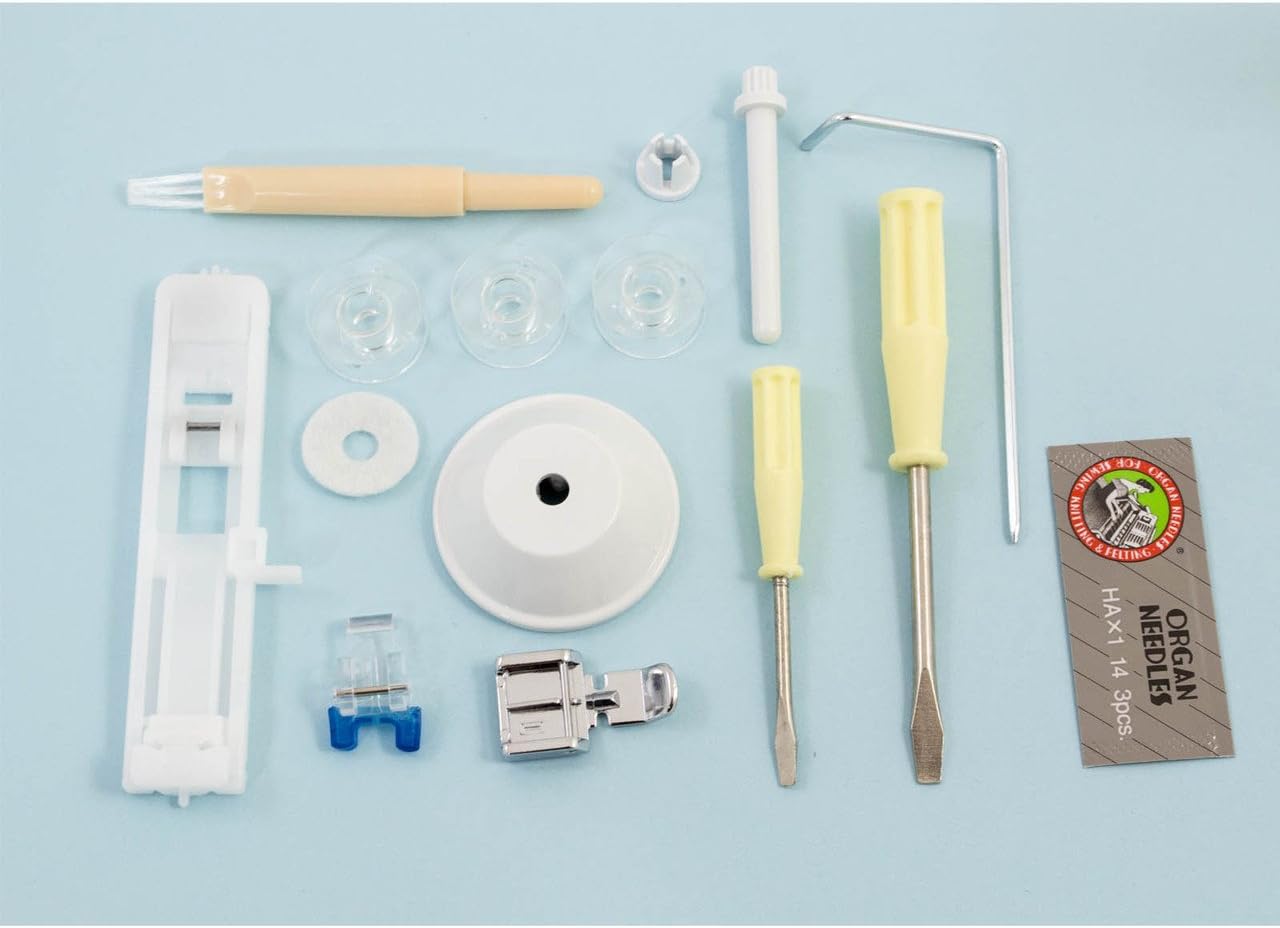
Figure 3.6: A collection of standard accessories included with the machine, such as bobbins, needles, screwdrivers, and various presser feet.
3.5 Instruction DVD

Figure 3.7: The included instruction DVD for the HZL-350Z series, providing visual guidance for machine setup and operation.
4. Setup
4.1 Unpacking and Placement
- Carefully remove the machine from its packaging.
- Place the machine on a stable, flat surface.
- Ensure adequate lighting and space for comfortable operation.
4.2 Power Connection
- Connect the foot controller plug to the machine's receptacle.
- Plug the power cord into a suitable electrical outlet.
- Turn on the power switch, usually located on the side of the machine.
4.3 Winding the Bobbin
- Place a spool of thread on the spool pin.
- Guide the thread through the bobbin winding tension disc.
- Place an empty bobbin onto the bobbin winder spindle.
- Wind the thread a few times manually around the bobbin.
- Push the bobbin winder spindle to the right.
- Press the foot controller to start winding. The machine will stop automatically when the bobbin is full.
- Cut the thread and return the spindle to the left.
4.4 Threading the Upper Thread
- Raise the needle to its highest position using the handwheel.
- Raise the presser foot lever.
- Place the thread spool on the spool pin.
- Follow the numbered threading path indicated on the machine, guiding the thread through the thread guides and tension discs.
- Ensure the thread passes through the take-up lever.
- Thread the needle from front to back. Use the automatic needle threader if desired.
4.5 Inserting the Bobbin
- Open the bobbin cover plate.
- Insert the wound bobbin into the bobbin case, ensuring the thread unwinds in the correct direction (usually counter-clockwise).
- Guide the bobbin thread through the tension spring slot.
- Close the bobbin cover plate.
- Hold the upper thread lightly and turn the handwheel towards you to bring up the bobbin thread.
- Pull both threads under the presser foot and towards the back of the machine.
5. Operating Instructions
5.1 Selecting a Stitch Pattern
- Turn the stitch selection dial to choose one of the 21 available patterns (A-T). Refer to the stitch chart on the machine body.
- The selected stitch will be indicated by the dial position.
5.2 Adjusting Stitch Length and Width
- The stitch length and width are typically adjusted via dedicated dials or levers. Consult the machine's markings for specific settings for each stitch.
- For most utility stitches, a length of 2.5mm is standard.
5.3 Adjusting Thread Tension
- The upper thread tension dial controls the tightness of the upper thread.
- Adjust the tension as needed to achieve balanced stitches (where upper and lower threads meet evenly between fabric layers).
- A common starting point is usually around '4' or '5' on the dial.
5.4 Sewing Basics
- Place the fabric under the presser foot, aligning the edge with a seam guide.
- Lower the presser foot lever.
- Turn the handwheel to lower the needle into the fabric at the starting point.
- Press the foot controller gently to begin sewing. Control speed by varying pressure on the foot controller.
- To reverse stitch (for securing seams), press and hold the reverse lever/button.
- When finished, raise the needle to its highest position, raise the presser foot, and pull the fabric away from the machine. Cut threads using the thread cutter.
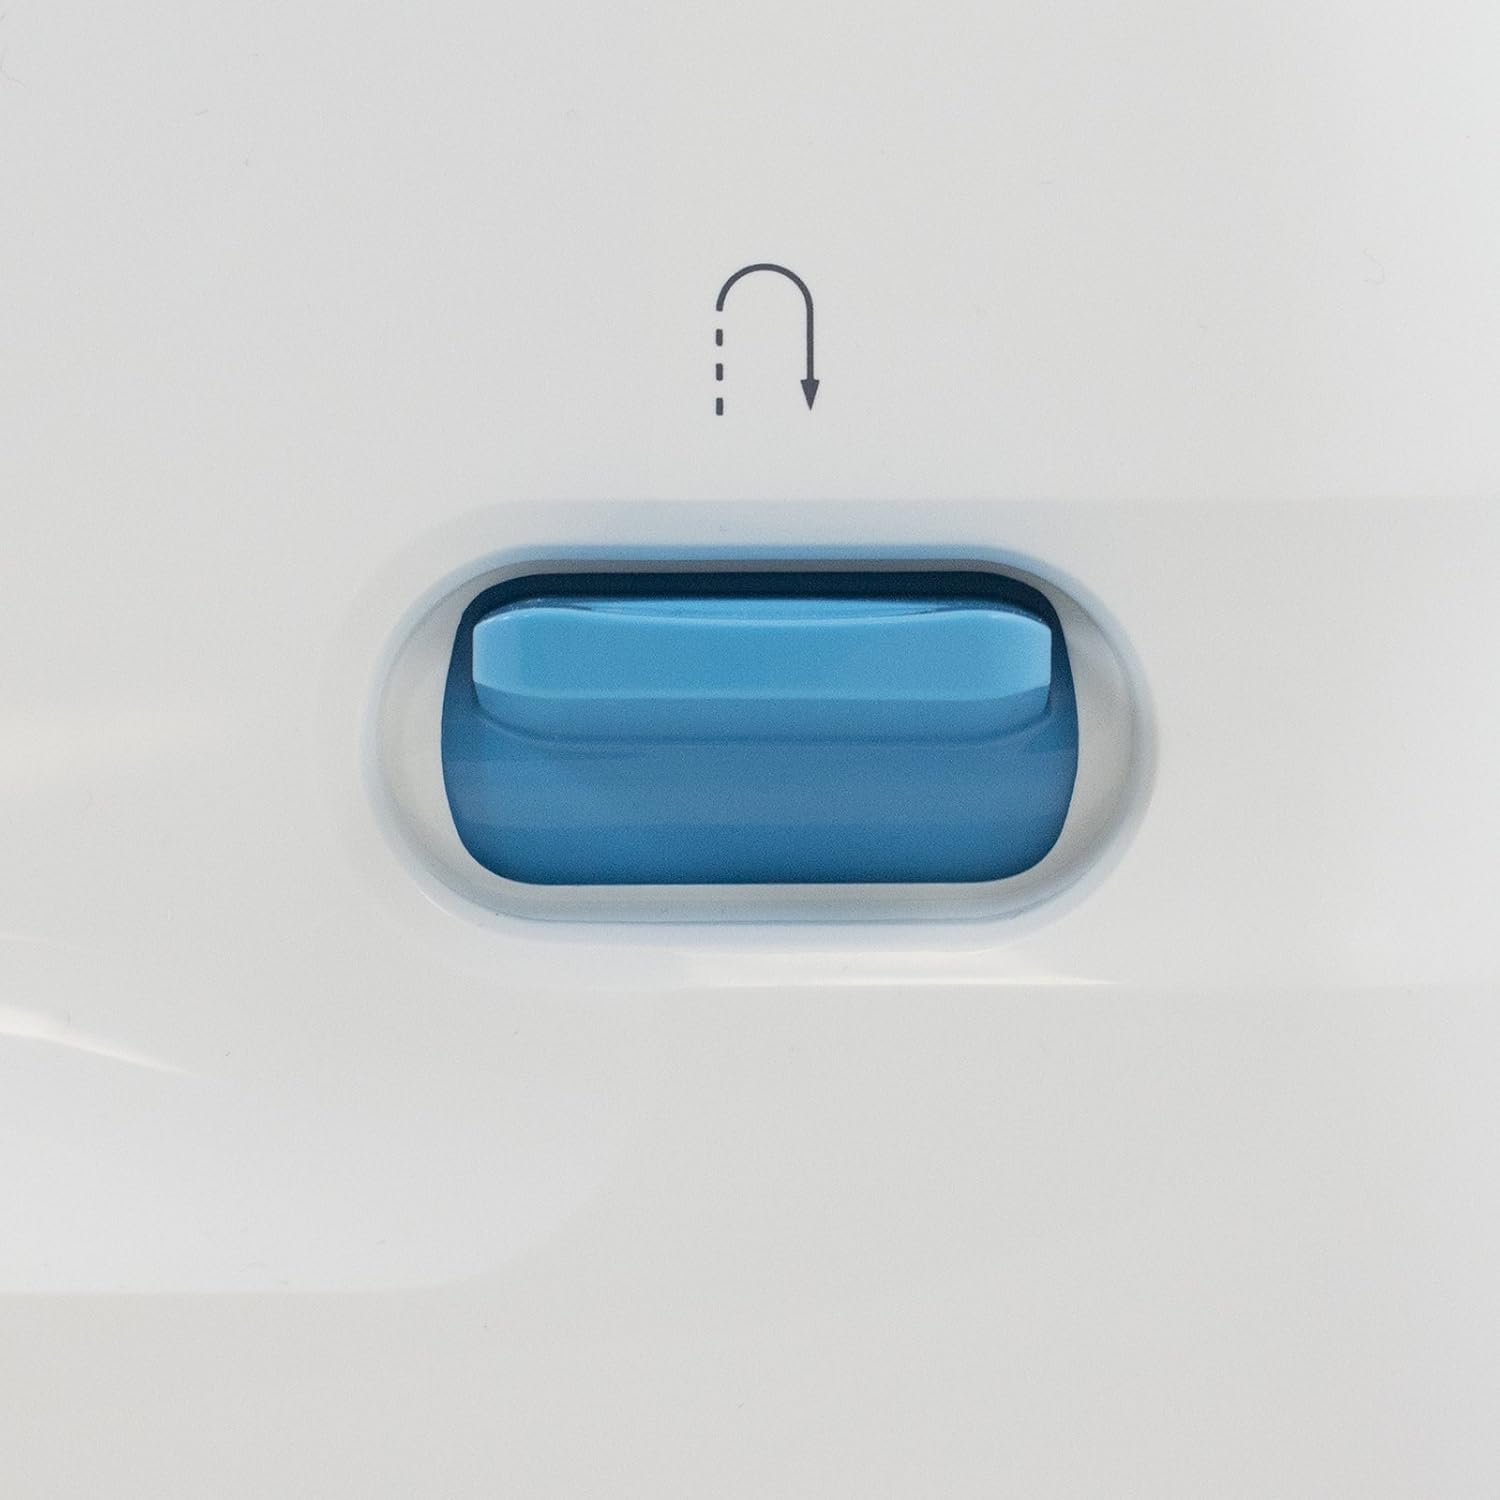
Figure 5.1: Close-up of the reverse stitch lever, used to sew backwards and secure stitches at the beginning and end of a seam.
5.5 Automatic Needle Threader
- Ensure the needle is in its highest position.
- Lower the needle threader lever.
- Guide the thread as instructed by the markings near the needle threader.
- Release the lever, and the thread will be pulled through the needle eye.
5.6 Automatic One-Step Buttonholing
- Attach the buttonhole presser foot.
- Place the button you intend to use into the buttonhole foot's holder.
- Select the buttonhole stitch pattern.
- Lower the buttonhole lever.
- Begin sewing; the machine will automatically create a buttonhole sized to your button.
6. Maintenance
6.1 Cleaning the Machine
- Always unplug the machine before cleaning.
- Remove the needle, presser foot, and needle plate.
- Use the small brush provided (or a soft brush) to remove lint and dust from the bobbin case area and feed dogs.
- Wipe the exterior of the machine with a soft, dry cloth. Do not use liquid cleaners.
6.2 Needle Replacement
- Turn off the machine and unplug it.
- Loosen the needle clamp screw.
- Remove the old needle.
- Insert a new needle with the flat side facing the back of the machine, pushing it up as far as it will go.
- Tighten the needle clamp screw securely.
7. Troubleshooting
| Problem | Possible Cause | Solution |
|---|---|---|
| Skipped Stitches | Incorrect needle, bent needle, improper threading, wrong needle size for fabric. | Replace needle with correct type/size, re-thread machine, ensure needle is fully inserted. |
| Thread Breakage (Upper) | Improper threading, tension too tight, burr on needle/thread path, poor quality thread. | Re-thread machine, adjust tension, check for burrs, use quality thread. |
| Thread Breakage (Bobbin) | Improper bobbin winding, bobbin inserted incorrectly, lint in bobbin case. | Re-wind bobbin, re-insert bobbin correctly, clean bobbin case. |
| Uneven Stitches | Incorrect thread tension, incorrect presser foot pressure. | Adjust upper thread tension, adjust presser foot pressure. |
| Machine Not Starting | Power cord not plugged in, power switch off, foot controller not connected. | Check all power connections, ensure power switch is ON. |
8. Specifications
| Feature | Detail |
|---|---|
| Model Number | HZL-353ZR-C |
| Dimensions (Product) | 20 x 8 x 16 inches (approximate) |
| Item Weight | 21.4 pounds |
| Built-in Stitch Patterns | 21 |
| Needle Threader | Automatic |
| Buttonholing | Automatic One-Step |
| Lighting | Bright LED |
| Presser Foot Pressure | Adjustable |
| UPC | 189624000570, 708038730004 |
9. Warranty and Support
For warranty information and customer support, please refer to the documentation included with your purchase or contact Juki customer service directly. Details regarding specific warranty periods and terms are typically provided at the time of purchase.
Additional support resources, including FAQs and service center locations, may be available on the official Juki website.