
1. Introduction
Thank you for choosing the SciencePurchase 48W Temperature Adjustable Soldering Station. This manual provides essential information for the safe and effective operation, setup, and maintenance of your soldering station. This device features a digital temperature control with a backlit LCD display, allowing precise temperature adjustments for various soldering tasks. It is designed with ESD (Electrostatic Discharge) safe properties and incorporates zero cross circuitry for spike-free operation.
2. Safety Instructions
Please read all safety instructions carefully before operating the soldering station. Failure to follow these instructions may result in electric shock, fire, or personal injury.
- High Temperature: The soldering iron tip reaches very high temperatures (up to 520°C). Avoid direct contact with the tip and allow it to cool completely before handling or storing.
- Fumes: Soldering produces fumes. Always work in a well-ventilated area or use a fume extractor to prevent inhalation of harmful vapors.
- Electrical Safety: Ensure the power cord is in good condition and connected to a grounded outlet. Do not operate the station with wet hands or in damp environments.
- ESD Safety: This unit is ESD safe. However, always take appropriate ESD precautions when working with sensitive electronic components.
- Flammable Materials: Keep flammable materials away from the soldering area.
- Children and Pets: Keep the soldering station out of reach of children and pets.
- Unplug When Not in Use: Always unplug the soldering station from the power outlet when not in use or before performing maintenance.
3. Package Contents
Verify that all items are present in the package:
- Soldering Station Unit with LCD Display
- Soldering Iron with Comfort Grip Handle
- Soldering Iron Stand (integrated with station)
- Tip Cleaning Sponge (pre-installed in tray)
- One Pointed Soldering Tip (pre-installed)
- Instruction Manual
4. Product Overview
The SciencePurchase 48W Soldering Station is designed for precision soldering tasks. It features a compact design with an integrated iron stand and tip cleaning sponge tray.
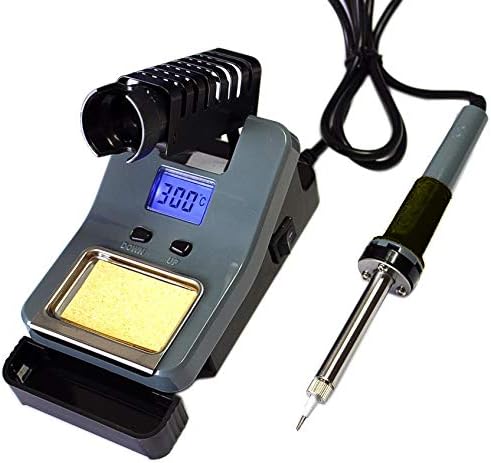
Figure 1: Overview of the SciencePurchase 48W Temperature Adjustable Soldering Station, showing the main unit with LCD display, control buttons, integrated iron stand, sponge tray, and the connected soldering iron.
Key Features:
- 48W Ceramic Heater for rapid heating and stable temperature.
- Digital Temperature Control (160°C - 520°C) with backlit LCD display.
- ESD Safe design to protect sensitive components.
- Lightweight soldering iron with a comfort grip handle.
- Integrated tip cleaning sponge for convenience.

Figure 2: Top view of the soldering station, highlighting the blue casing, LCD display, and 'DOWN' and 'UP' temperature adjustment buttons.

Figure 3: The soldering iron component, featuring a blue and black comfort grip handle and a metal tip assembly.
5. Setup
- Placement: Place the soldering station on a stable, heat-resistant, and well-ventilated surface. Ensure there is enough space around the unit for safe operation.
- Connect Soldering Iron: Insert the soldering iron's connector securely into the corresponding port on the soldering station.
- Prepare Sponge: Lightly dampen the tip cleaning sponge with water. The sponge should be moist, not soaking wet. Place it in the designated tray on the station.
- Power Connection: Plug the station's power cord into a standard grounded electrical outlet.
6. Operating Instructions
6.1 Powering On and Temperature Adjustment
- Power On: Flip the power switch located on the side of the station to the 'ON' position. The LCD display will illuminate, showing the current temperature setting.
- Set Temperature: Use the 'UP' and 'DOWN' buttons on the front panel to adjust the desired temperature. The temperature range is 160°C to 520°C. The LCD will show the set temperature, and the iron will begin heating to this value.
- Heating Time: Allow a few moments for the iron to reach the set temperature. The display will show the actual tip temperature.
6.2 Soldering Procedure
- Tinning the Tip: Before first use and periodically during operation, tin the iron tip by applying a small amount of solder to it. This helps protect the tip and improves heat transfer.
- Clean the Tip: Wipe the tinned tip on the damp sponge to remove excess solder and oxidation.
- Heat the Joint: Place the clean, tinned tip against both the component lead and the PCB pad to be soldered. Allow a few seconds for the joint to reach soldering temperature.
- Apply Solder: Once the joint is hot enough, apply solder to the opposite side of the joint from the iron tip. The solder should flow smoothly and evenly around the joint. Avoid applying solder directly to the iron tip.
- Remove Solder and Iron: Remove the solder wire first, then remove the soldering iron. Allow the joint to cool naturally without disturbance.
- Clean Tip After Use: Always clean and re-tin the tip before placing the iron back into its stand.
6.3 Powering Off
When finished, turn the power switch to the 'OFF' position and unplug the station from the power outlet. Allow the iron to cool completely in its stand before storing.
7. Maintenance
7.1 Tip Cleaning and Tinning
Regular cleaning and tinning are crucial for tip longevity and effective soldering.
- Damp Sponge: Use the damp sponge to wipe off excess solder and oxidation from the tip.
- Re-tinning: After cleaning, apply a small amount of fresh solder to the tip to prevent oxidation.
7.2 Tip Replacement
If the soldering tip becomes excessively worn or damaged, it should be replaced.
- Ensure the soldering iron is cool and unplugged.
- Unscrew the retaining nut or collar that holds the tip in place.
- Carefully remove the old tip.
- Insert the new tip and secure it by tightening the retaining nut/collar. Do not overtighten.
- After replacement, power on the station and tin the new tip immediately.
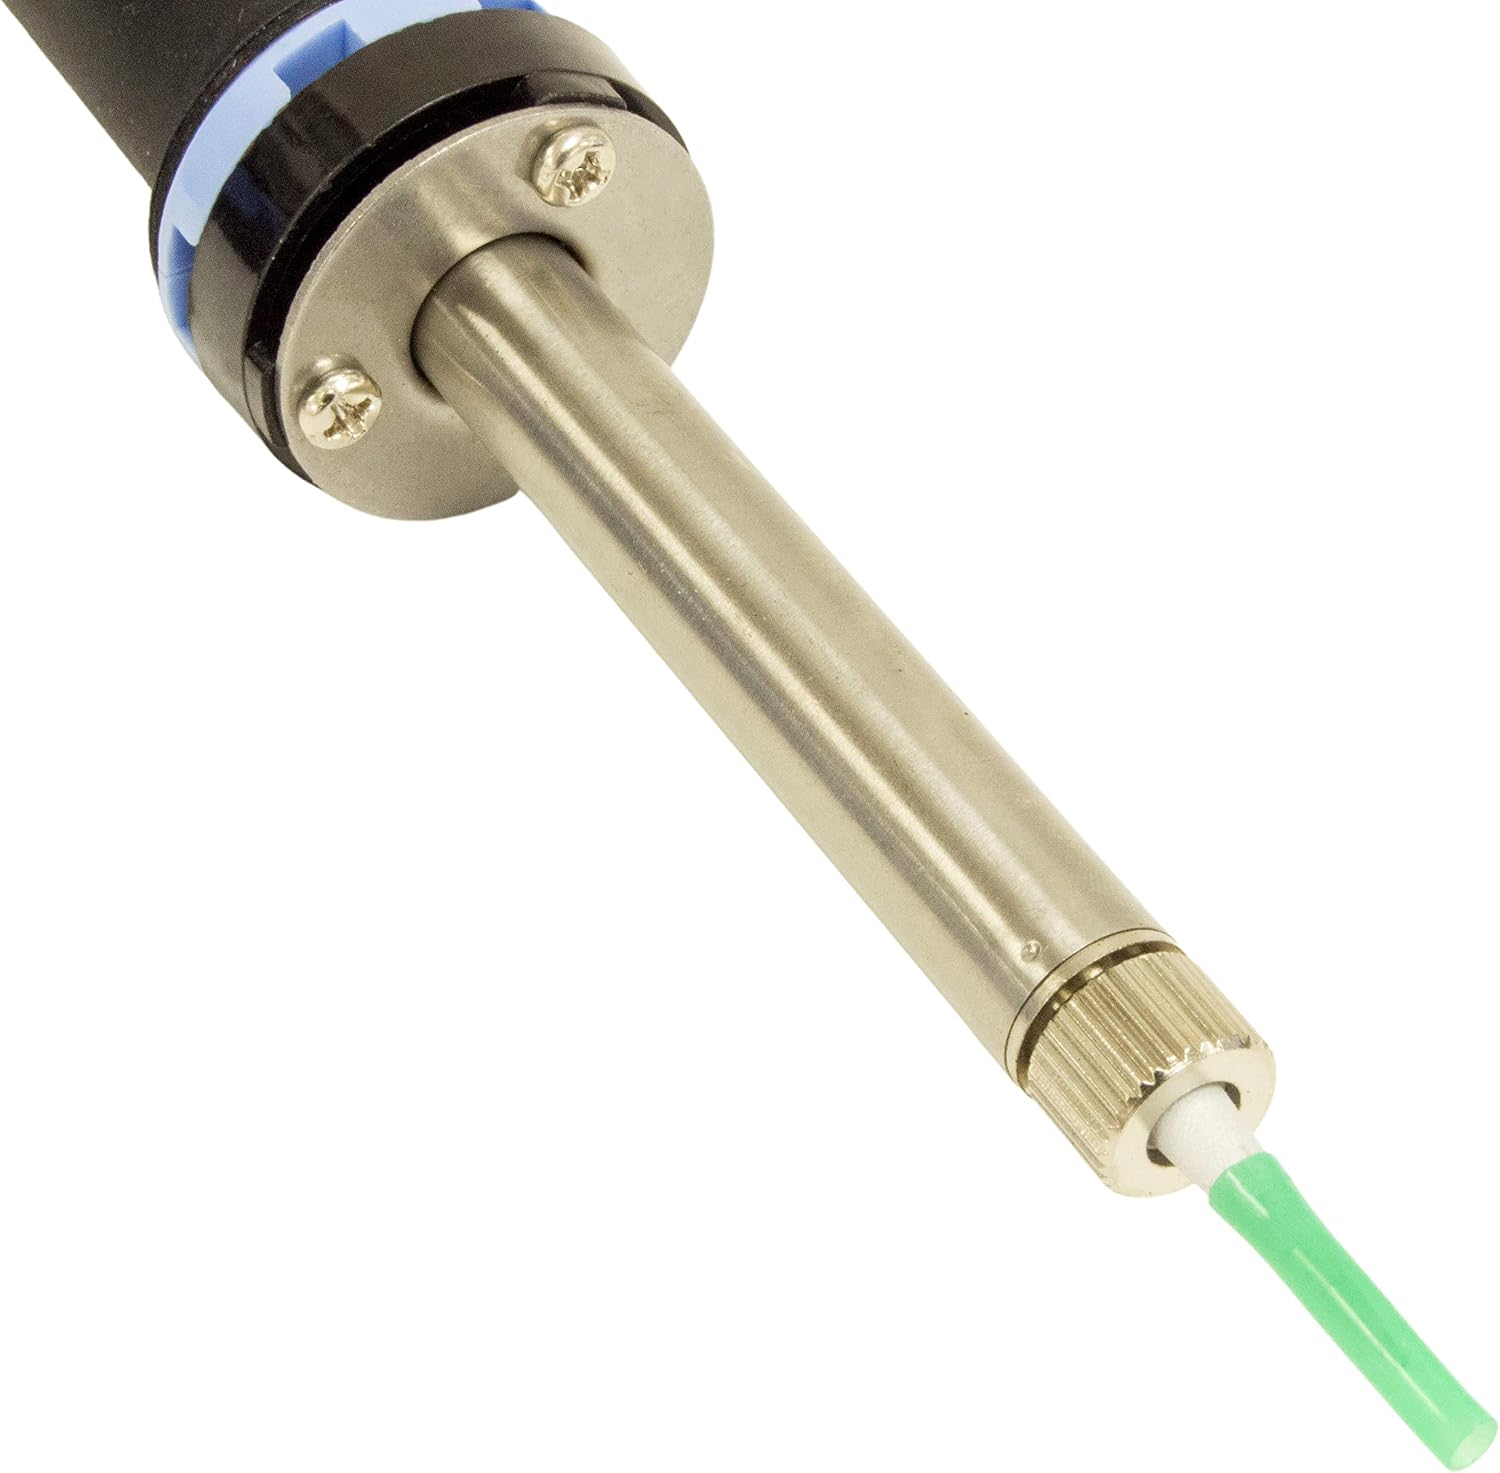
Figure 4: Close-up view of the soldering iron tip, showing the fine point for precision work.
7.3 General Cleaning
Wipe the exterior of the soldering station and iron handle with a soft, damp cloth. Do not use abrasive cleaners or solvents. Ensure no liquids enter the electronic components.
8. Troubleshooting
- Iron Not Heating:
- Check if the power switch is ON and the unit is plugged in.
- Ensure the soldering iron is securely connected to the station.
- Verify the temperature setting is above the ambient temperature.
- Poor Solder Joints:
- Ensure the tip is clean and properly tinned.
- Increase the temperature setting if the solder is not flowing correctly.
- Ensure the tip makes good contact with both the component lead and the pad.
- LCD Display Not Working:
- Check power connection. If the unit powers on but the display is blank, contact customer support.
9. Specifications
| Feature | Specification |
|---|---|
| Model Number | 0603ZD8906LCD |
| Wattage | 48 Watts |
| Temperature Range | 160°C - 520°C (320°F - 968°F) |
| Display Type | LCD with Backlight |
| ESD Safe | Yes |
| Product Dimensions | 6 x 9.5 x 3.5 inches |
| Item Weight | 1.63 pounds (26.1 ounces) |
| UPC | 753807179379 |
10. Replacement Parts
Replacement parts are available for continued use of your soldering station:
- 1.5mm Tip: Part number: 0606793111
- 0.5mm Tip: Part number: 0606793121
- 3mm Chisel Tip: Part number: 0606793131
- 2mm Chisel Tip: Part number: 0606793141
- Replacement Soldering Iron: Part number: 0603ZD200C
11. Warranty and Support
For warranty information, technical support, or inquiries regarding your SciencePurchase 48W Temperature Adjustable Soldering Station, please contact SciencePurchase customer service. Refer to your purchase documentation for specific contact details or visit the official SciencePurchase website.